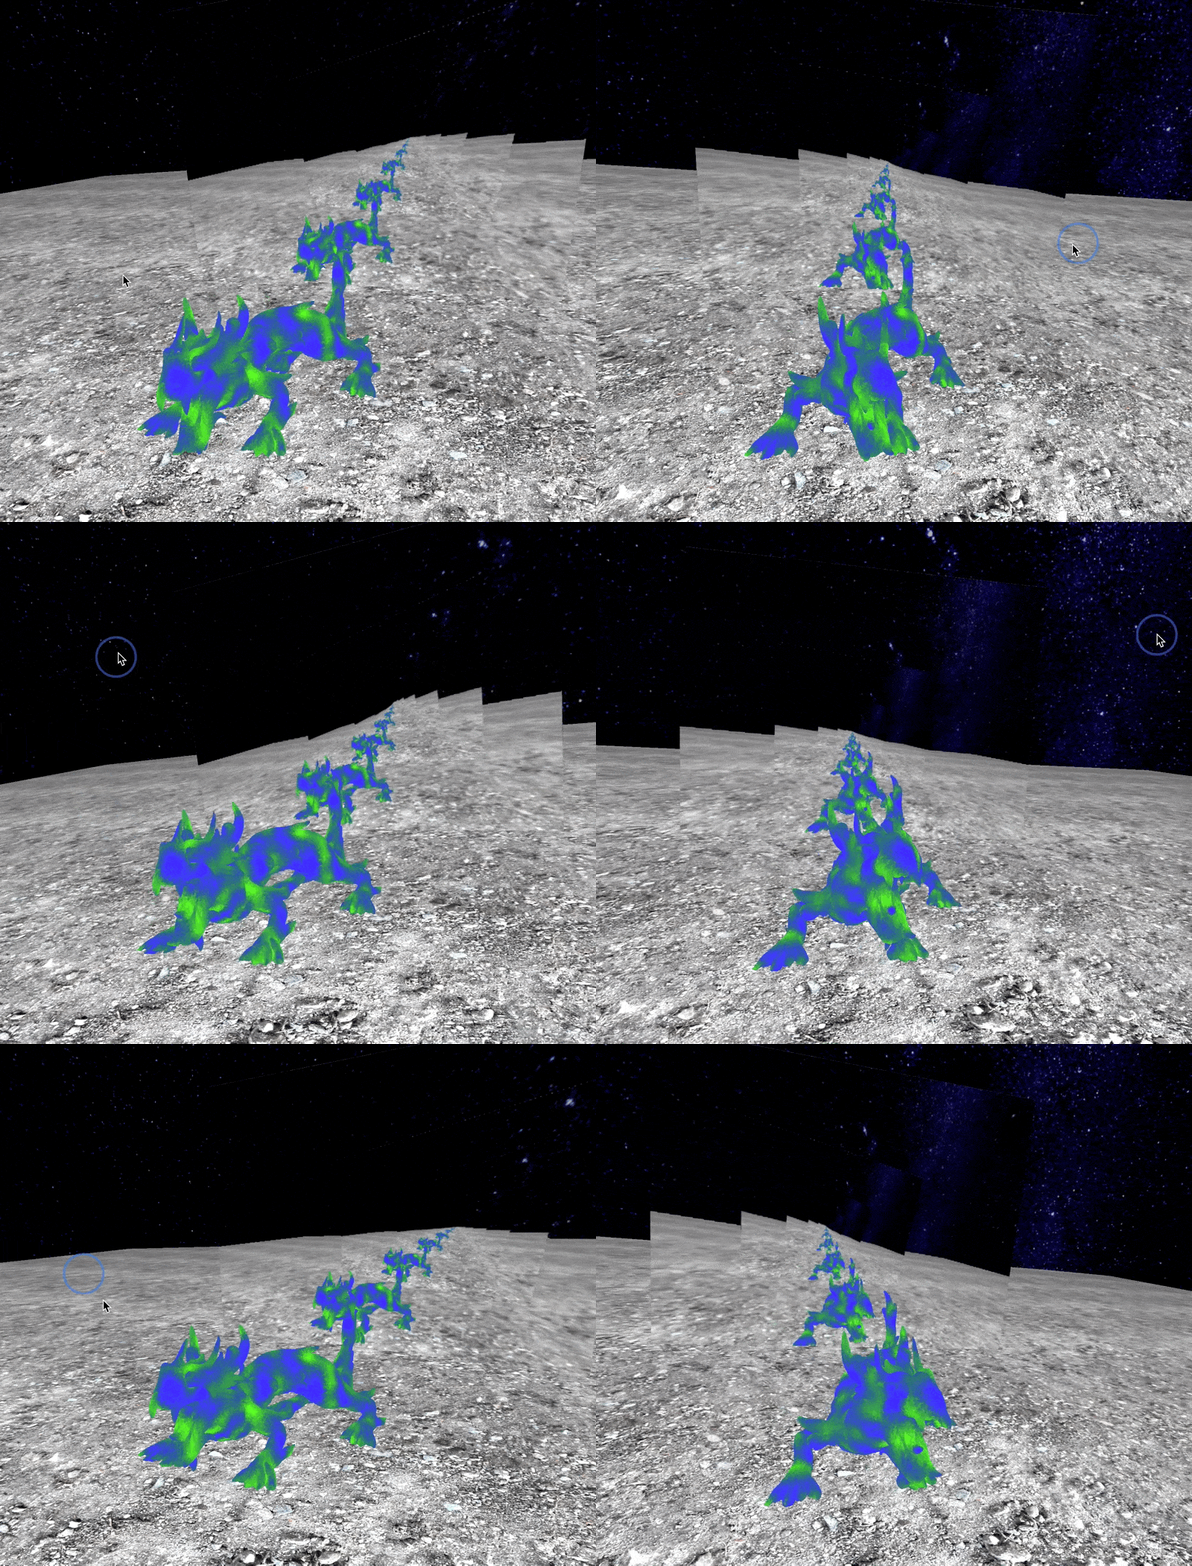
Multi-Pass Reflections

-"just the same... only things go the other way"
Let's take a look at the code for Example 2, which is a good starting point if you want to render reflections using multi-pass rendering.
The basic idea
The most common approach to rendering reflections with rasterization-based graphics is to use a multi-pass technique. The basic idea is to render the scene in two "passes".:
- In the first pass, you render the scene from the reflected location of the camera, but rather than writing the output pixels to the screen, you write them to a separate pixel buffer in memory.
- In the second pass, you render the scene (to the screen) from the current perspective of the camera. But this time you use the output of your first pass as a texture to color the reflective surface in your scene.
In the diagram below, our strategy works by first rendering the scene from the mirror camera's perspective, then using the rendered image to texture our mirror during a second pass, where we render the scene from our camera's perspective (the blue one on the left). If we compare what a reflected ray from the second pass would look like to a transmitted ray from the first pass, we can see why this technique works.
Starter Code:
The pass rendering happens in code from Example2SceneController shown below:
 /**
         * Tell the model to prepare for the render-to-texture pass.
         */
        this.model.prepRenderToTexturePass()

        /**
         * Set the current render target to the model's current texture render target and clear it for rendering.
         */
        this.setRenderTarget(this.model.currentTextureRenderTarget);
        context.renderer.clear();

        /**
         * Render the scene.
         */
        context.renderer.render(this.view.threejs, this._cameraView.threejs)

        /**
         * Set the render target to null, which will return it to rendering to the screen.
         * Then clear the screen for rendering.
         */
        context.renderer.setRenderTarget(null);
        context.renderer.clear();

        /**
         * Have the model prepare for the final pass before rendering the scene to the screen.
         */
        this.model.prepFinalPass();
        context.renderer.render(this.view.threejs, this._threeCamera);
Update: Planar Mirrors
It's useful to think of the case of a simple planar mirror to work through some of the additional details involved in rendering reflections. In particular, if we simply set our mirror camera to be the mirror location of our regular camera, then we still need to figure out the mapping from our rendered mirror image to the surface we texture it with.
The simplest way to do this is to actually set the frustum of the mirror camera to be a projection of the surface we are mapping:
A useful function for this may be
camera.setProjection(Mat4.PerspectiveFromNearPlane(left, right, bottom, top, near, far));
Which sets the frustum of the projection matrix based on the left, right, top, and bottom coordinates of the near plane, as well as the depth of the near and far plane.
One more think to remember is that the mirror camera is actually a reflection of the regular camera. This will change the handedness of its coordinate system. When in doubt, think of what the axis of the current camera transform would be if you reflected it about the plane of reflection.

