Features
We will measure features on a point system, with the number of points needed for full completion depending on the number of members in your group. Our expectation is that larger groups should do more, but that simply integrating some features can be work in and of itself. To this end, the number of point you need will be linear in the number of group members, but larger groups may receive credit for integrating more features if this is done well.
Good player and camera movement can be worth a point or more if done well. This means providing intuitive controls and smooth filtered camera motion. The example I gave in class would probably be worth a point for the camera and motion controls:
Something more advanced like inverse kinematics could be worth more than a point.
Procedural Terrain
You can implement modifyiable procedural terrain.
- Characters and other elements should be able to move and interact with the terrain
- You should be able to modify the terrain and render these modification efficiently
The starter code already sets up a displacement shader for the terrain and initializes a data texture that gets fed to the displacement shader. This means a lot of the tricky setup is done for you. Mostly, you just need need to work out all the proper transformations to make sure that the rendered terrain matches any application logic that deals with interacting with said terrain. You will also need to use some of what you learned from the imaging part of the course to sample, interpolate, and modify terrain height values.
You can see a more complete version as one of the features implemented in the demo I showed in class (video above).
There are few different pieces to making this work. One part is getting the transforms between height map, terrain, and player location correct. Another part is properly sampling the height map (e.g., with bilinear interpolation) to ensure that your player moves smoothly.
Shaders
You can write custom shaders to create new material effects. E.g.:
- Add proper diffuse and specular shading to the existing shaders
- Modify diffuse and specular shading to do toon shading / cell shading
- Implement normal mapping on a non-flat surface
- Implement procedural normal or texture mapping
Adding proper diffuse and specular components won't be worth a whole point, but it will be worth some small amount of credit.
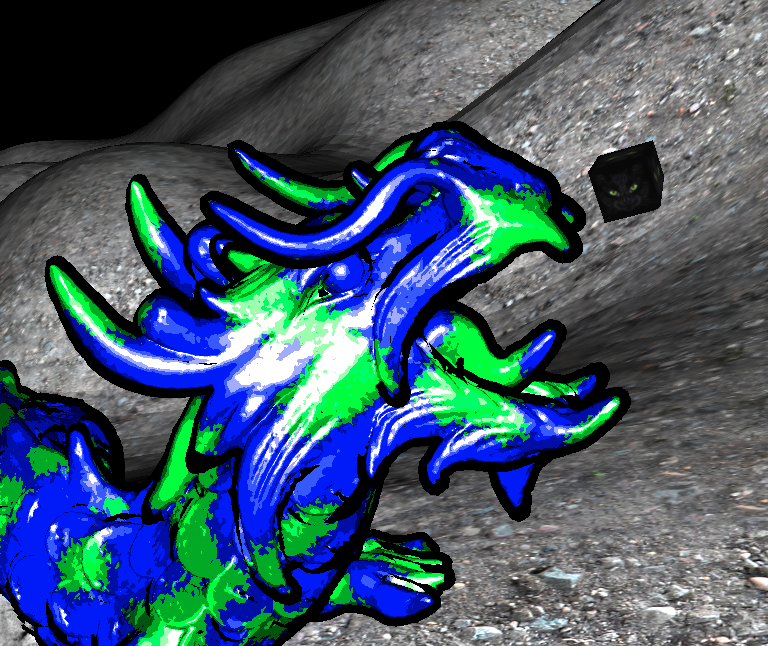
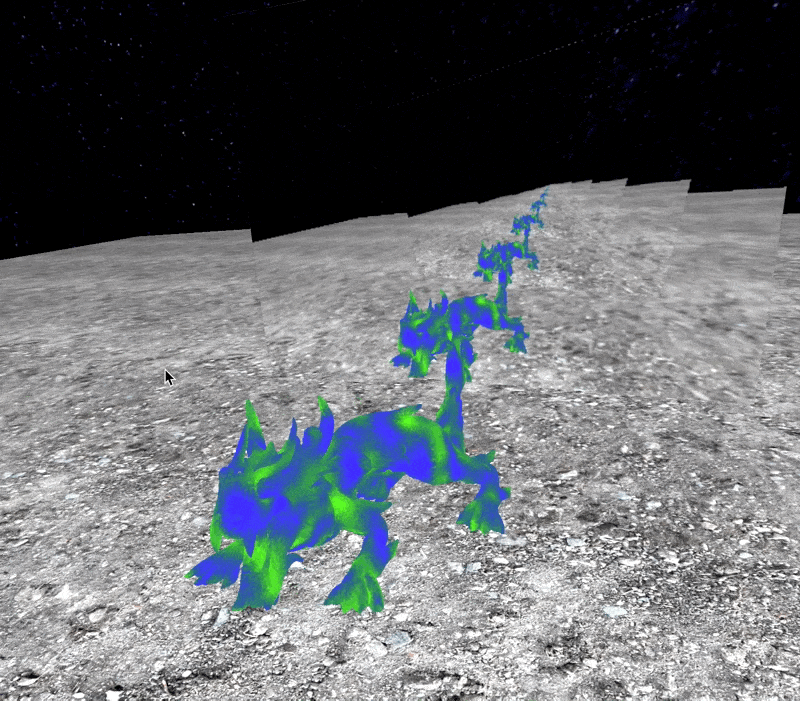
Toon Shading
I described toon shading in class. It can be done by quantizing the brightnesses and colors of fragments for the diffuse and specular components.
Optionally, you can also add inking by rendering the back faces of the mesh as black and translated along their normal vectors:
Multi-pass shaders
Check out the Example2 and Example3 code I pushed to the repo for examples of multi-pass techniques.
Example 2
Example 2 shows how to render to texture, then render a second time with the texture mapped to some surface. You can use this to render things like reflections:
If you use this technique in a cool way that will count as a feature. This means something like a ripply reflection off of a water surface, or a hall of mirrors or something.
Example3
Example 3 shows how to render to a texture then render the texture to the screen with a custom shader. The example simply applies a gamma curve to the texture, but you can explore much cooler effects, like motion blur:
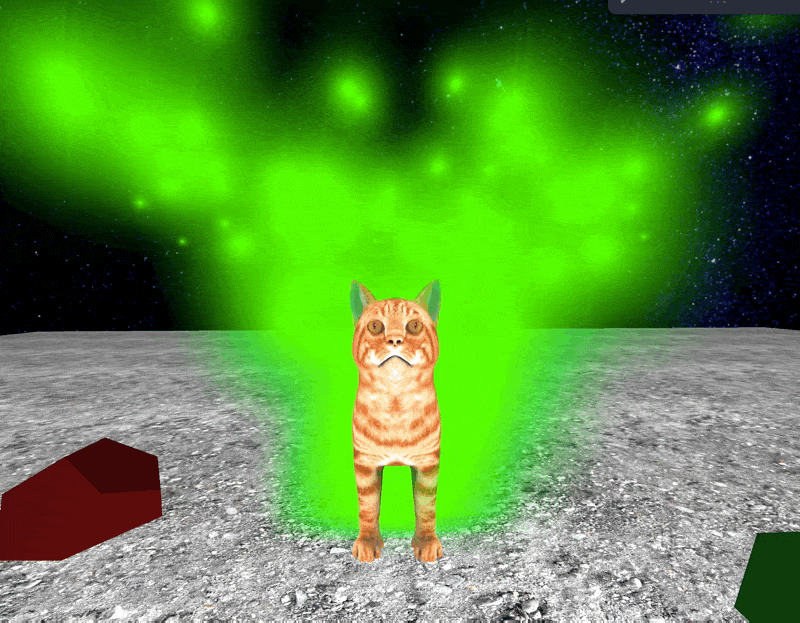
Particle Systems
Cool particle system effects (e.g., a 3D flame!). The cooler, the more points it is worth. There is an extremely simple example particle system in the provided code to get you started. The following particle system would probably be worth a little less than a full person's contribution as the behavior is quite simplistic, but it shows what properly working billboard particles look like: