
Find the .iso file you downloaded for Ubuntu. It will be one of these two:
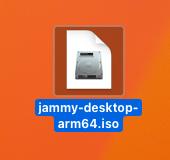
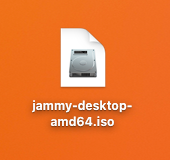
Remember, use the arm64.iso file on M1/M2 Macintosh machines and the amd64.iso file for Intel based Macs. Drag the appropriate file onto the window shown above and drop in the "Install from disc or image" area. You should see this:
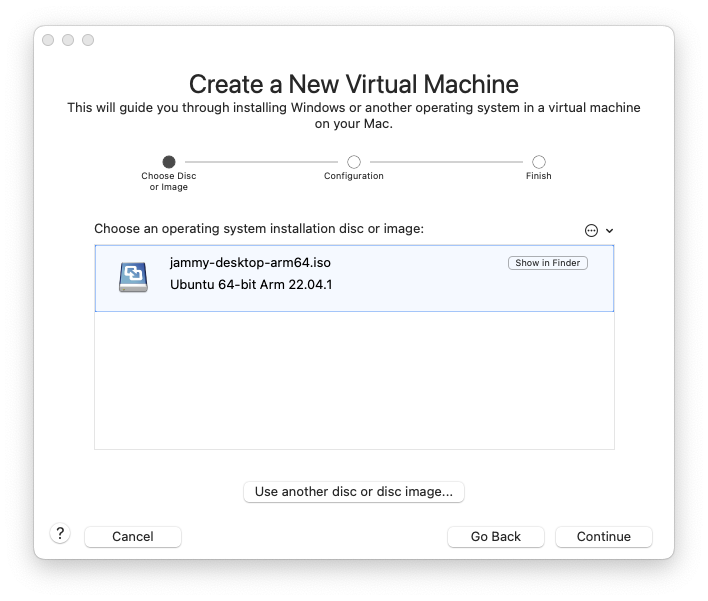
(The example above is from using the arm64.iso file)
Go ahead and click "Continue"…

The default settings for the VM should be fine for our class. Click "Finish" to continue…
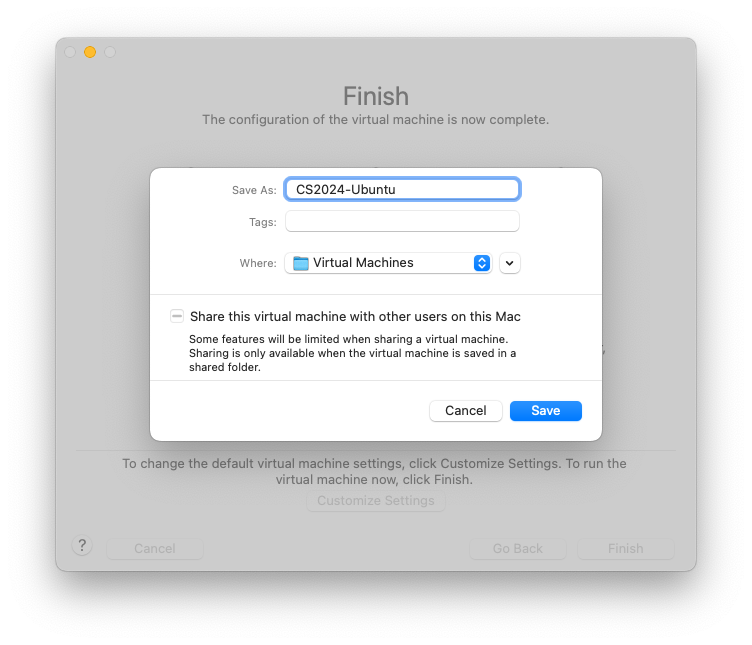
You will be asked to save the VM. The "Virtual Machines" folder shown will be created in your "Documents" folder. Pick a name that will help you identify that this is the VM to be used with CS2043 (Note my screen shot used the wrong course name. Many apologies!)
After you click "Save", the VM will start automatically until we get to the screen below:
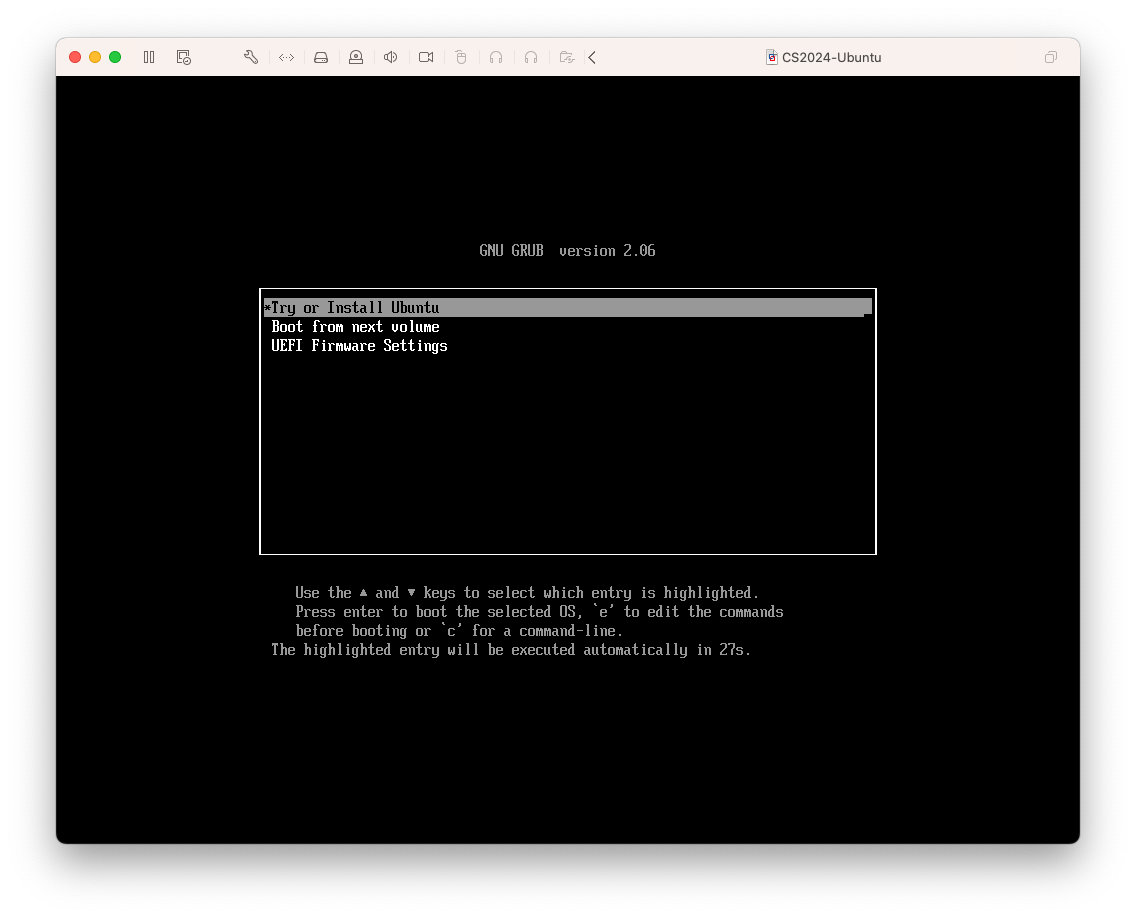
Make sure you click your mouse inside the Window so that the VM has focus. Then, hit your RETURN key on your keyboard. You should see the following screen shortly after:
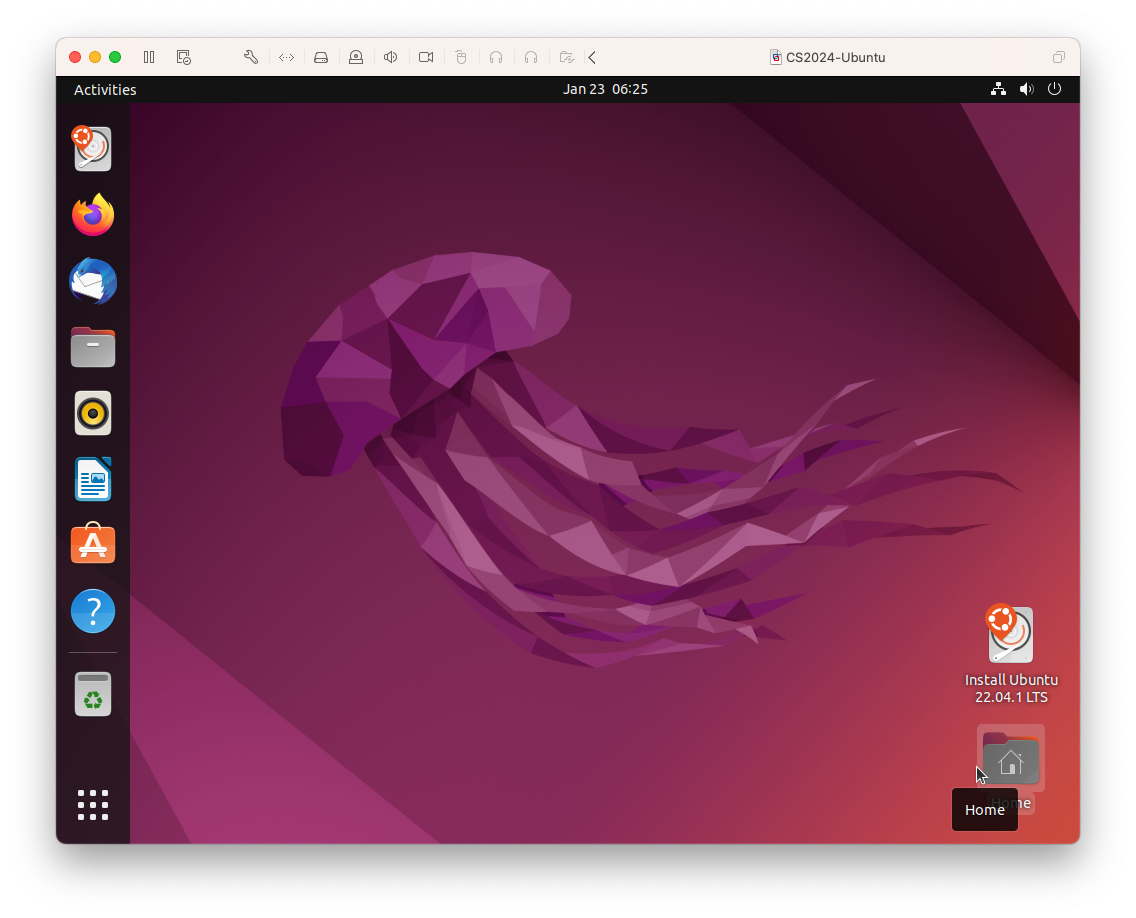
Double click on the "Install Ubuntu 22.04.1 LTS" icon at the bottom right of the screen. This will launch the installer and you should see the following:
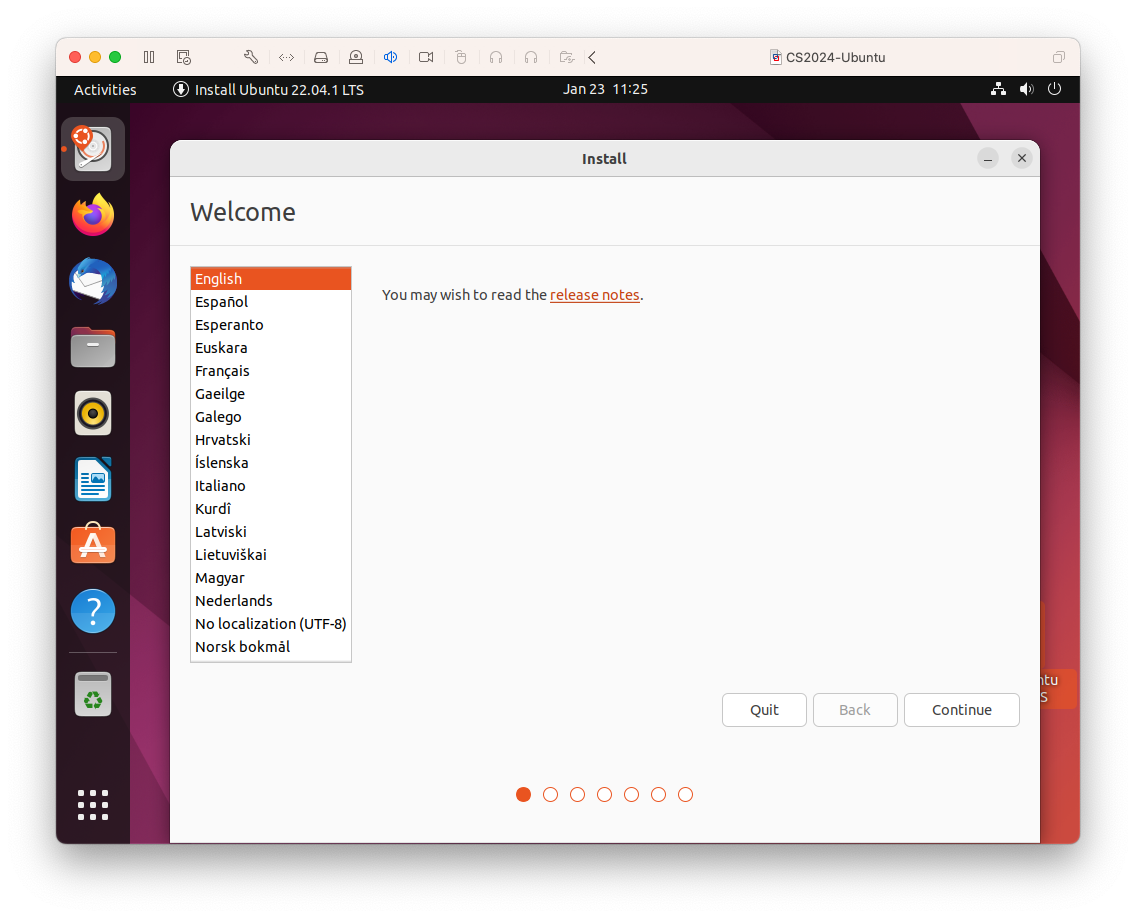
Choose the language you want to use with your Ubuntu install and click "Continue"…
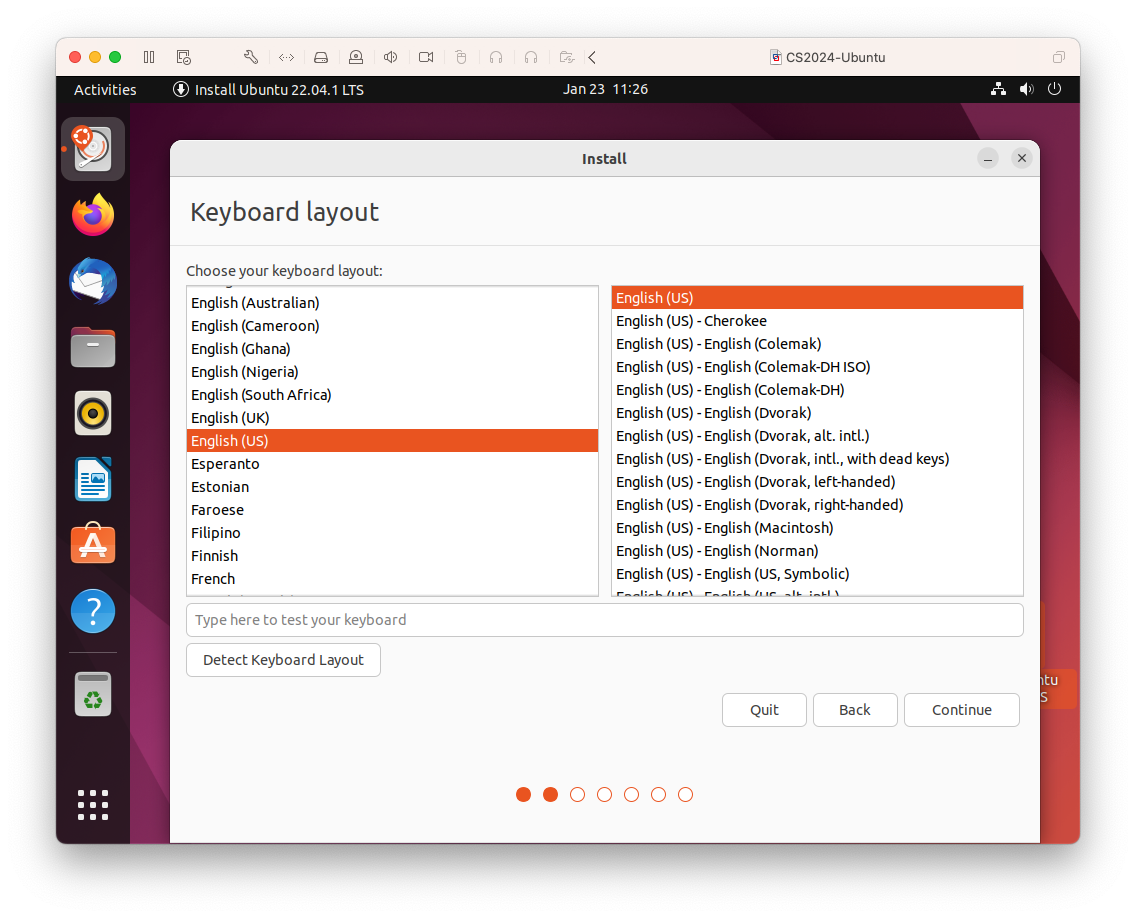
Pick the appropriate keyboard layout for you and then click "Continue" (most of you can use the default settings)
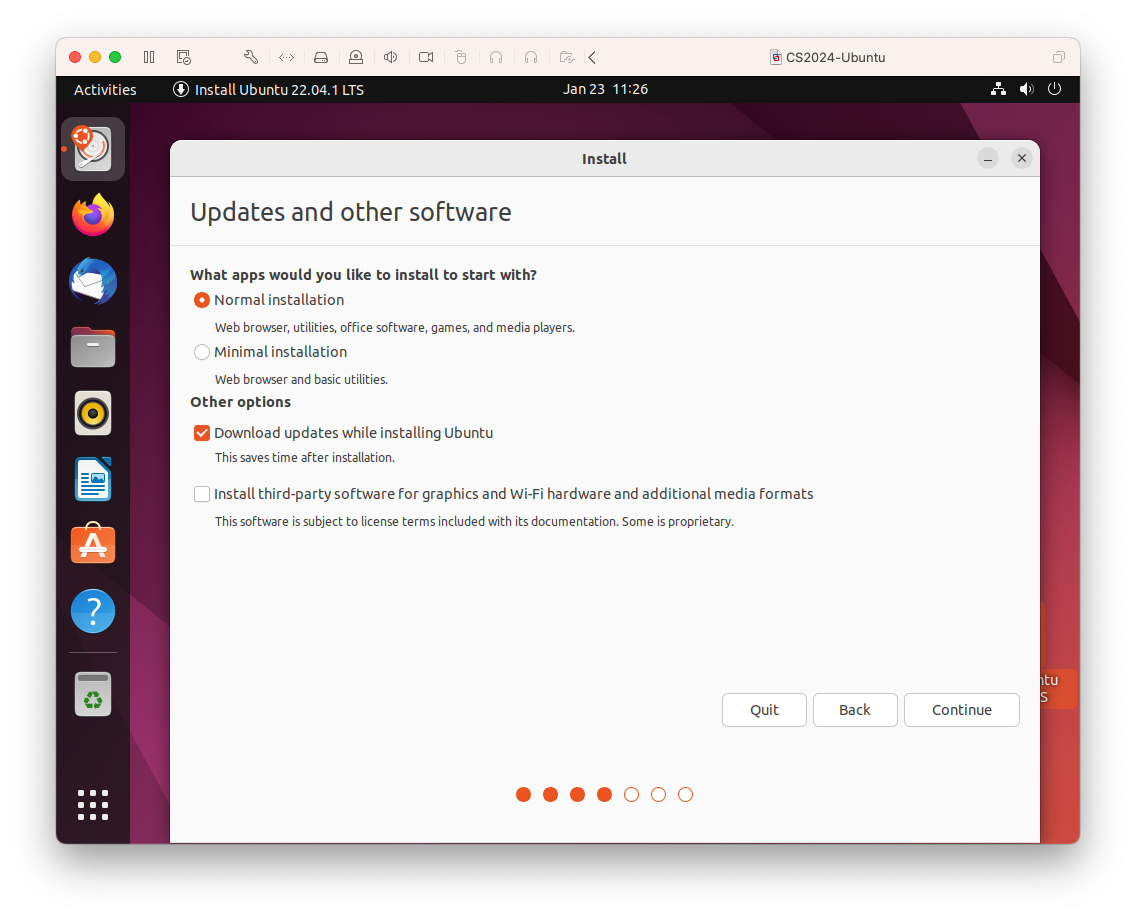
It should be fine to accept the default settings in the screen above. Click "Continue"…
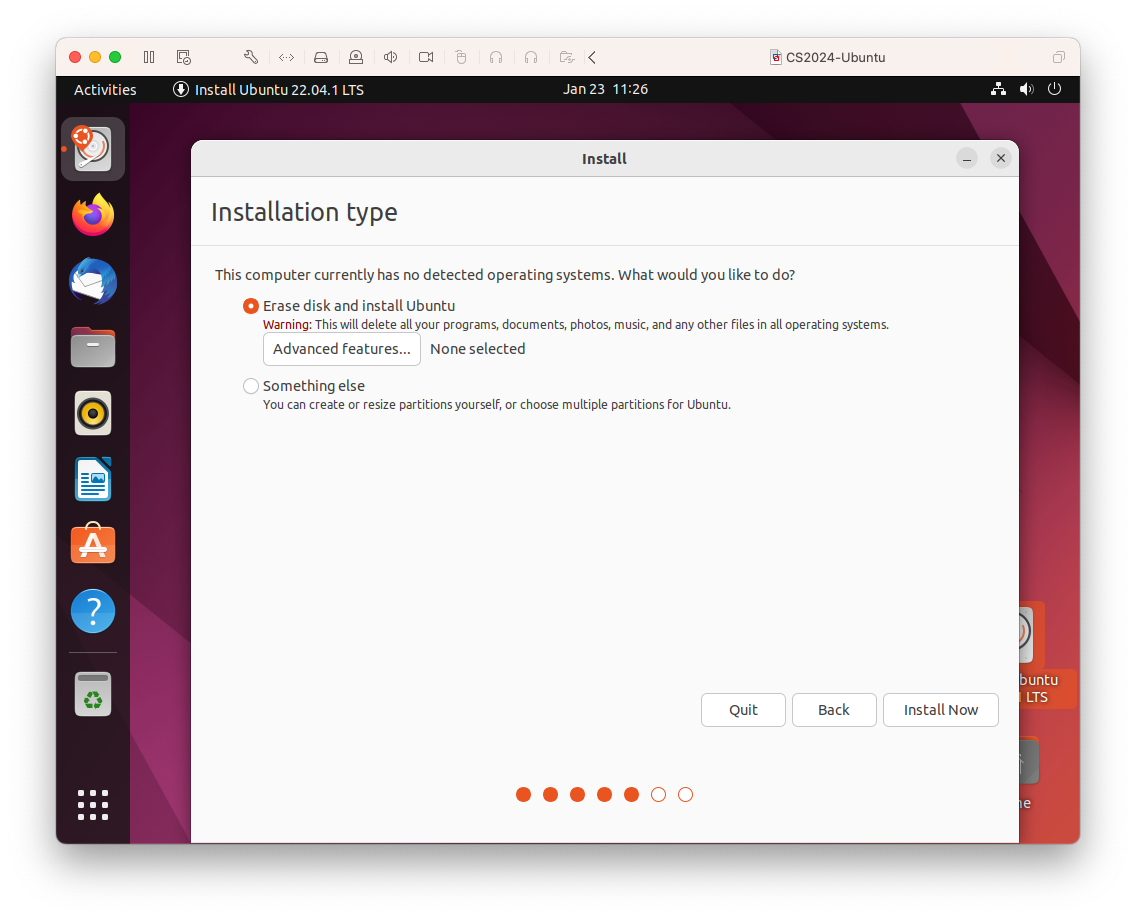
Make sure "Erase disk and install Ubuntu" is selected. This won't erase your main storage, just the hard drive "container" that was created for use with this VM. Click on "Install Now" to continue…
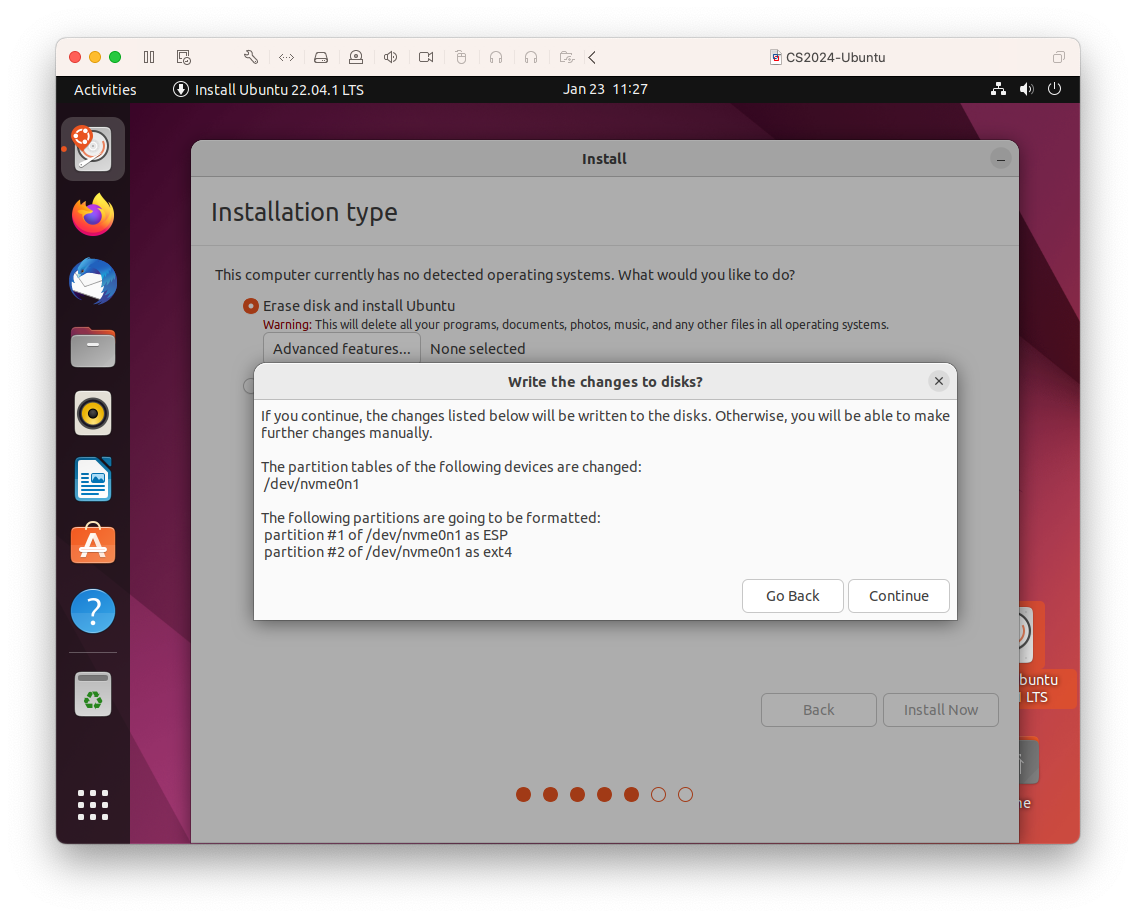
This is just a reminder that the hard drive container is going to be rewritten. This is fine, click "Continue"…
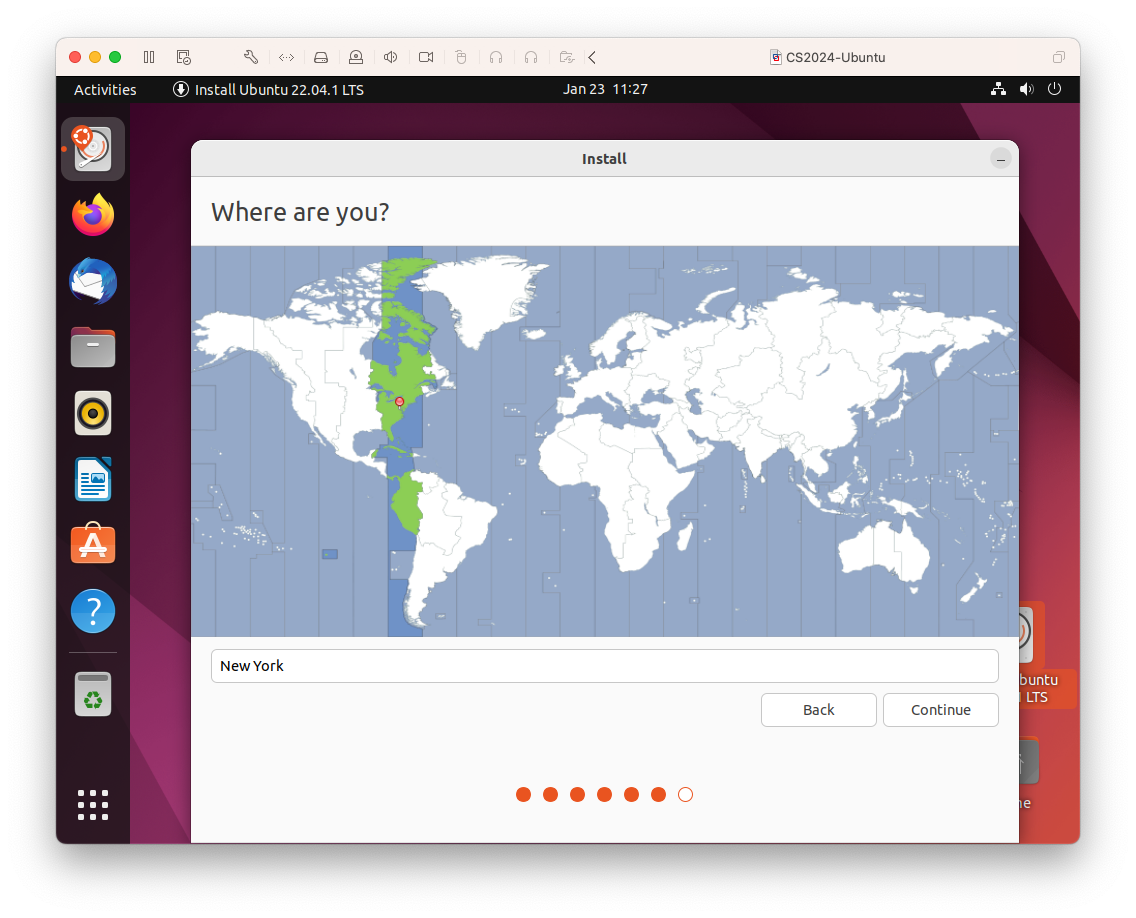
You will be asked to specify your time zone during the installation process…. "New York" should be selected, click "Continue"

Finally, you will be asked to set up an account to be used in the VM. This you'll have to fill in a number of text fields. You should put in your name in the first field. The second field (computer name) should then be filled in automatically. The "username" field should be a short version of your name but don't use any spaces. Then, choose a password and click "Continue"…
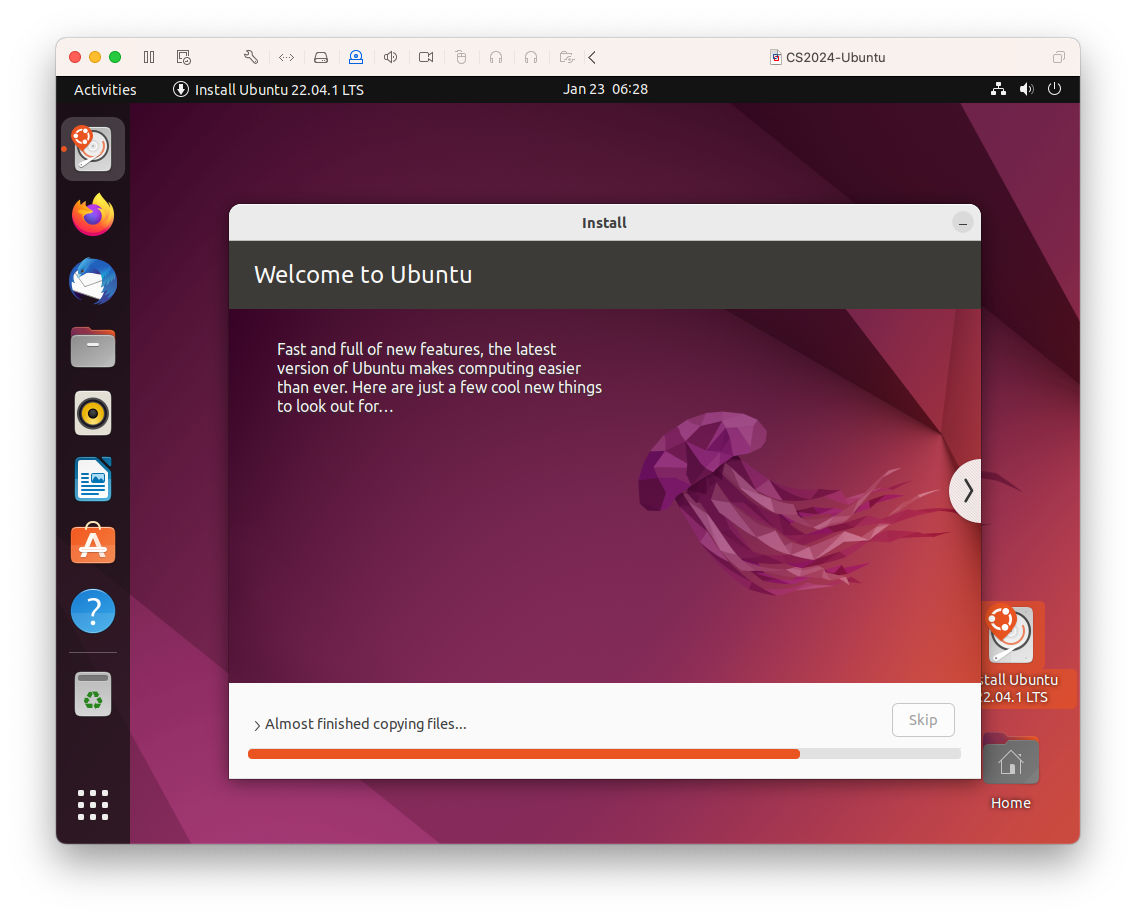
The main installation begins. You will see a number of screens pass by…
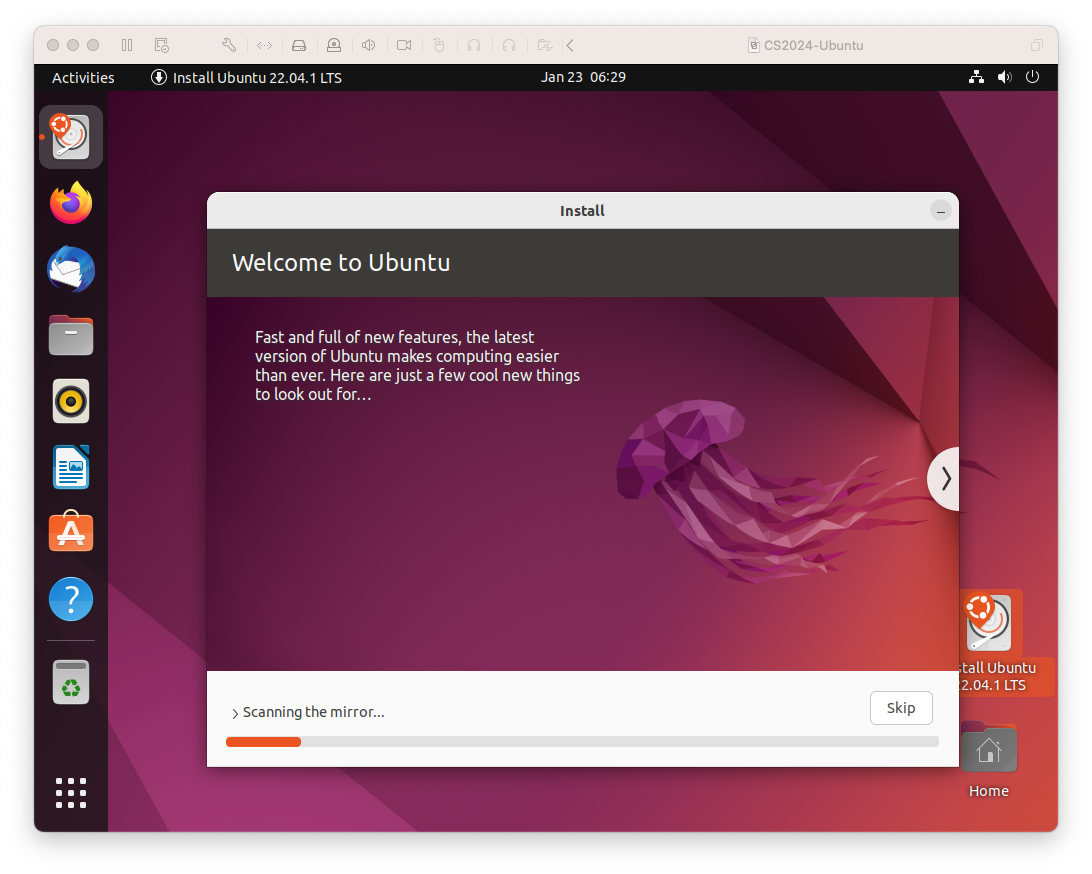
And more…
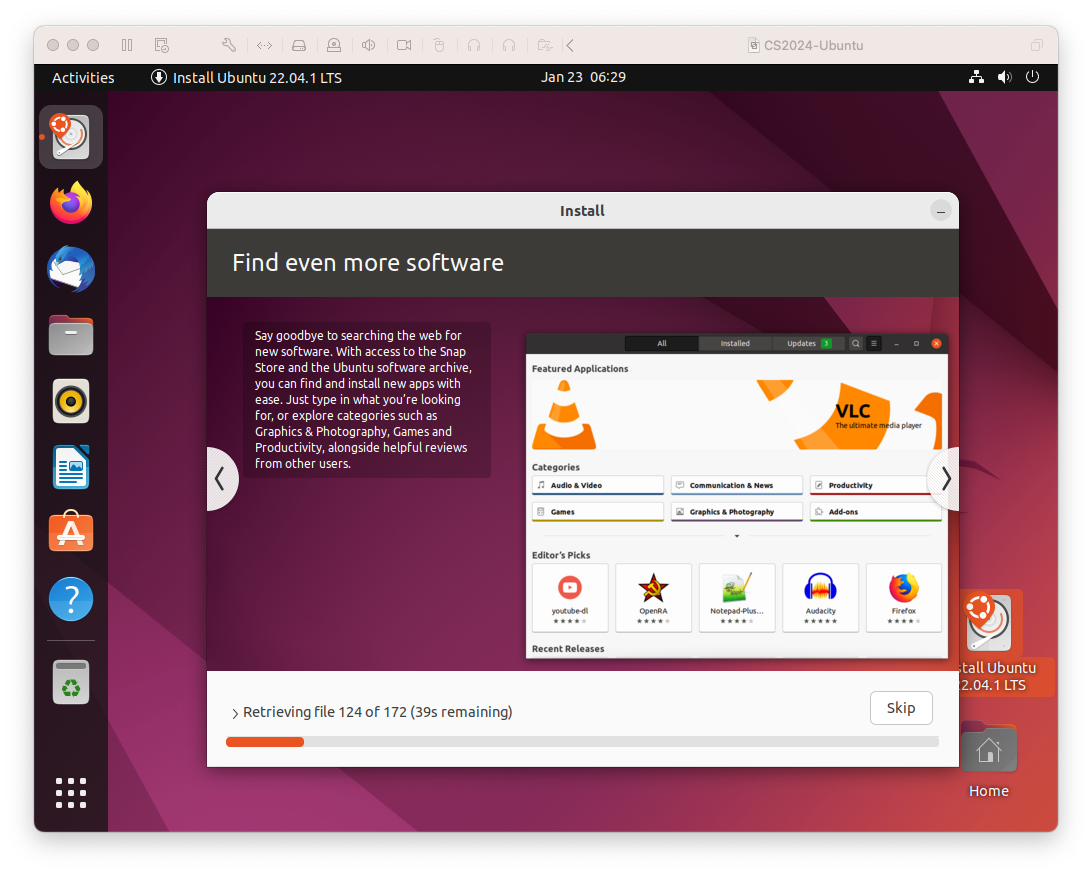
And more…
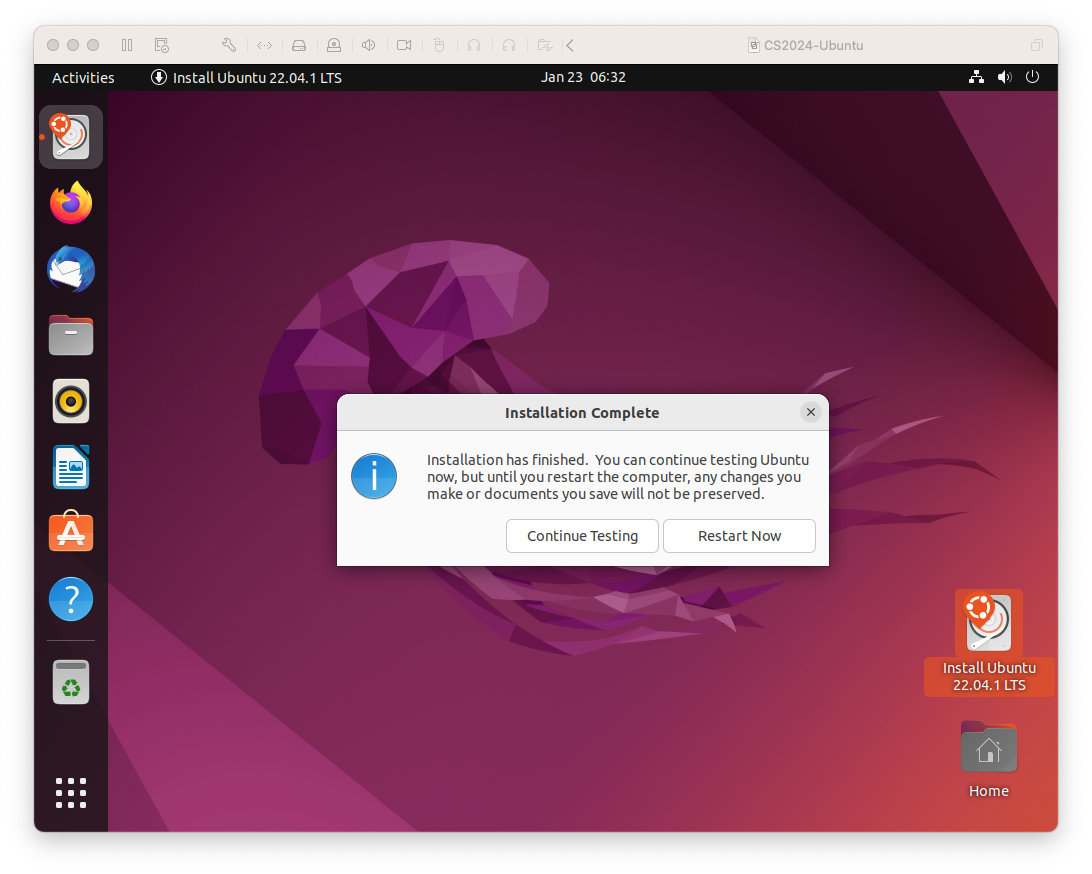
At this point choose "Restart Now". You will likely then see the screen below:

This means that the original .iso file you specified for installation is still associated with the virtual CD/DVD drive used by the VM. You have to "virtually eject" it. Do this by going into the VMware Fusion "Virtual Machine" menu and choose "Shut Down VM". You will. See the following:

Click "Shut Down". The result will be a black window with a triangle in a circle in the center.
At this point go the the Virtual Machine menu in Fusion, and expand the "CD/DVD (SATA)" menu. You should see an option there to disconnect the CD/DVD. Do so.
Then, click on the triangle in the main VM window. You should eventually see this:
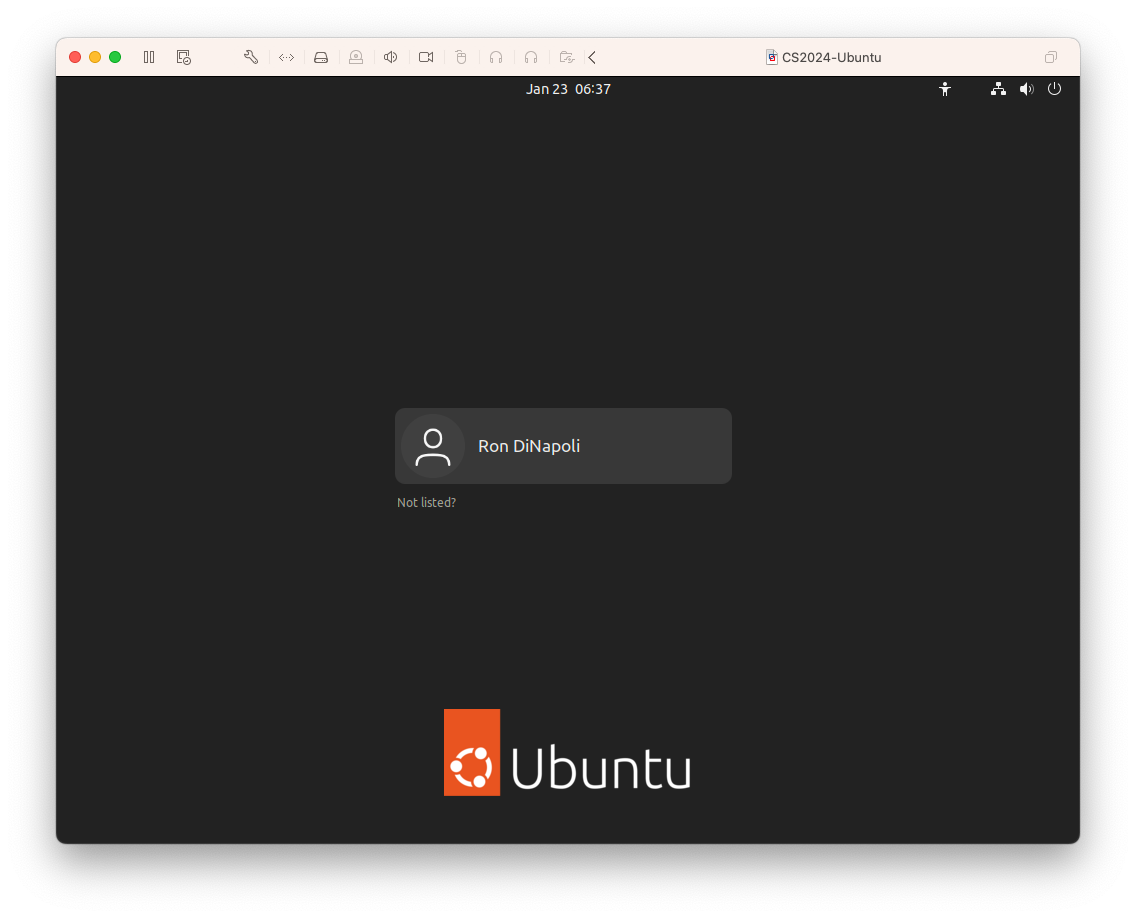
(With your full name). Click on your name to reveal the login prompt:
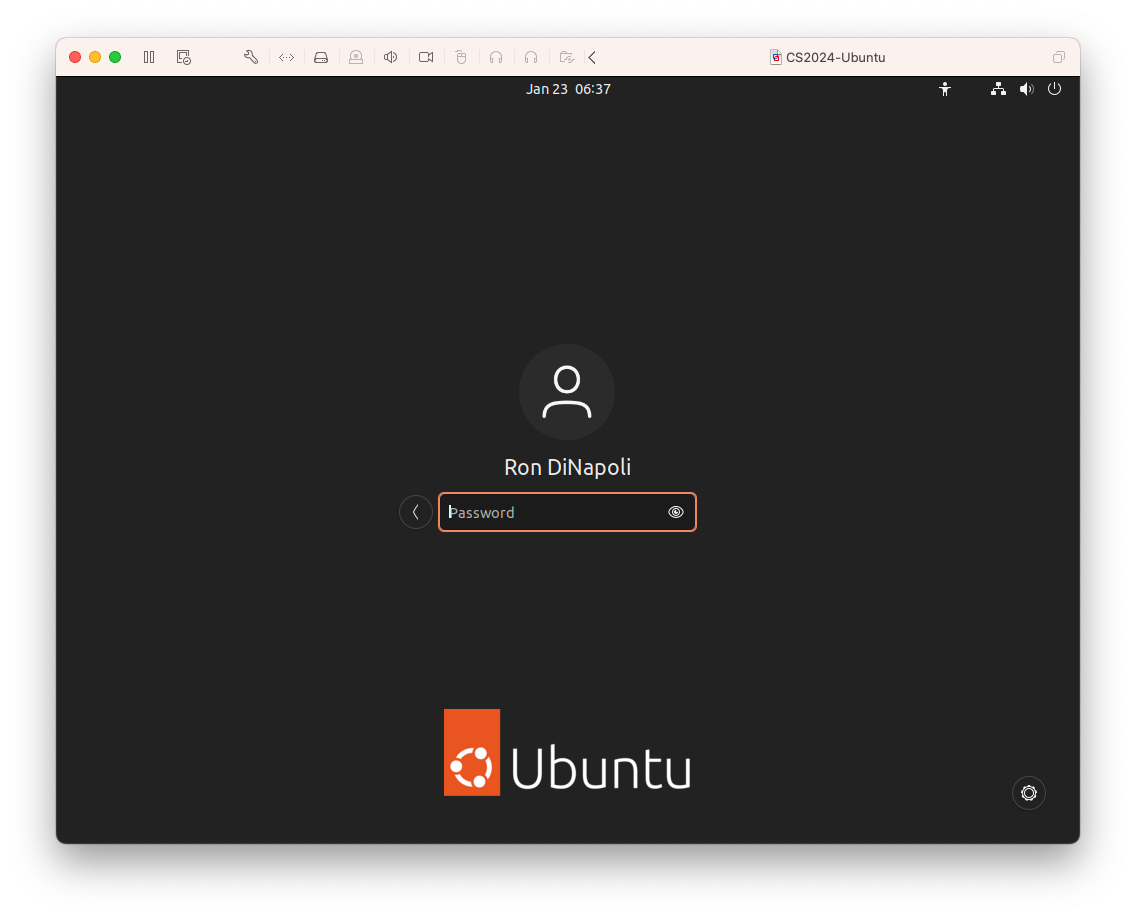
And use your password to log into the VM! Congratulations, you've installed Ubuntu!
Next, proceed to: