Begin by going to the Download Page for VMWare Desktop Player for Windows:
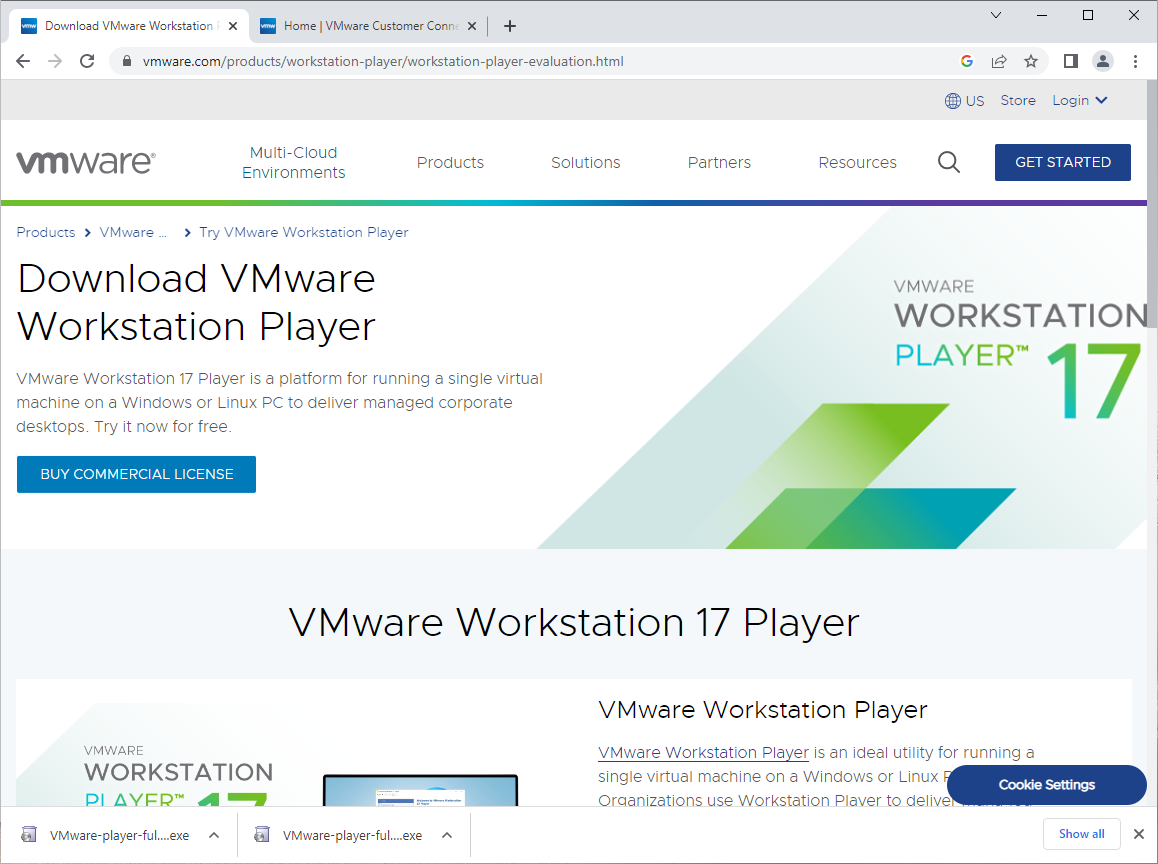
Scroll down a bit until you see the download link:
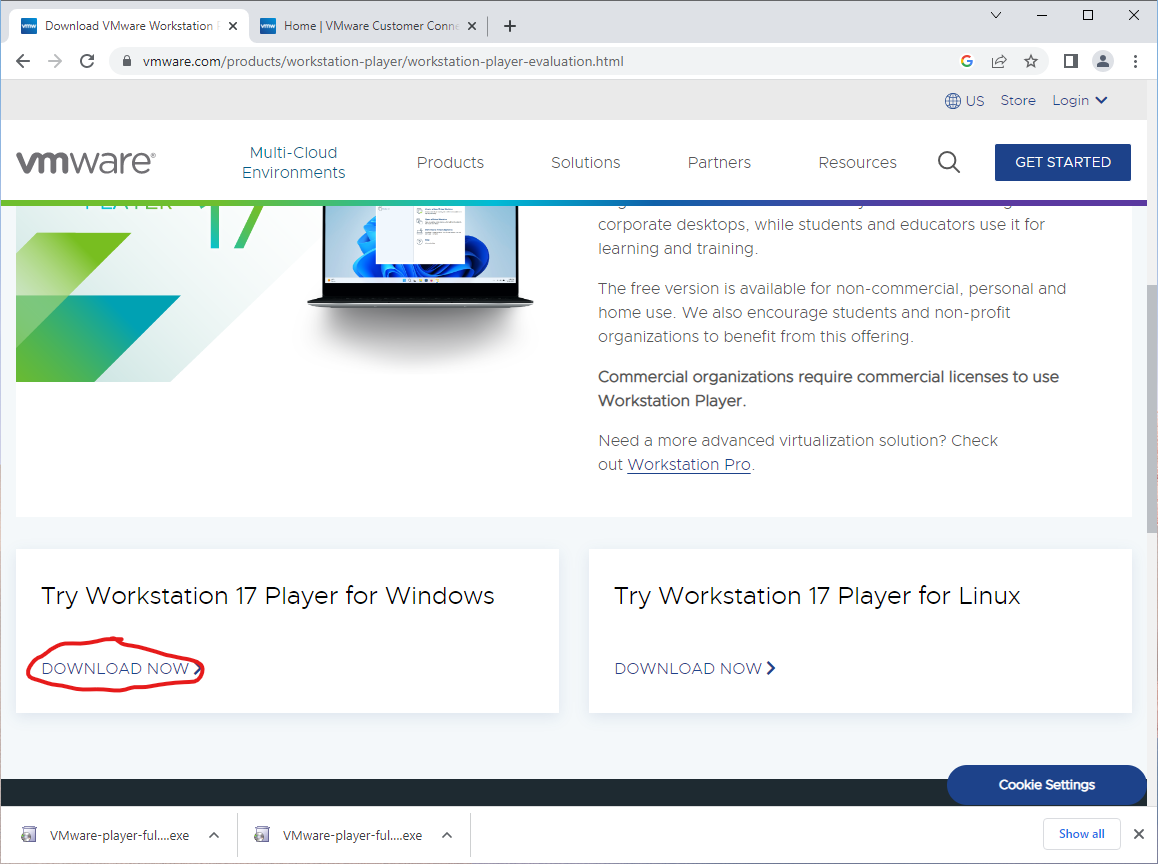
Click download now. I've used Google Chrome for this demonstration. When the download is complete you will see the following tab at the bottom of the screen (other browser will undoubtedly have a different interface to give you access to the file just downloaded):
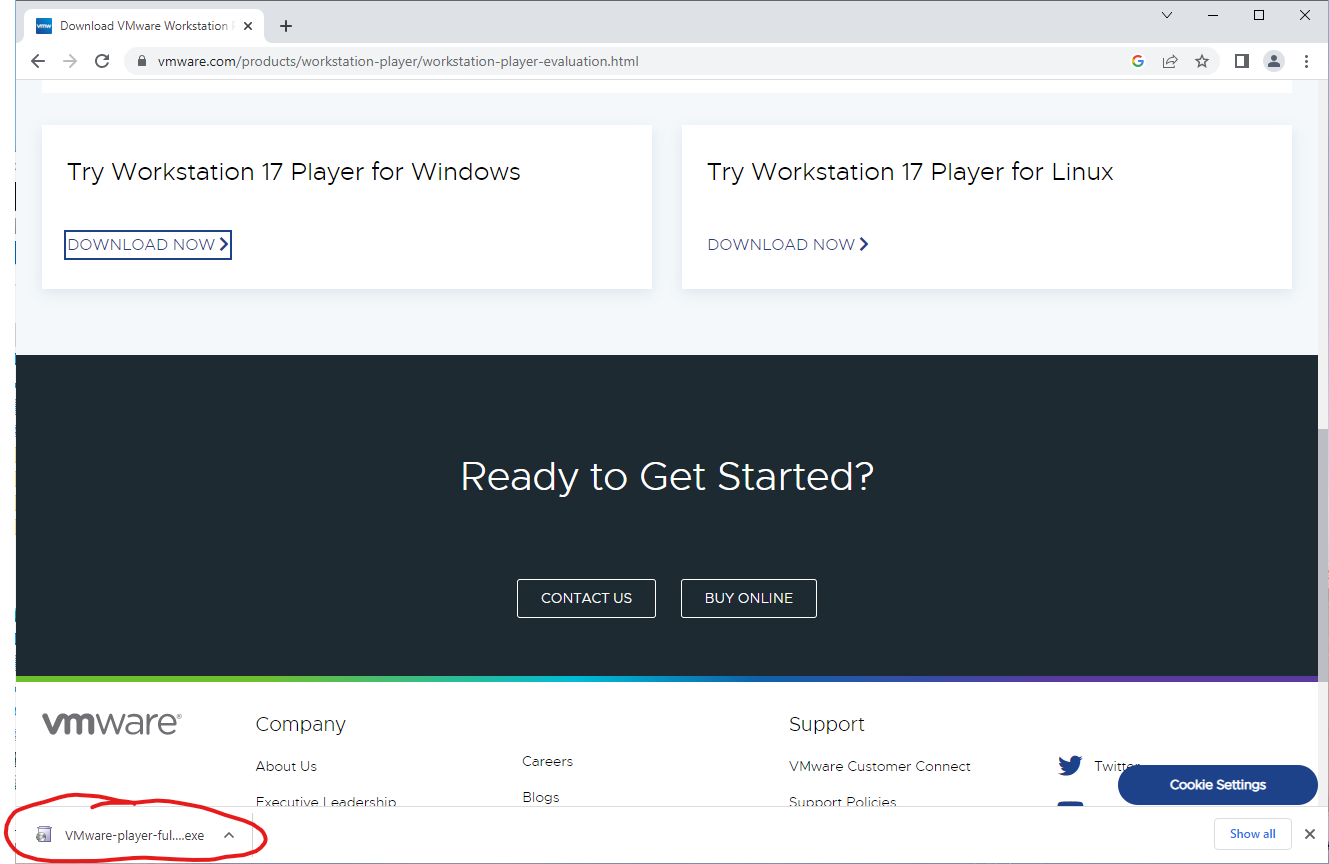
If you are using Chrome, look for the VMWare Player downloaded file tab and click on it to raise the pop up menu:

From that pop up menu, choose "Open" to open the downloaded file. You will see the following after the installer launches:
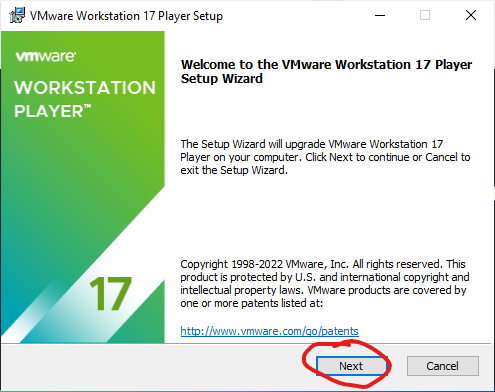
Click on "Next" to start the installation process:
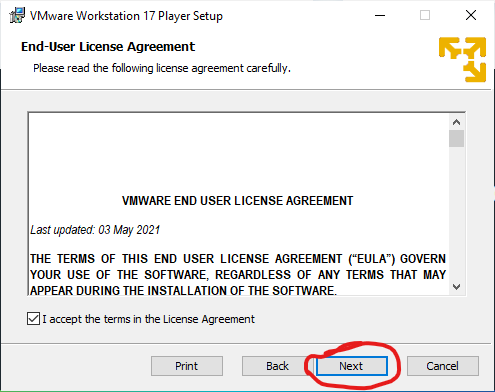
You will be asked to accept the End User License Agreement (EULA). Click the checkbox that says "I accept the terms in the License Agreement" and then click "Next". You will be presented with the "Custom Setup" window:
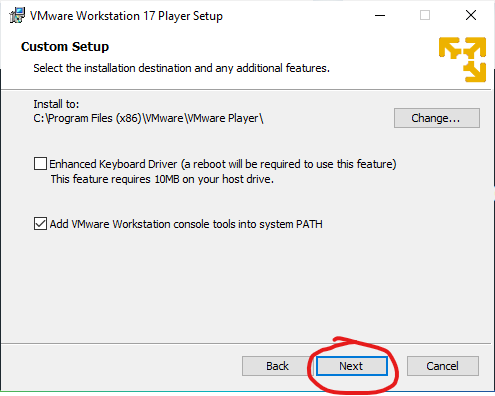
You shouldn't need to change any of the settings in this window, just click "Next". You will next see the "User Experience Settings" screen:
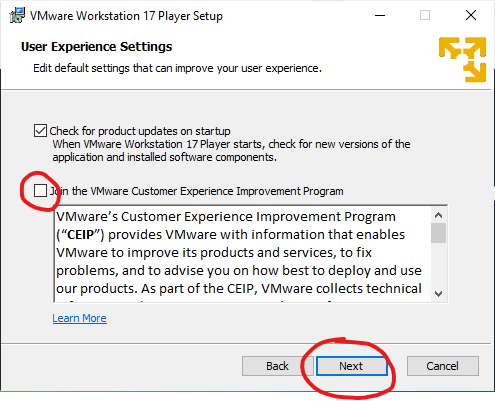
You may want to consider unchecking the "Join the VMWare Customer Experience Improvement Program", unless you want more email messages from VMWare! After you've made your decision on that, go ahead and click "Next" to move on to the "Shortcut Settings" screen:
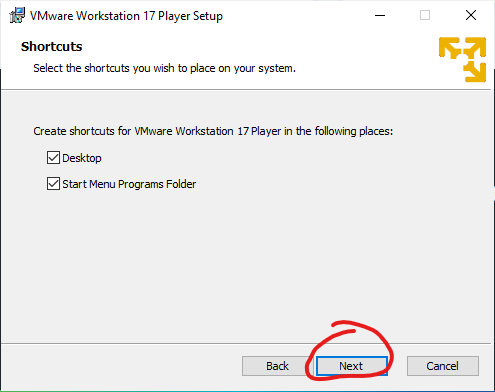
Having a shortcut in the Start Menu and on the Desktop is not a bad idea. I would suggest leaving both checkboxes checked and clicking "Next". This will bring you to the "Upgrade/Install" screen:
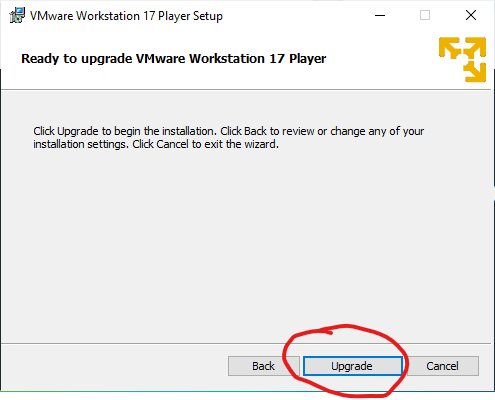
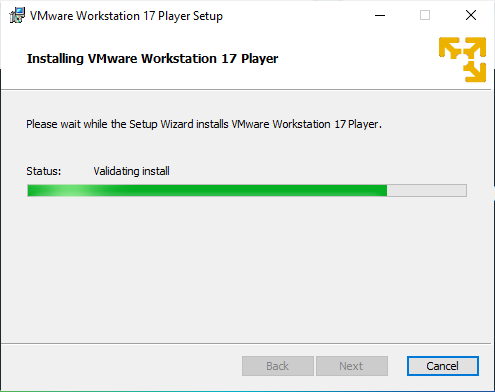
Since I had a previous version of VMWare Player installed on my laptop, this window is titled "Ready to upgrade…". And has an "Upgrade" button. If you don't have a previous version of VMWare on your computer, you should see a "Ready to Install…" title and an "Install" button to click. Click the Upgrade/Install button to start the installation process:
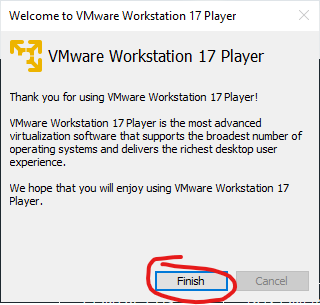
After the installer finishes, you should see the following screen:
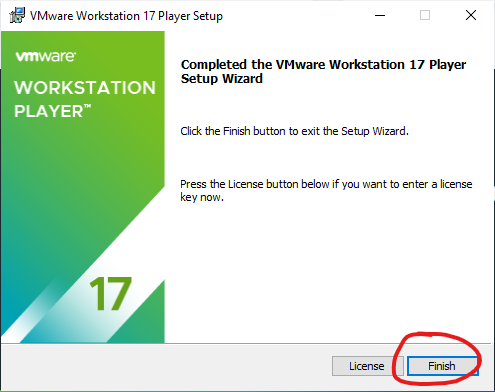
When you click "Finish", you should be returned to your desktop and see that there's a new shortcut icon there:

Go ahead and double click on the shortcut icon to launch VMWare Workstation Player for the first time. You'll see a screen like this:
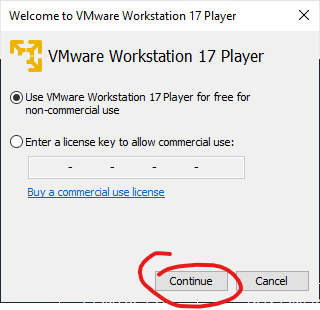
Make sure "Use VMWare Workstation 17 Player for free for non-commercial use" is selected, and then click "Continue"…
You should be presented with the following screen. Click "Finish" and then you should see the main screen of the VMWare application show up. When it does, you can quit the program until ready to install a Virtual Machine.
Next, proceed to: