INSTALLING/USING VISUAL C++ (Windows)
If you don't already have Visual Studio (containing Visual C++) installed, you'll need to download it from Microsoft. The "Community Edition" is free to download and use.
Begin by going to the following web site to download Visual Studio:

Click on the "Download" button to download the Visual Studio installer…

If using Chrome, you'll see a tab at the bottom of the window with the setup .exe file (I'm not sure why I got three tabs when downloading). Click on the tab to launch the installer:
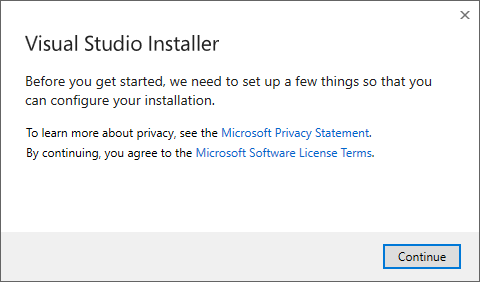
Click on "Continue" …
When the Installer is installed, you will then see a screen similar to this:
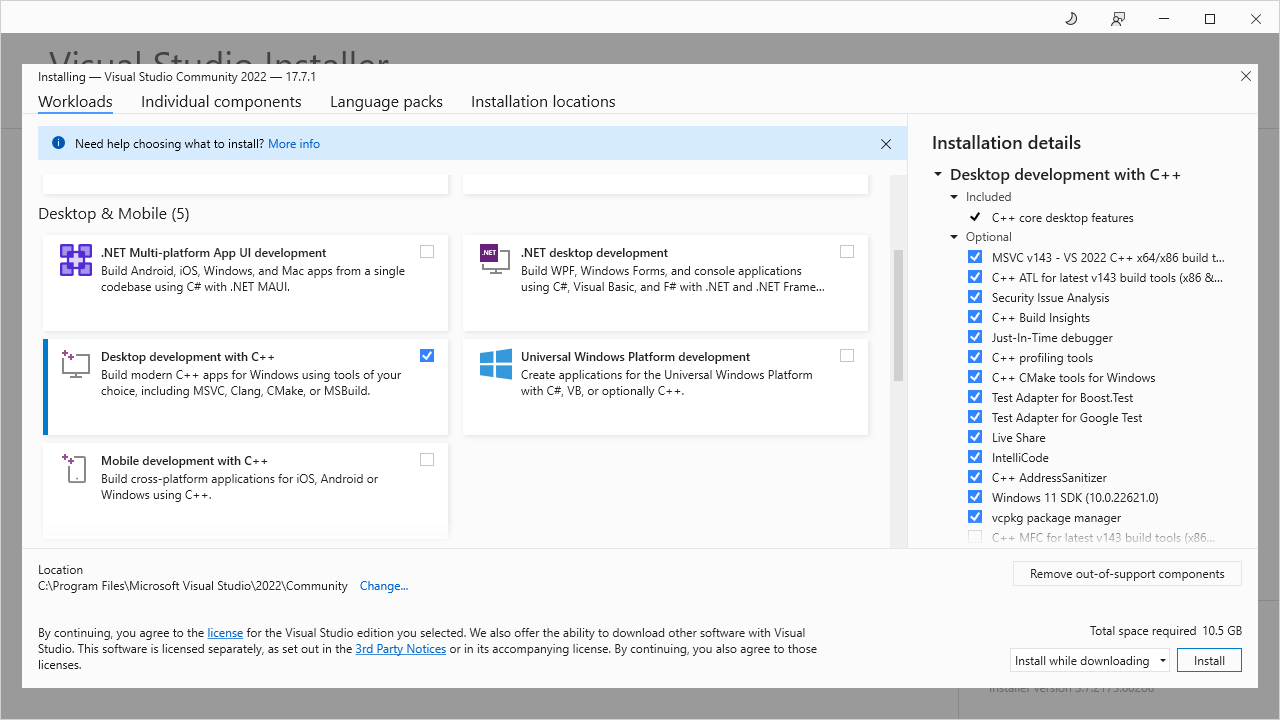
Scroll down until you see the "Desktop & Mobile" section, and then check the "Desktop development with C++" option (as shown above). Then click the "Install" button in the lower right hand corner of this window. You will see something similar to this:
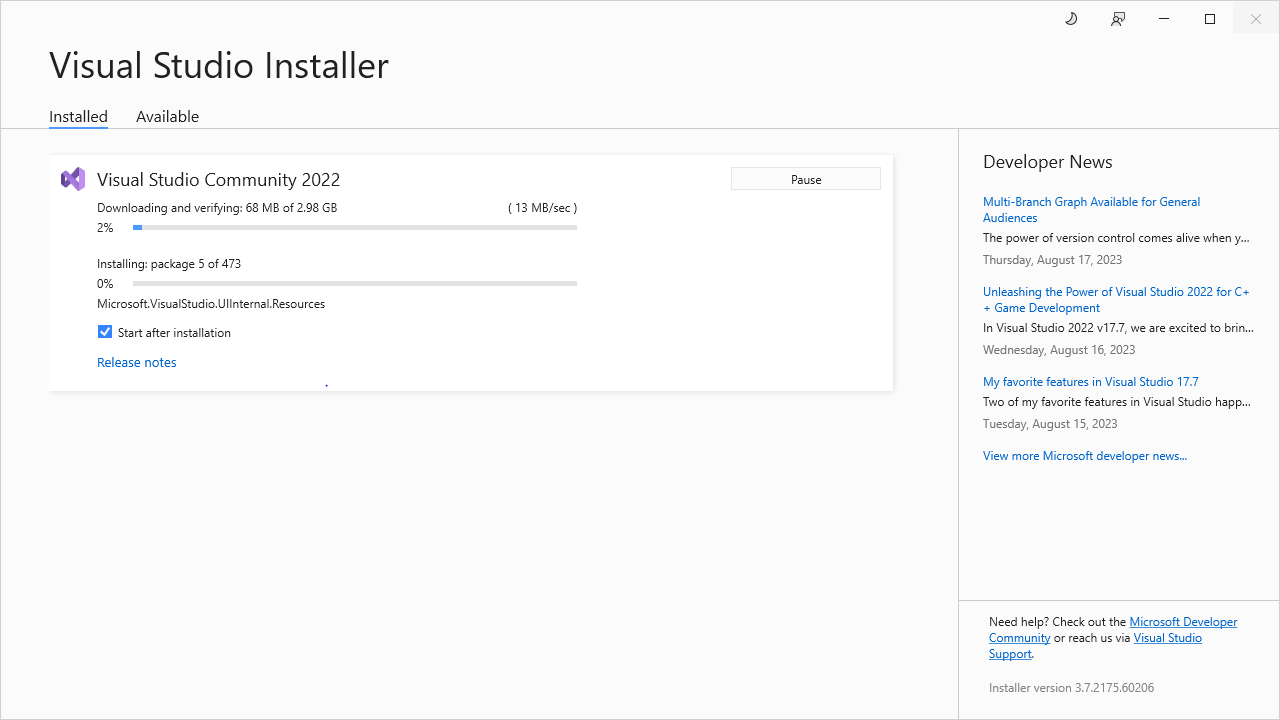
The download will take some time. When done, you will see this:
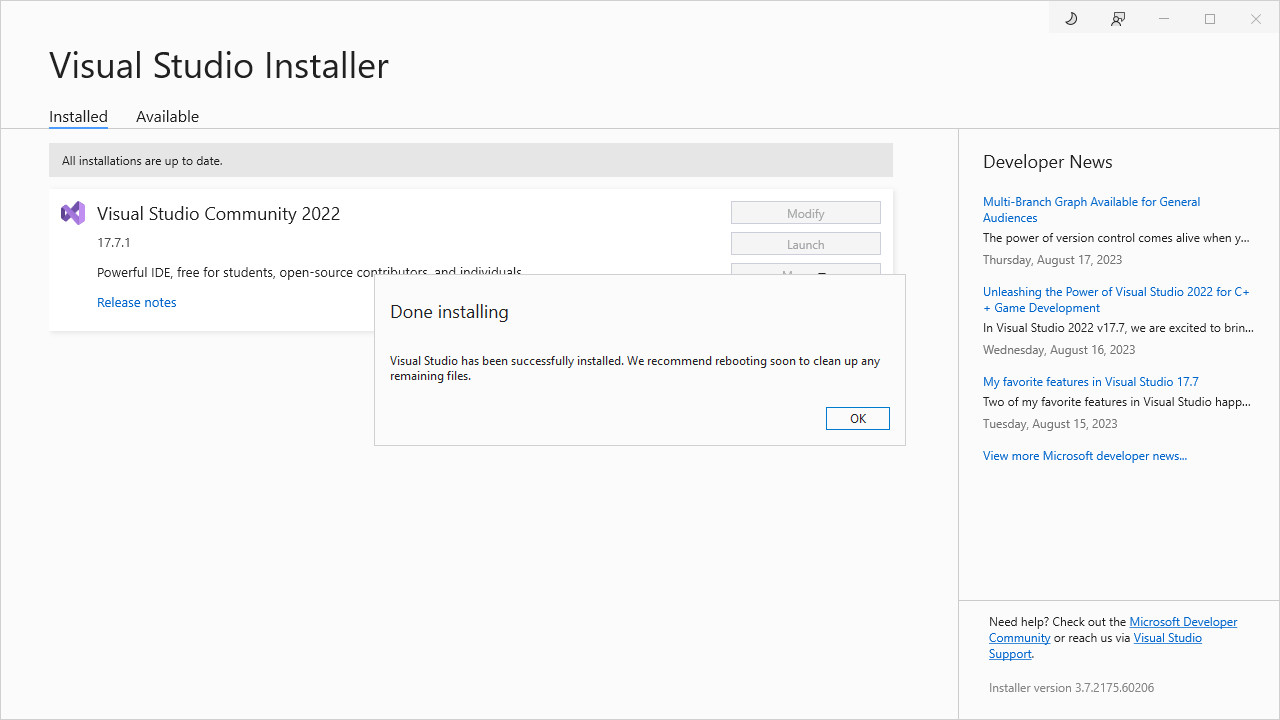
Click "OK" and then reboot if you feel so inclined. You should find Visual Studio in your "Start" menu. Go ahead and launch Visual Studio. You should see something similar to this:
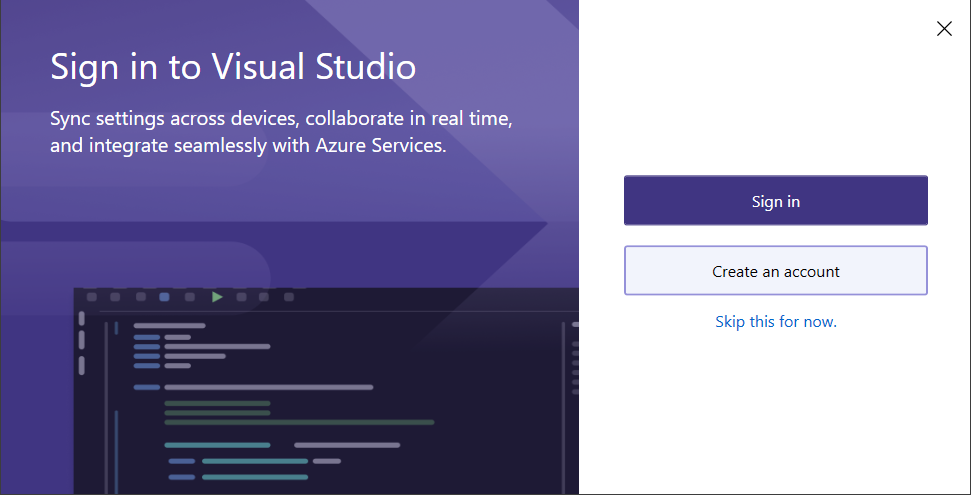
You don't need to create an account. Just click "Skip this for now". Then you will see the following:
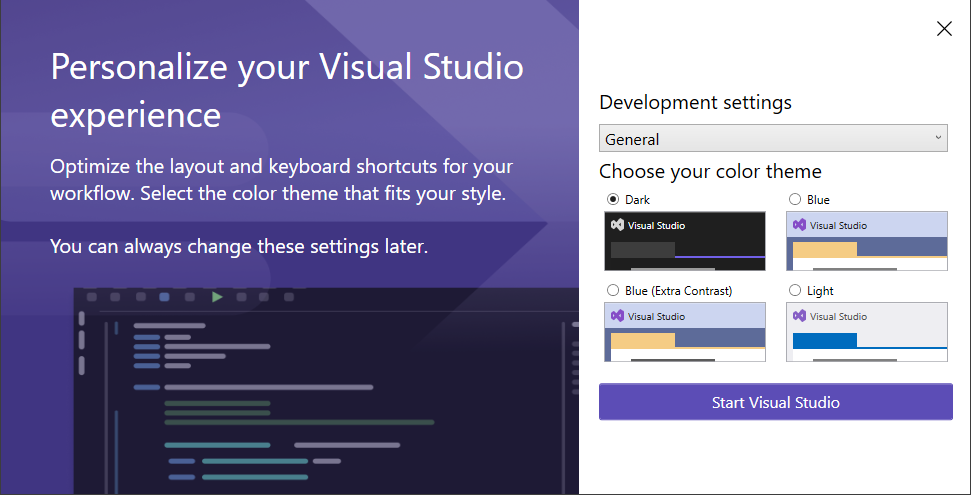
Choose whichever theme makes you happy :-). Then click "Start Visual Studio". You should see something like this:
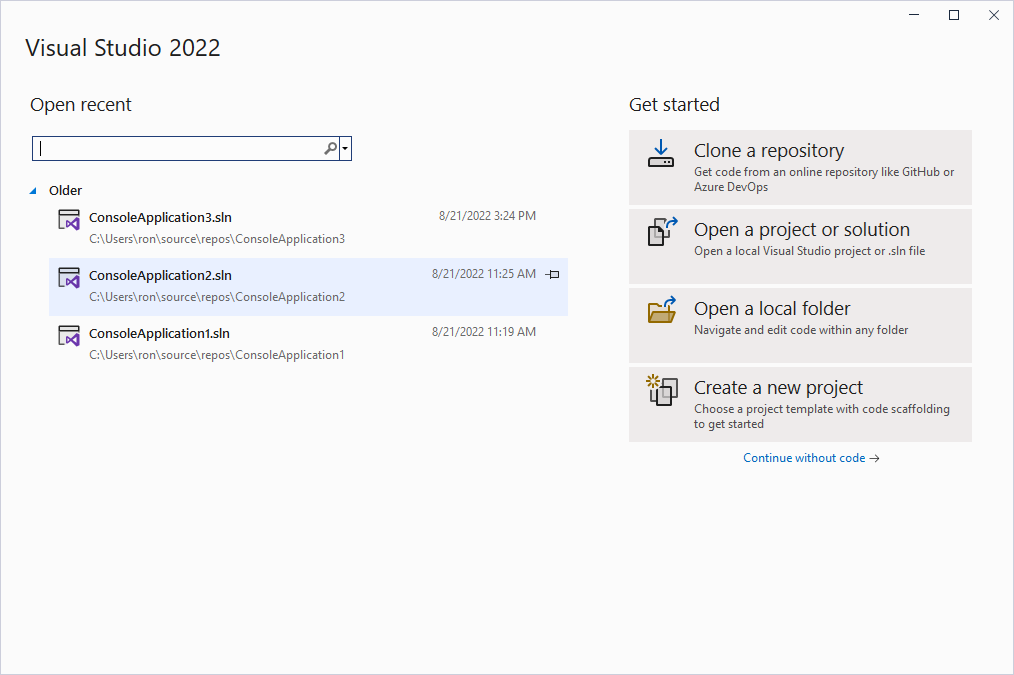
You likely won't see anything in the "Older" section. Click on "Create a new project". You will see something like this:
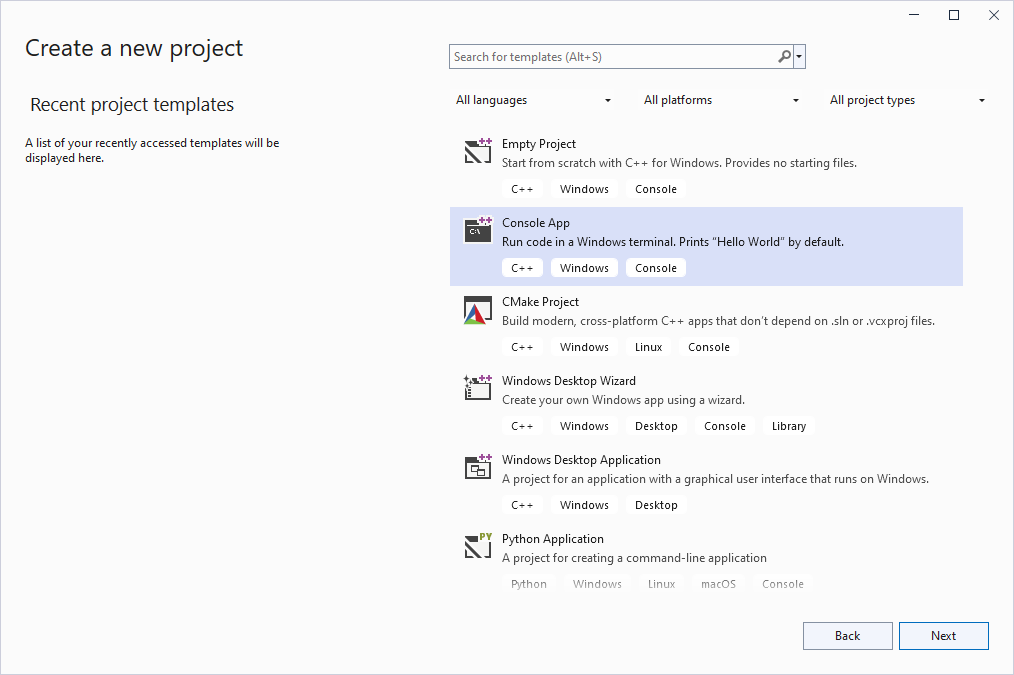
Make sure that the "Console App" option is highlighted/selected. Then, click "Next"…
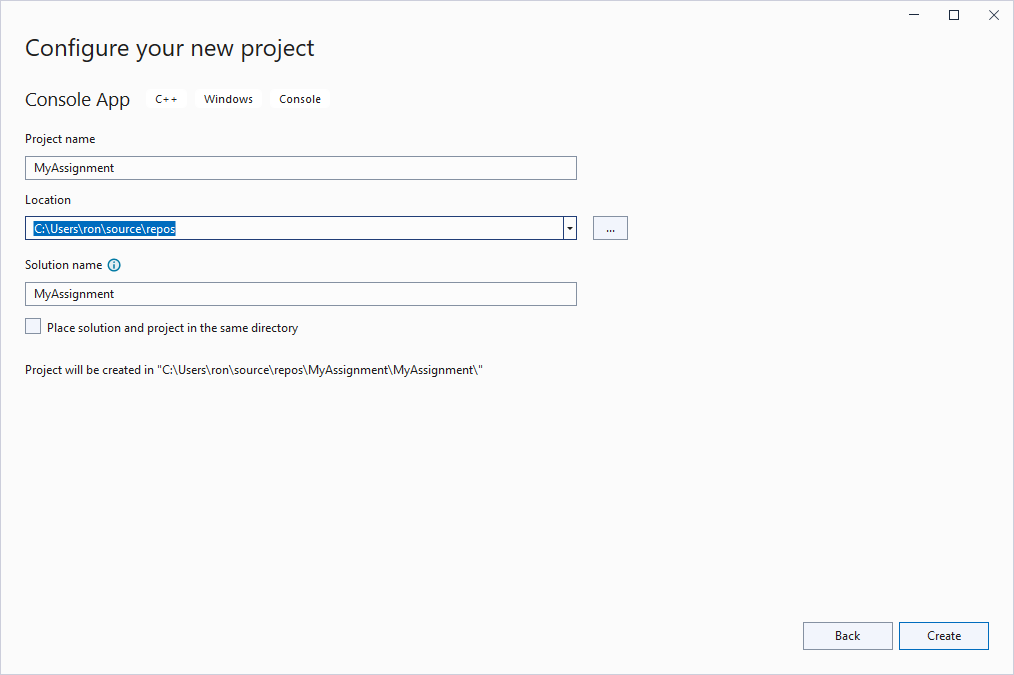
You will be asked to create a project name. This can be descriptive of the assignment you are working on or any other name you choose. The "Location" field will default to a directory named "repos" in a directory named "source" in your home directory. It's ok to leave these as is, but if you want to create your projects somewhere else on your system feel free to change this path. Then click "Create"…
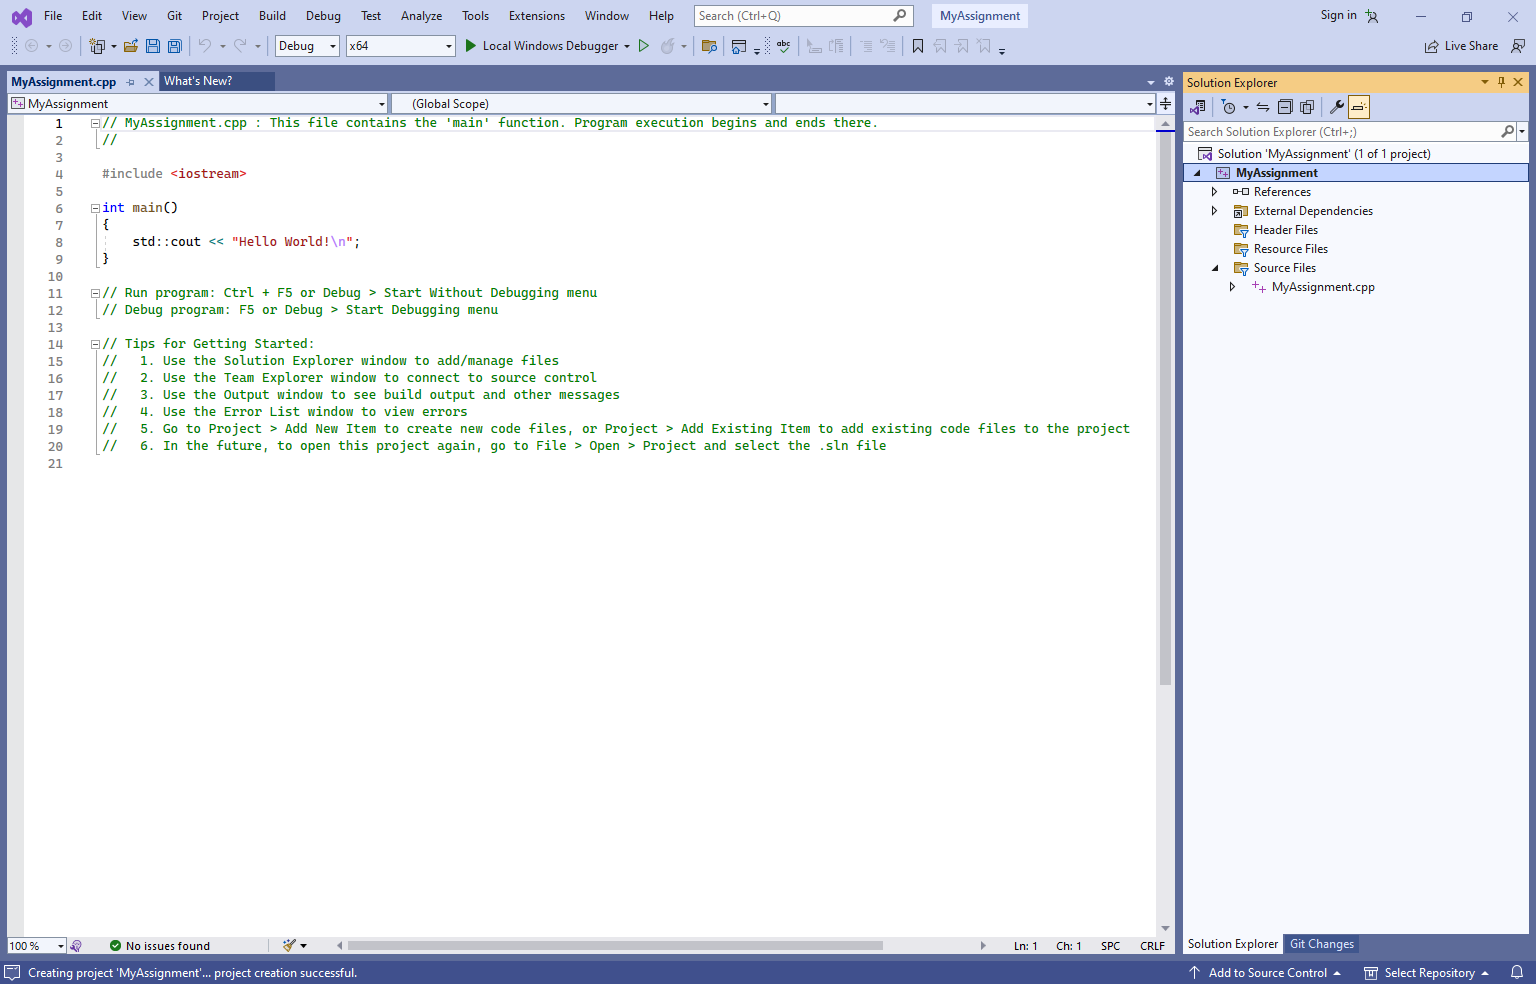
You will see your project created with a simple "Hello World" program coded. The only file in the project is given the same name as the name you gave the project with a .cpp extension. To change this, click on "MyAssignment.cpp" in the Solution Explorer on the right. You should be given the option to rename the file. Try renaming it to "main.cpp". Your project will then look something like this:
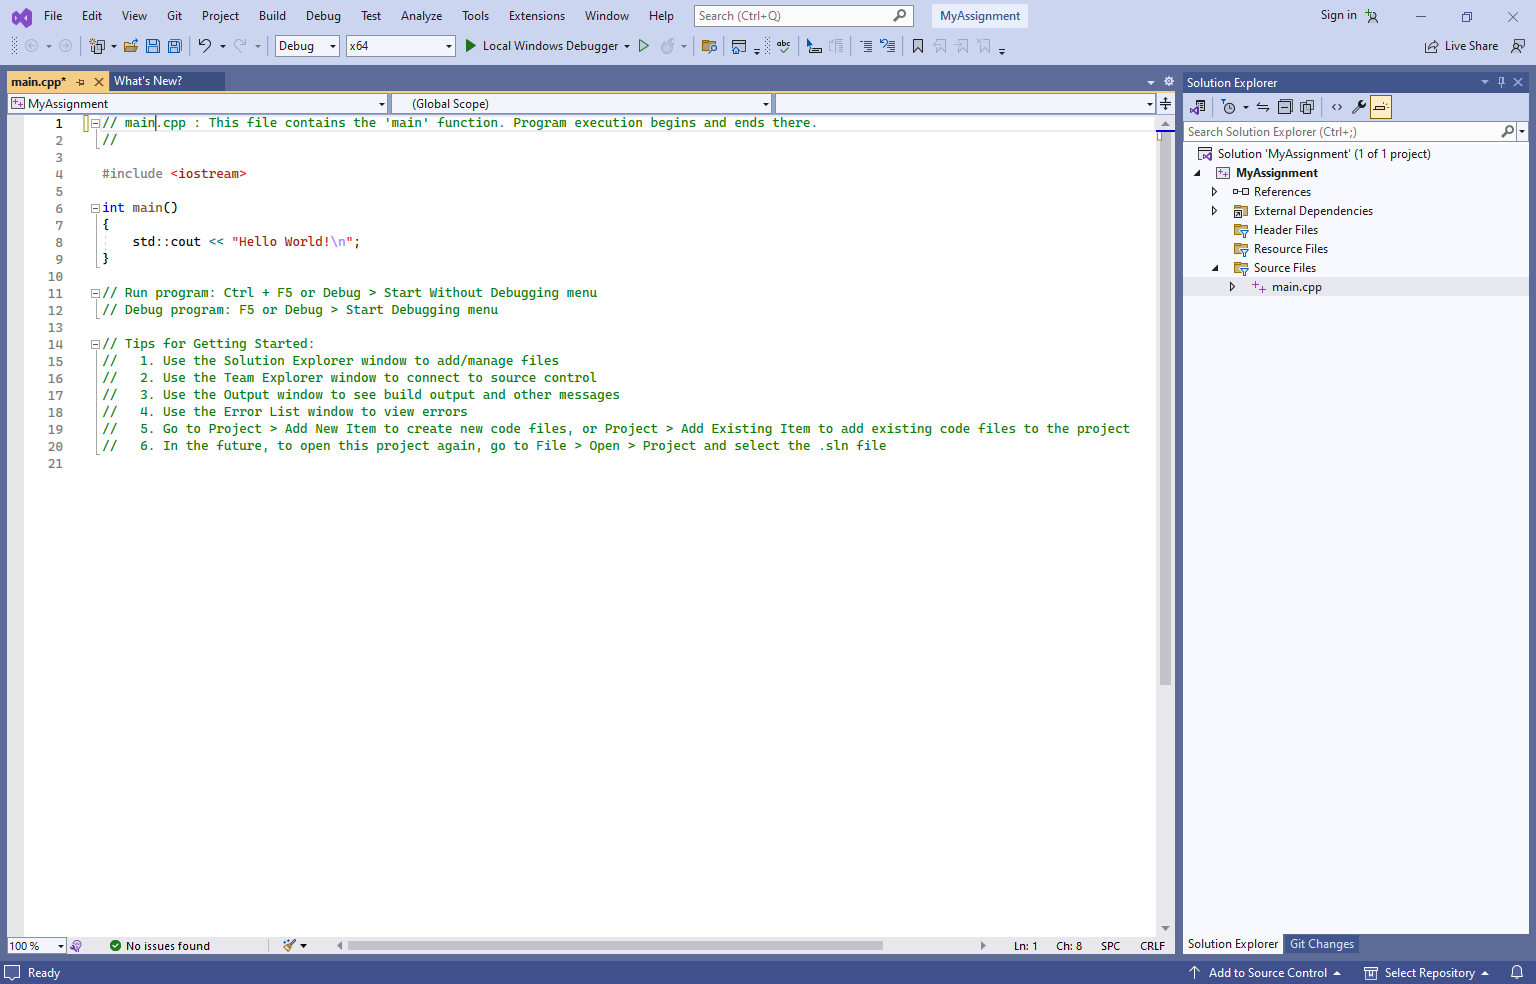
At this point you can click the solid green triangle to the left of the text "Local Windows Debugger" to run the project in "Debug Mode". You also have the option of clicking on the green triangle outline to the right of "Local Windows Debugger" (if you click on this triangle you will run your application without any debugging available). Either way, you should see a console window pop up with the output of the "Hello World" program:
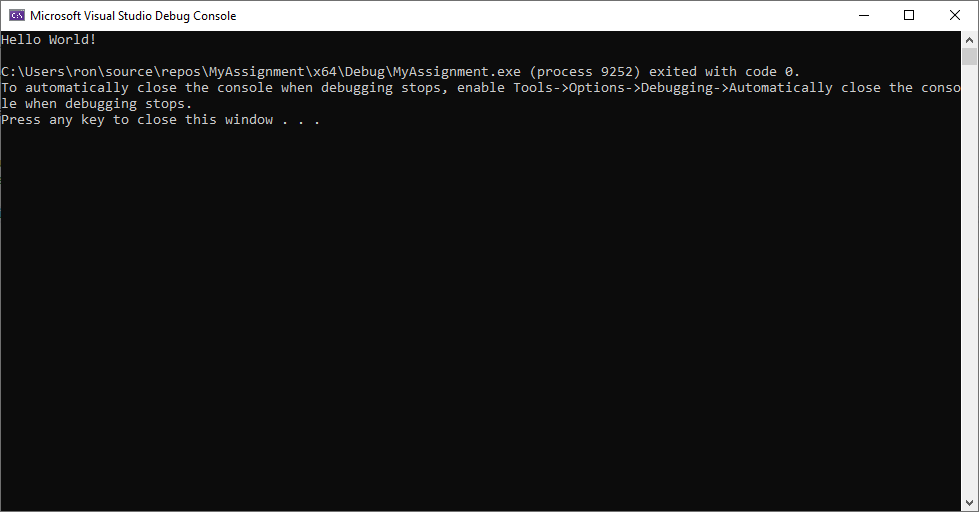
When the program is done running, you will see a message printed out followed by "Press any key to close this window". This happens so that you can see the output from your program before the window disappears.
And that's all there is to downloading/using Visual C++ for Windows!