INSTALLING/USING XCODE (MacOS)
If you don't already have Xcode installed on your Mac, go to the Mac App Store and search for "Xcode". The Xcode app entry looks like this:
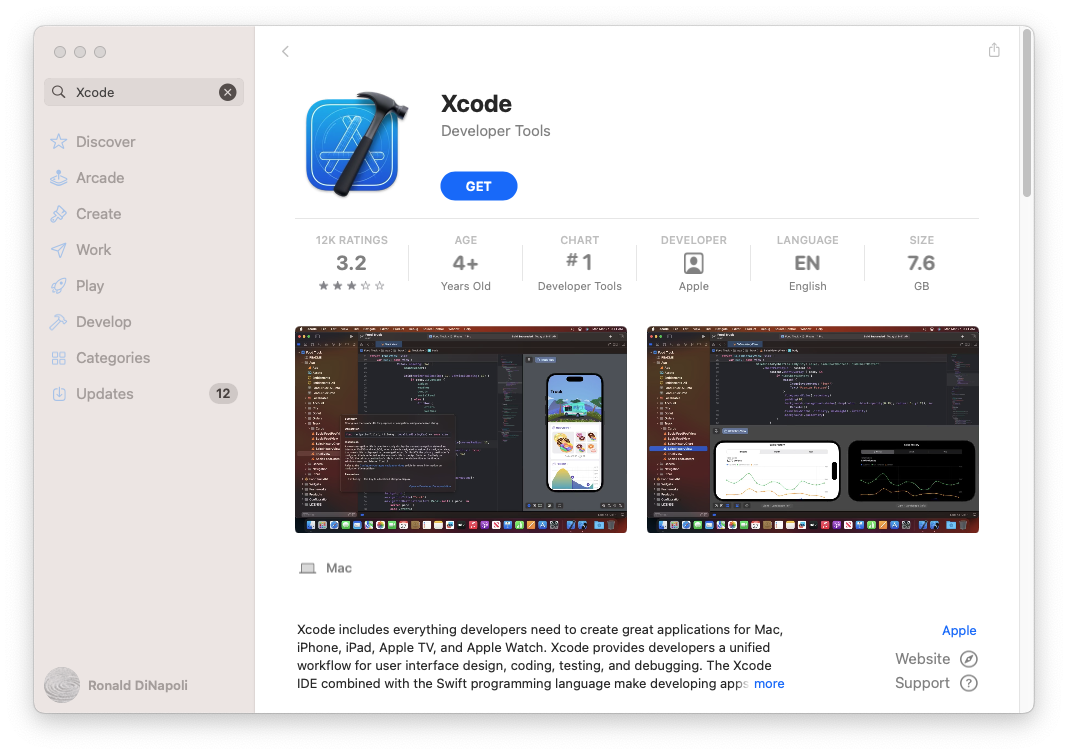
Click on "Get" (or it may say "Update") to install Xcode on your machine.
When it is done installing, you will have an application named "Xcode" in your Applications folder. Find it and double-click on it to launch. When Xcode is running, you may see a "Welcome" screen or you may just see the Xcode menu bar at the top of your screen. Either way, go to the "File" menu and expand the "New" menu entry. Look for "Project" and select it to start the process of creating a new project. You should see something like this:
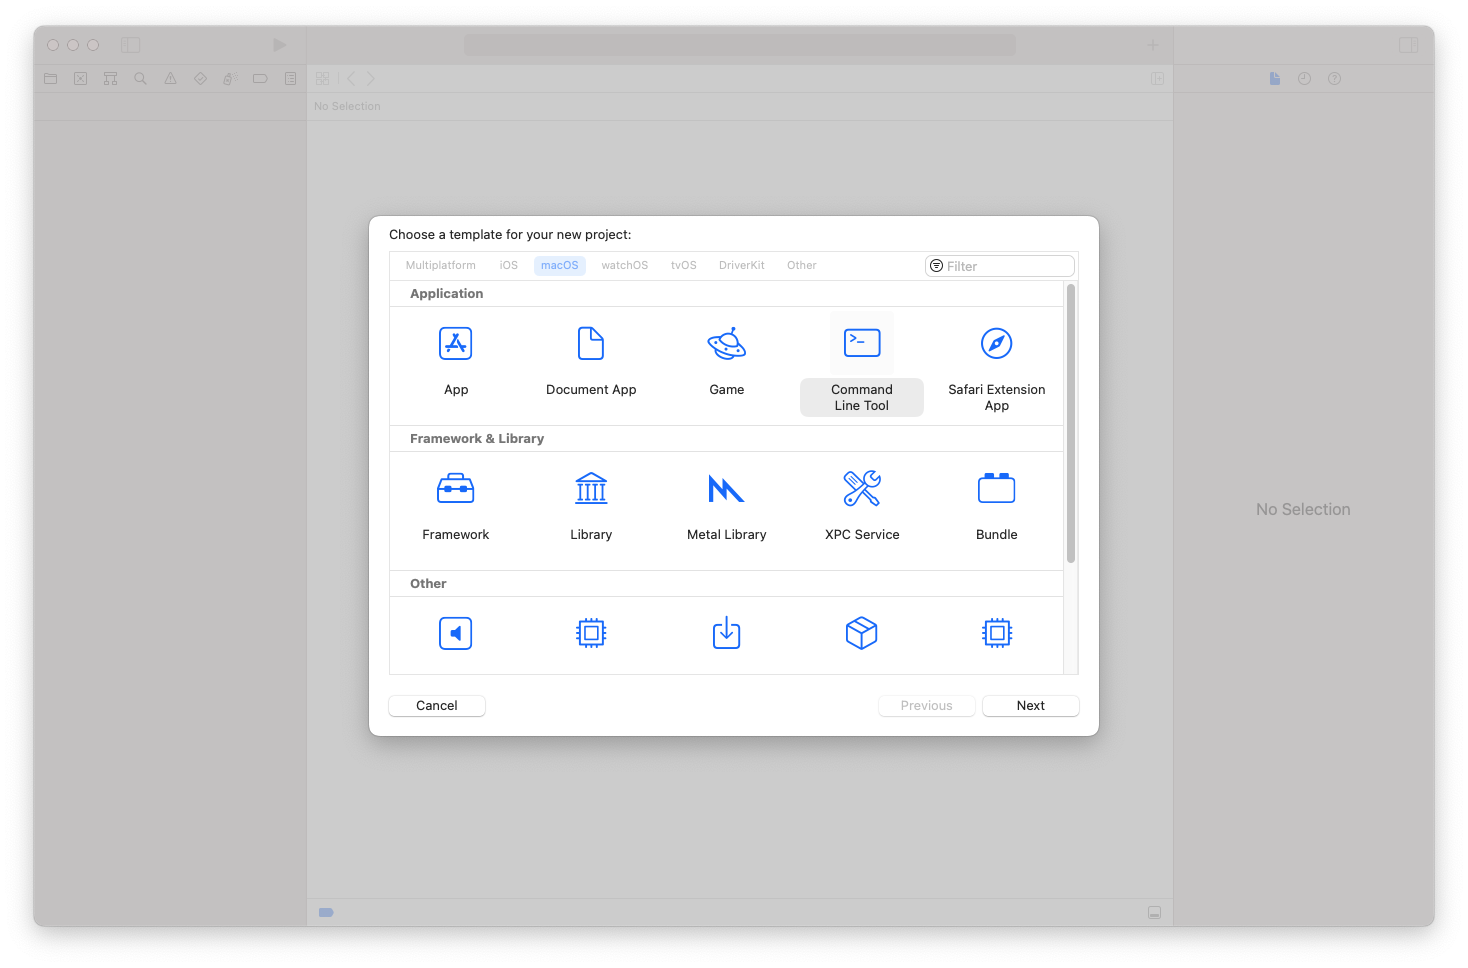
Make sure the "macOS" is selected at the top and that "Command Line Tool" is selected in the "Application" section. Then click "Next"…
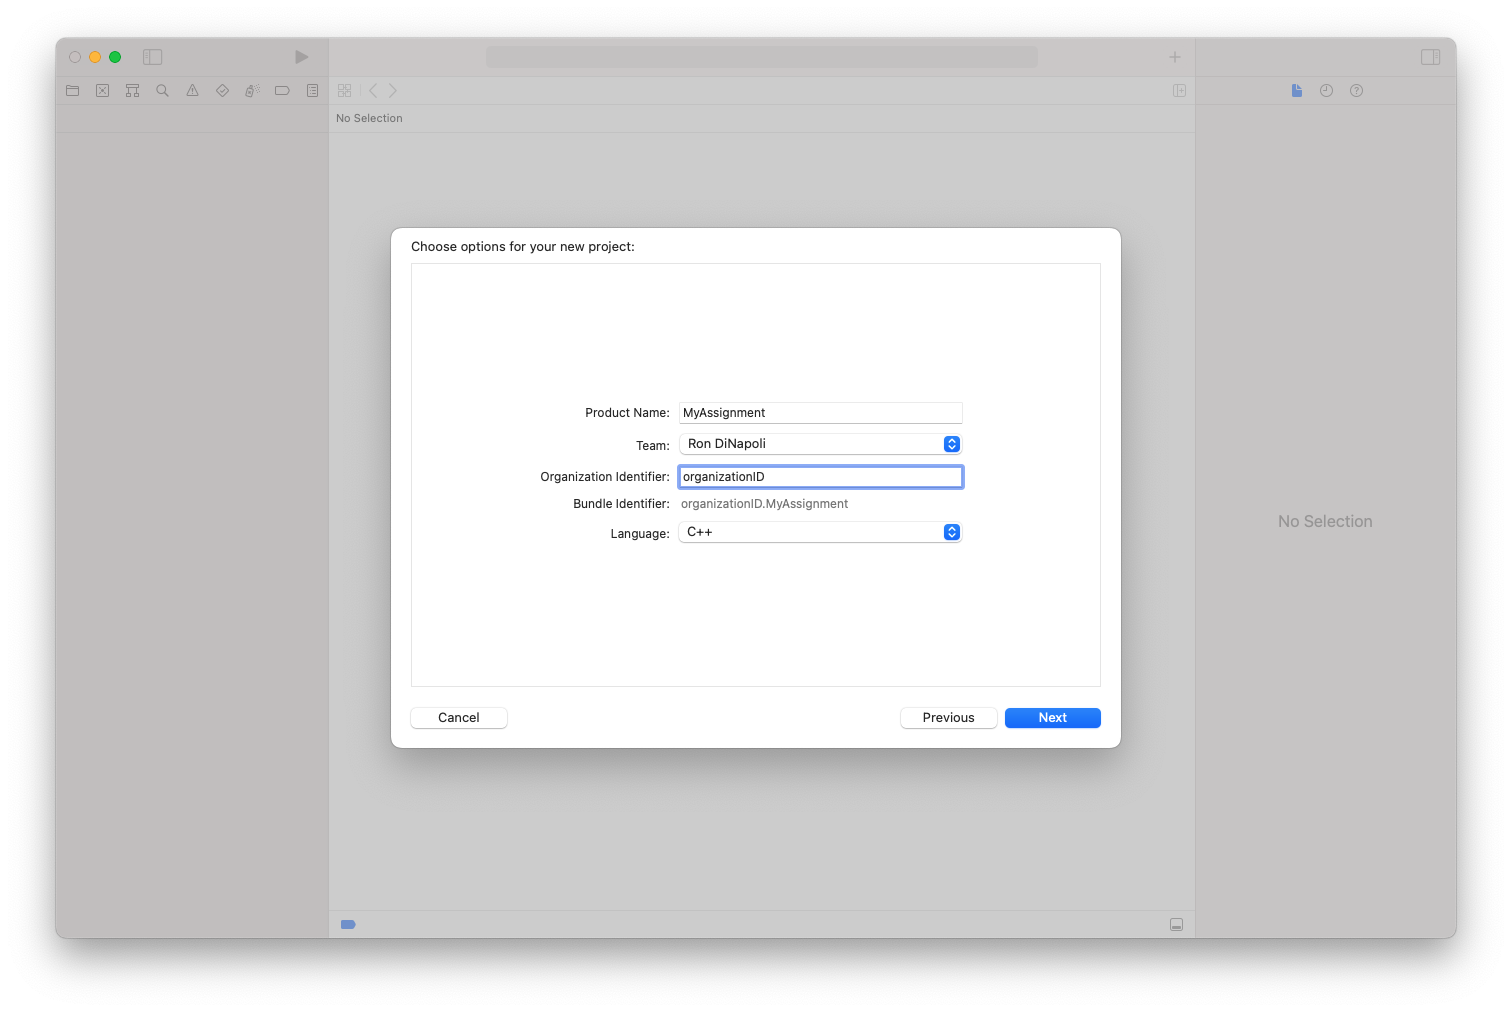
In the window above, fill in a "Product Name" (which we'll call "MyAssignment") and then fill in an "Organization Identifier". This can be anything you'd like. I just used the string "organizationID". Finally, make sure that "C++" is selected for the Language. Then click "Next"…
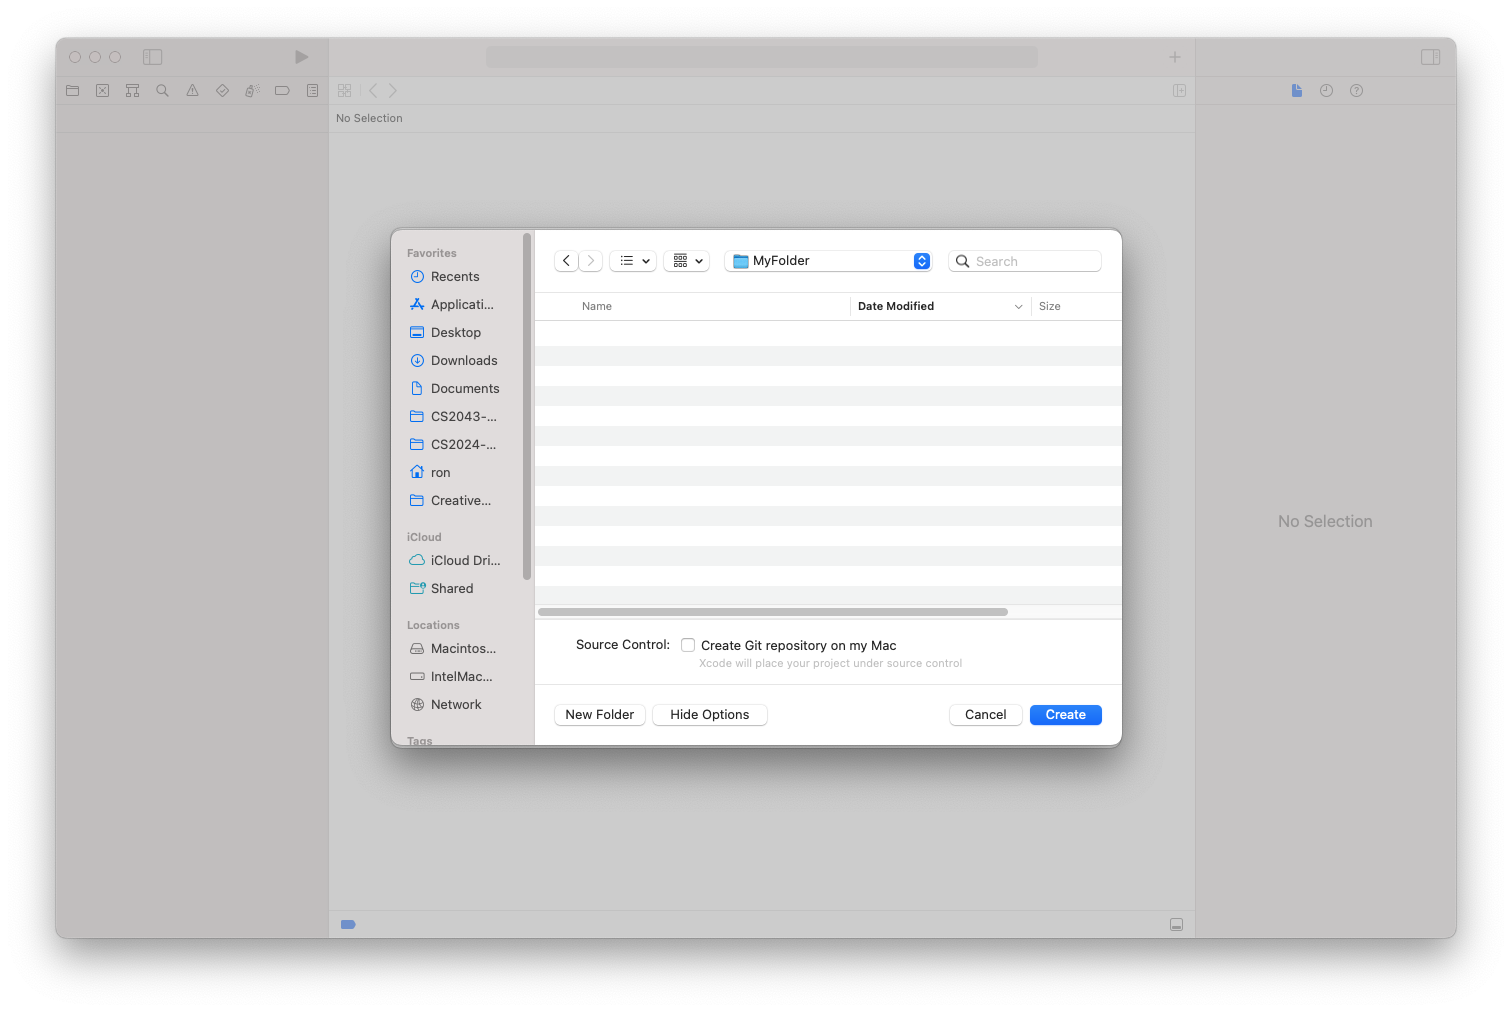
You'll be asked where you'd like to save this project to. The project itself will be saved in a folder; this dialog is just asking you which folder to create the project folder in. I chose a new folder named "MyFolder" on my Desktop. Navigate into the folder you want the project folder created in and then click "Create". You will then see the Xcode project appear:
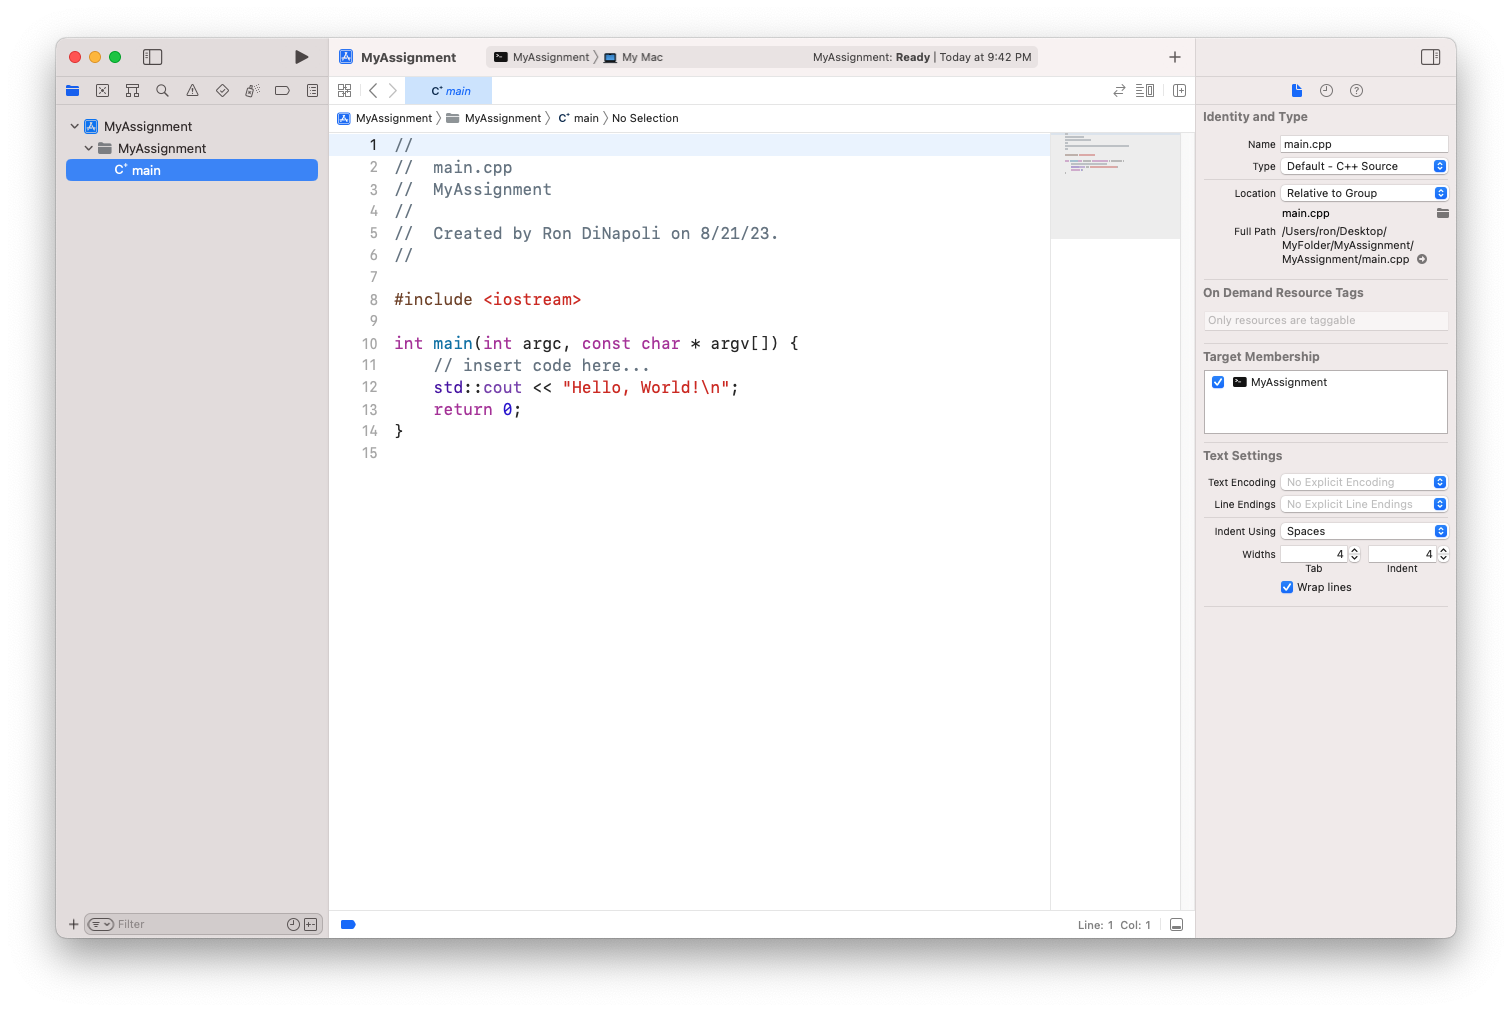
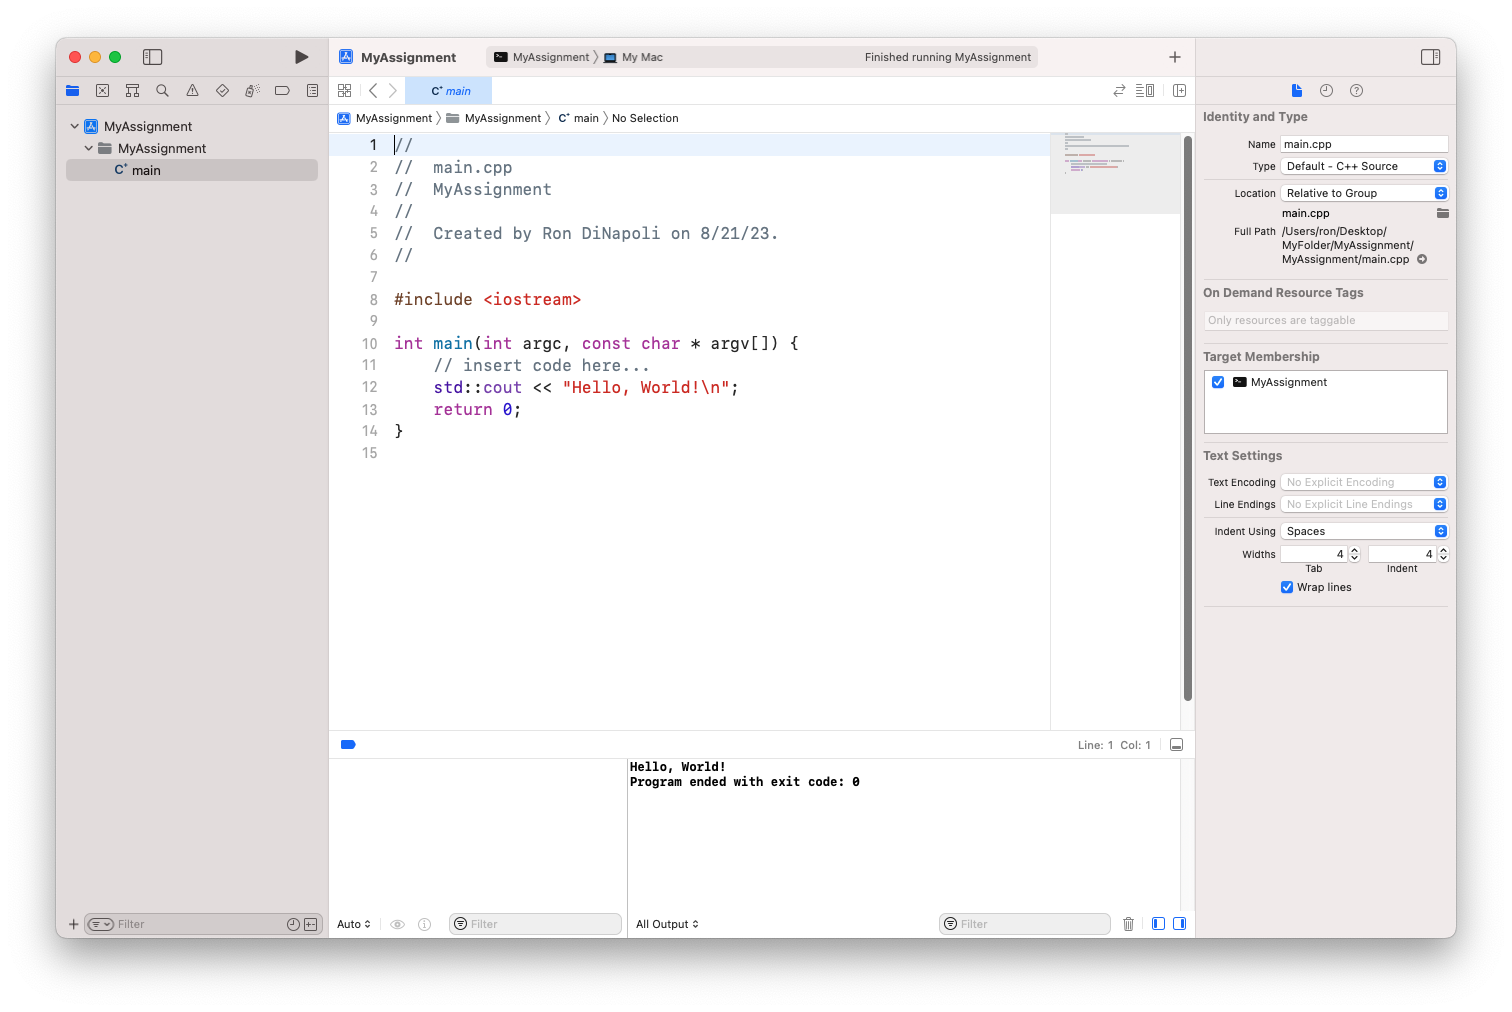
A simple "Hello World" app has been created for you in a file named "main.cpp" in this project. To run the program, click on the black triangle just to the left of where it says "MyAssignment" at the top of the window. The output of the program will appear in a small section of the window at the bottom of the project window, like this:
And that's how you install/use Xcode on a Mac!