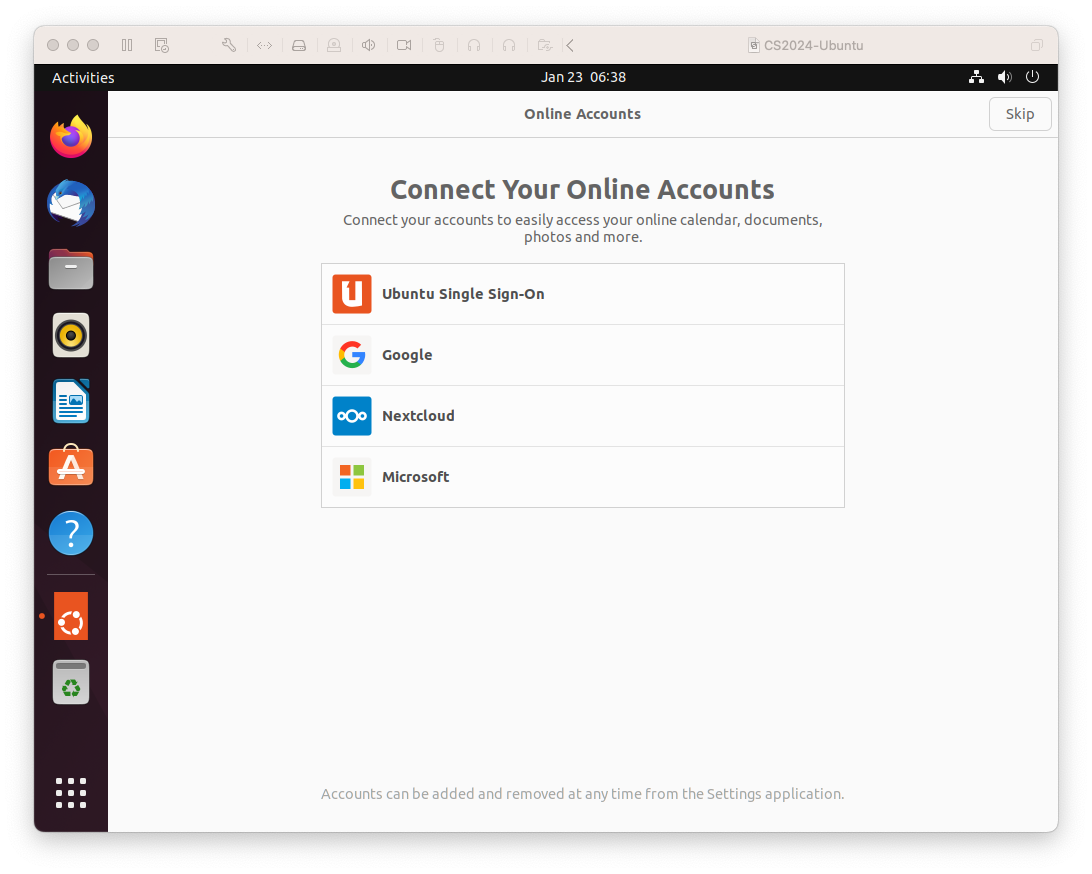
You really don't need to connect online accounts for this class, so just click "Skip" in the top right hand corner of the screen…
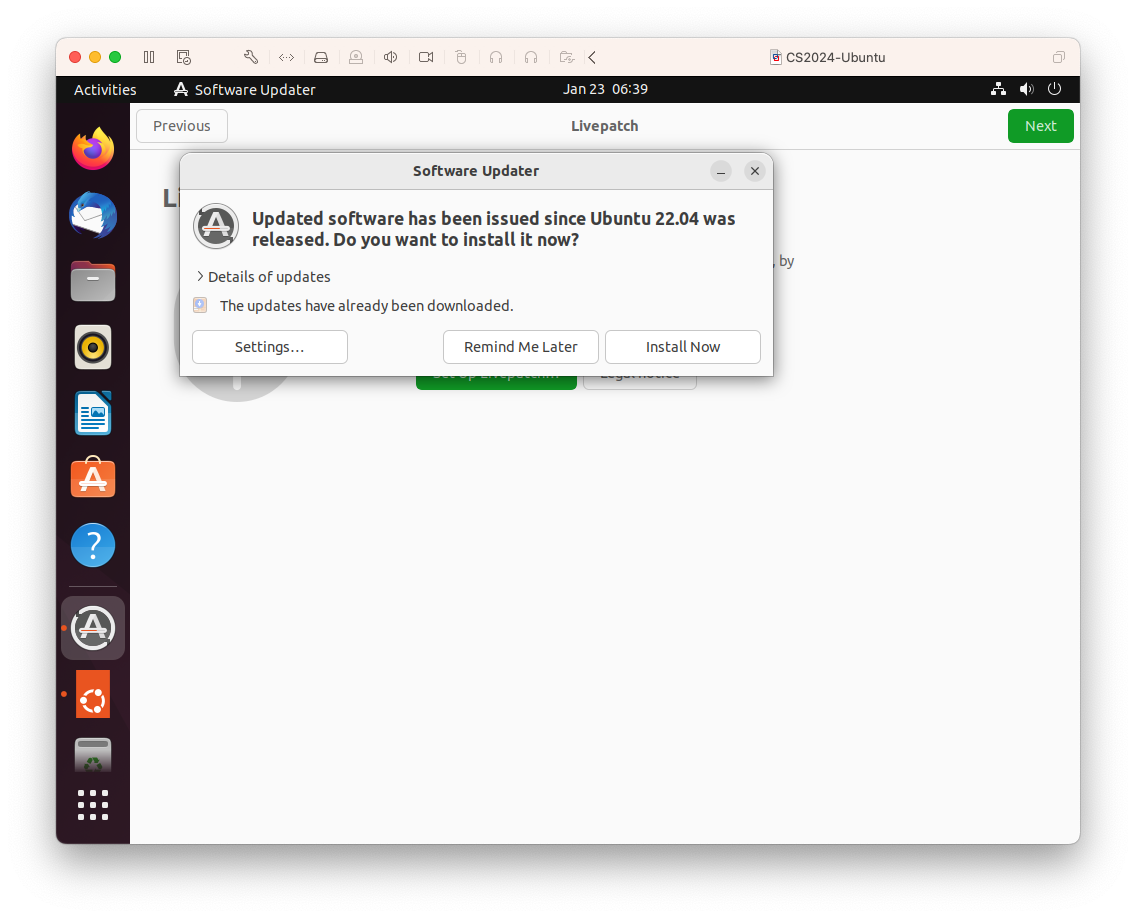
You might, again, be asked if you want to install updates to Ubuntu. You can; it's always good practice to keep software up to date. But since we are running Ubuntu in a "sandbox" that isn't directly connected to the internet and we're using it for a short 7-week course, you might choose not to update or to do it later. You can make the choice! If you choose to update, you may need to reboot your VM when the update finishes and find your way back to this screen.
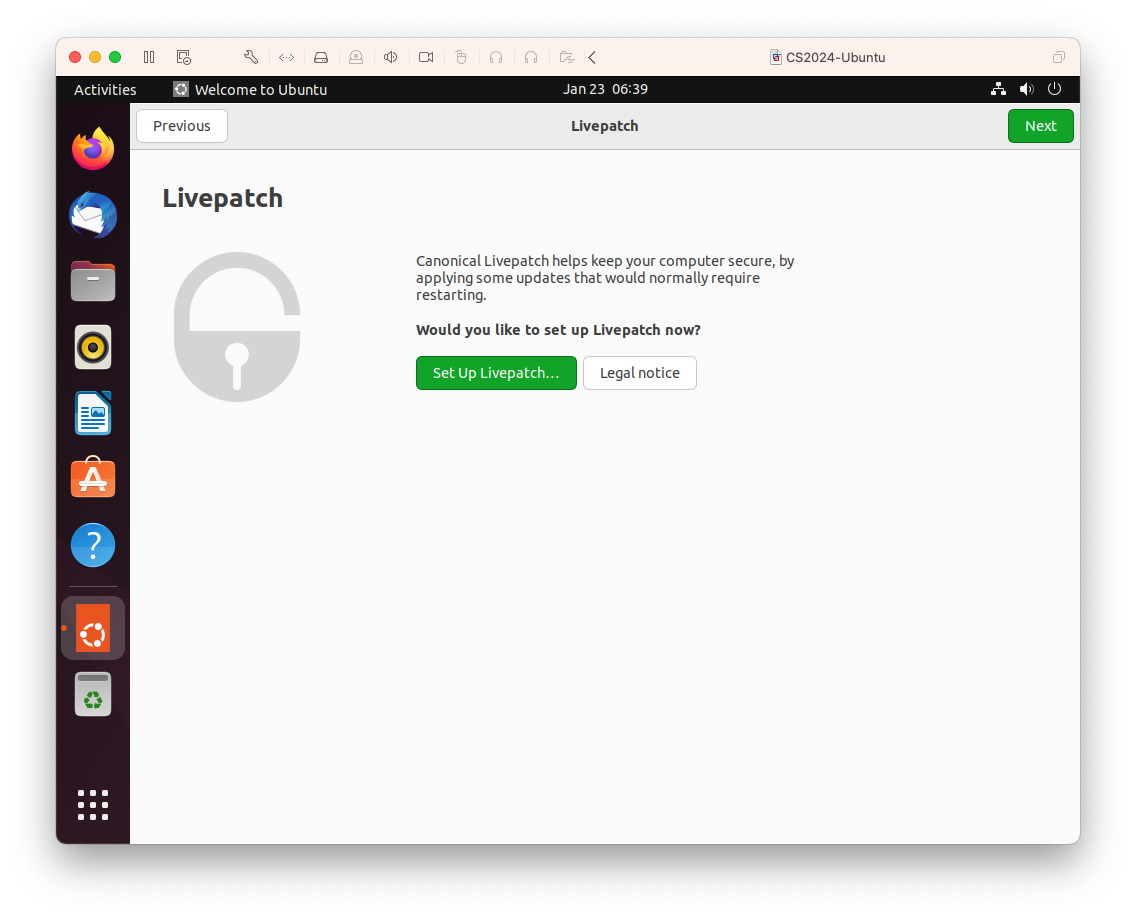
The next thing you will be asked is if you want to set up something called "LivePatch". Again, given the nature of how we are using this VM, I don't think it's required but you can set it up if you'd like. Otherwise, click "Next" in the top right hand corner of the window.
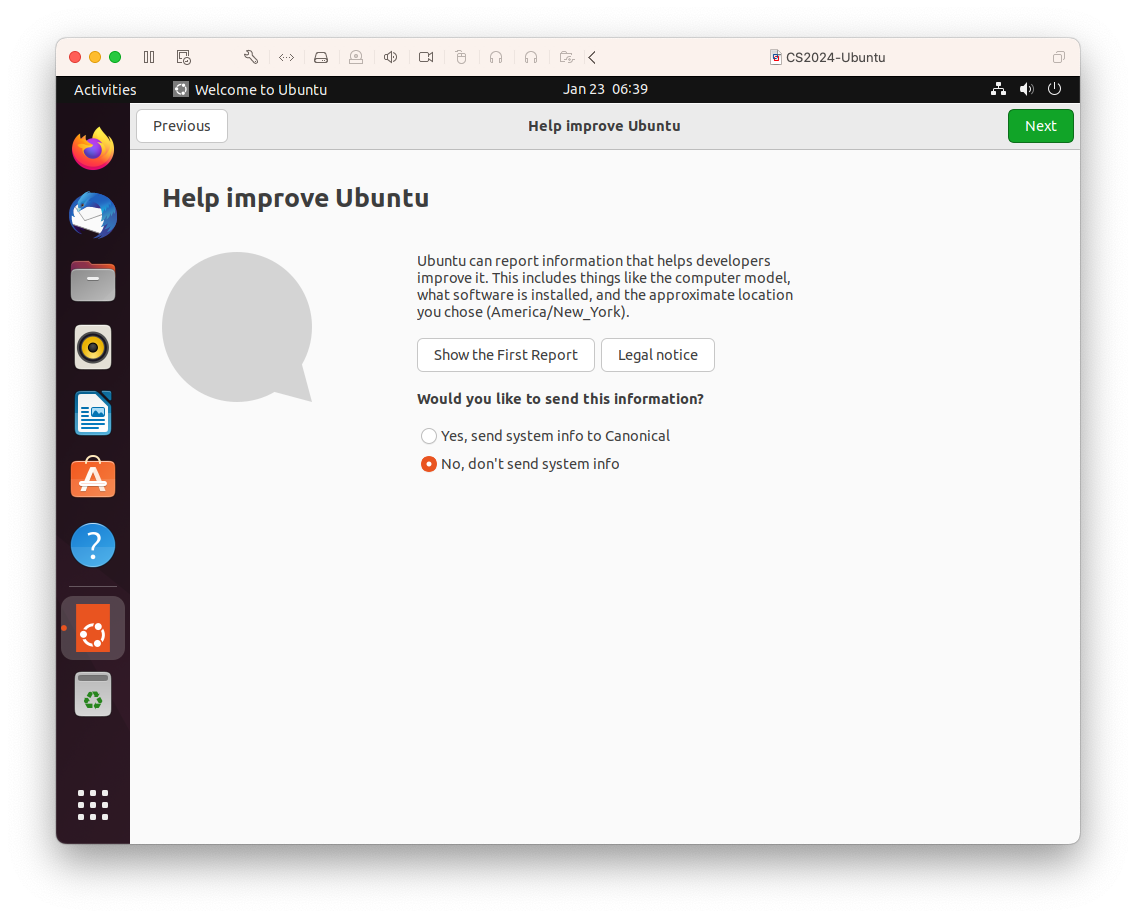
It's your choice if you want to send system info periodically to the Ubuntu folks. Once you've made your choice, click "Next"….
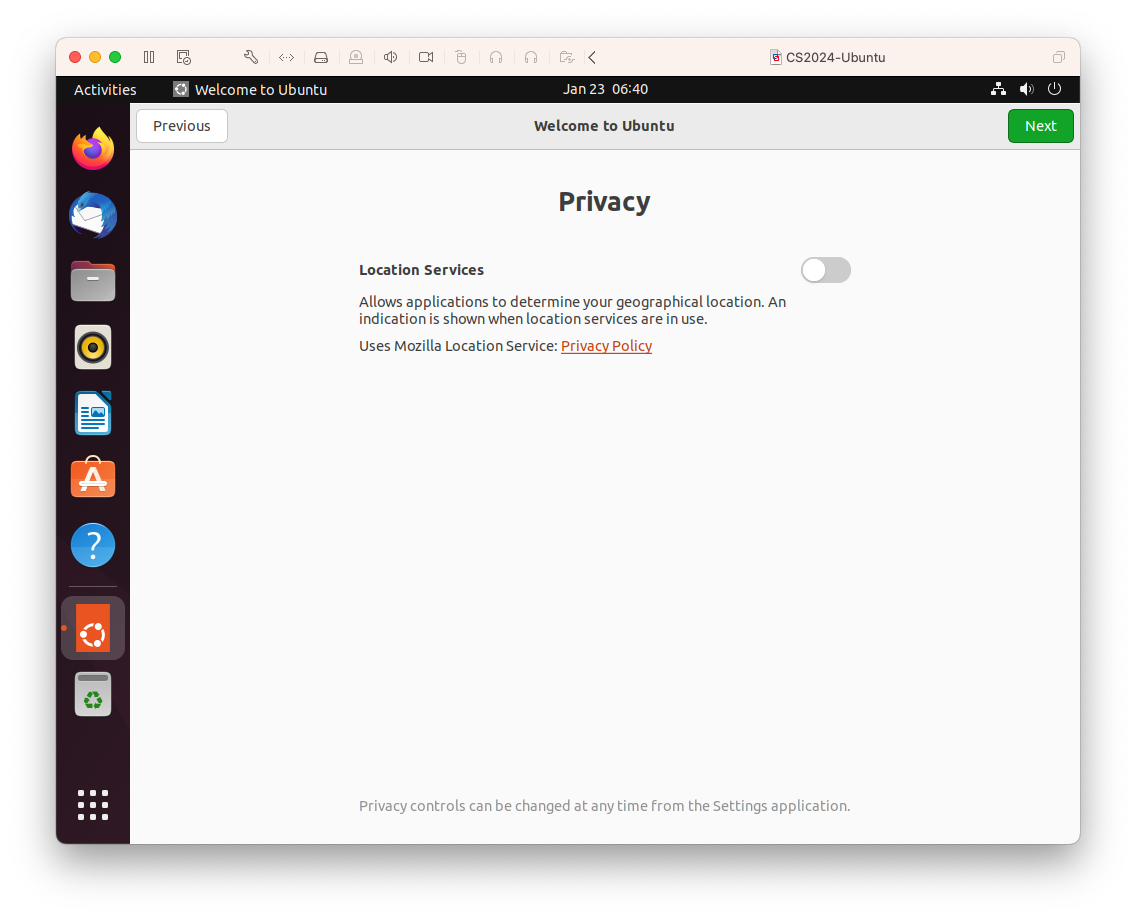
We shouldn't need to use Location Services for our course, so feel free to leave it turned off and click "Next"
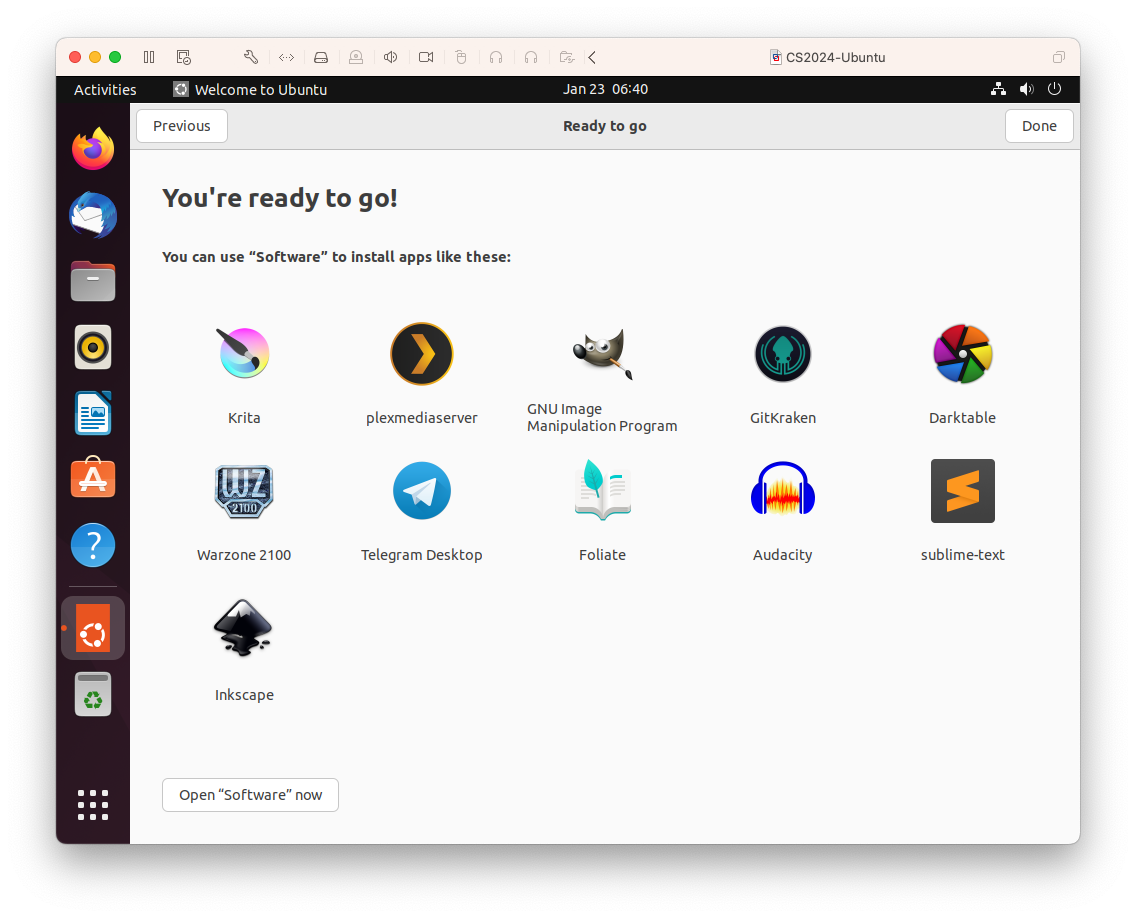
When you see the "Ready to Go" window, go ahead and click "Done" in the top left corner. Then you'll be on the Jammy Jellyfish desktop. Click the icon containing a 3x3 grid of white dots in the lower left hand corner of the screen. You should see this:
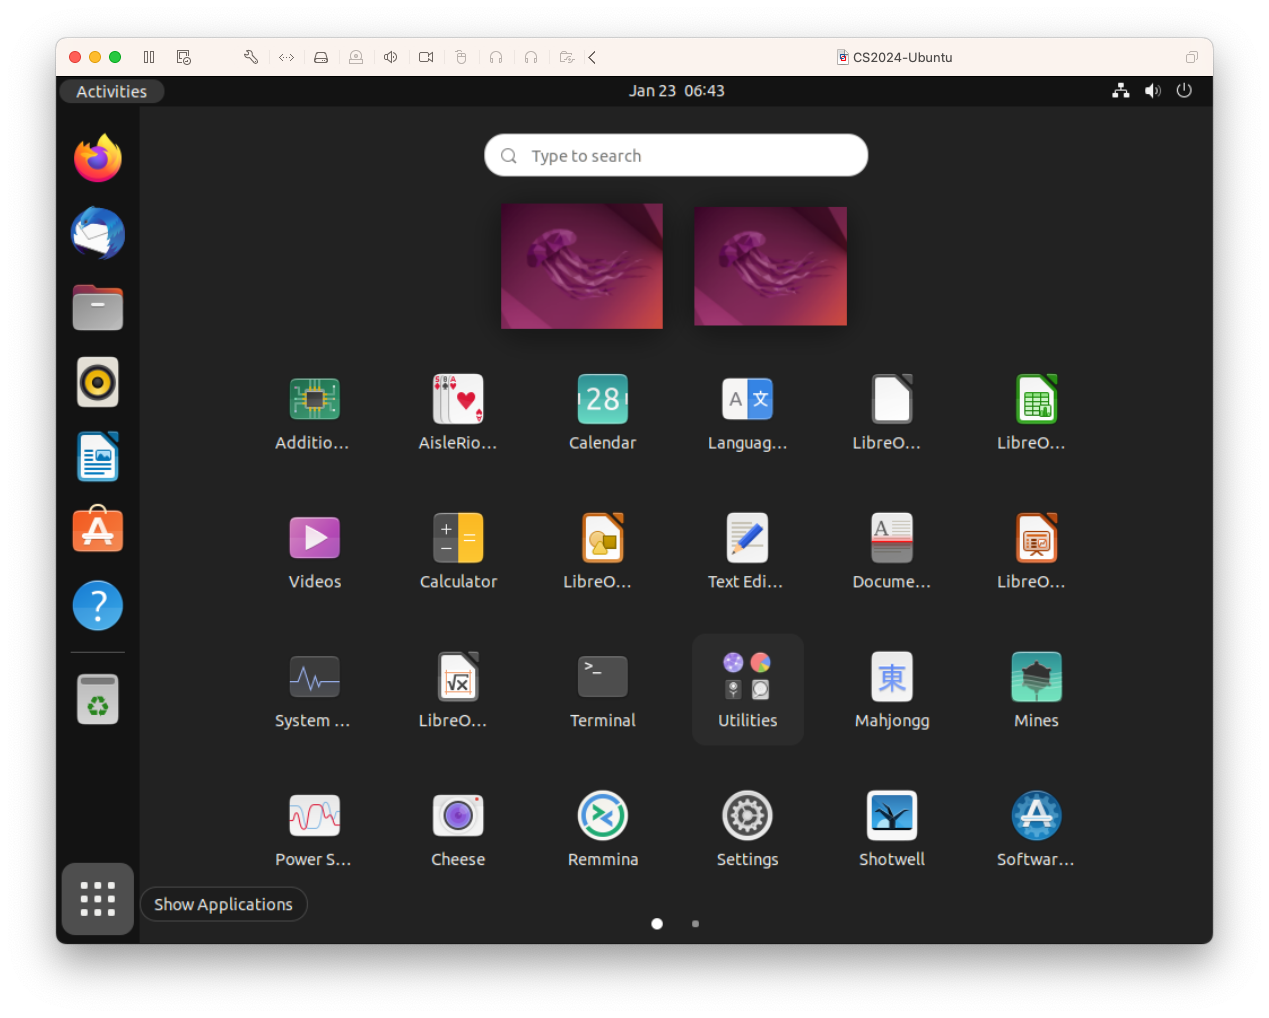
These are some of the applications that are installed in your VM>. Find the "Terminal" application and drag it over to the sidebar on the left, placing it just above the question mark /blue circle icon. Your desktop should look like this:
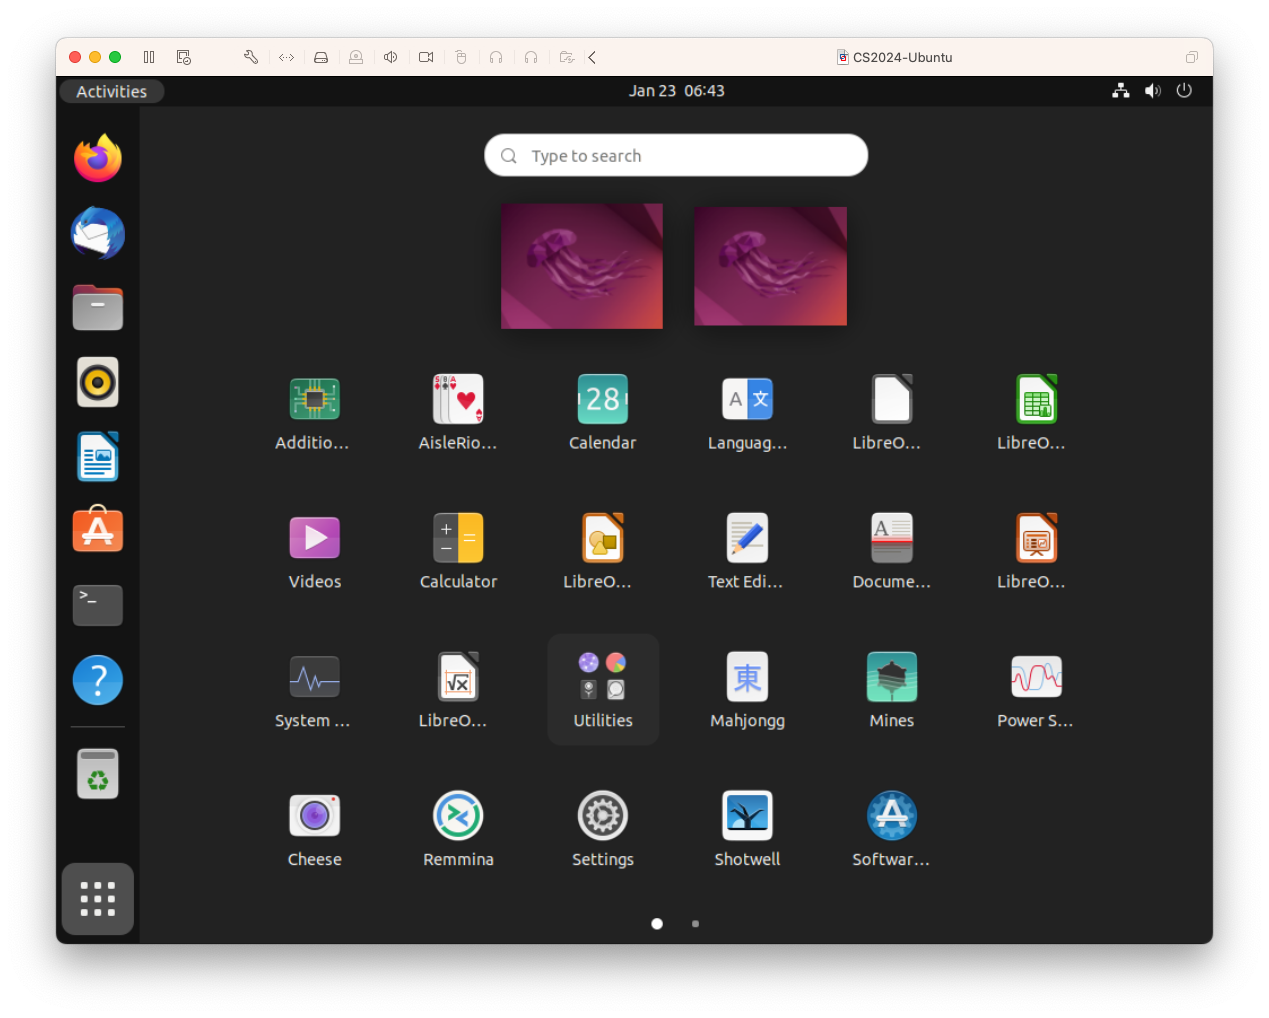
Now, just click on the terminal icon that you just moved to the left sidebar. You should see a terminal window pop up just like I use in class!
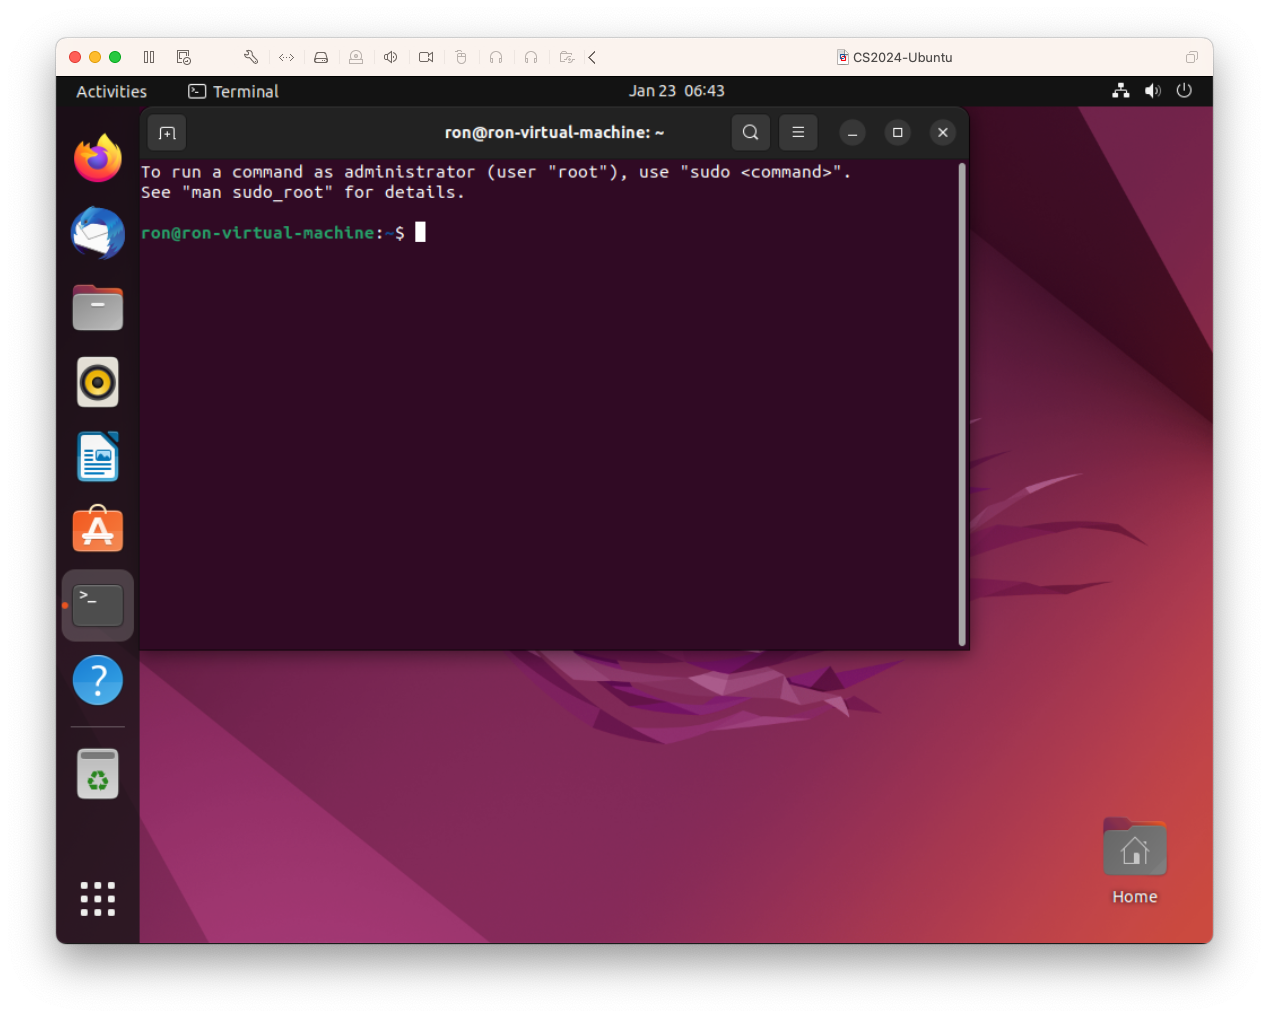
Now you are ready to use Ubuntu in VMWare for our course!