There is a solution for users of M1 based Macintoshes. The Parallels virtualization product has been updated to provide ARM-based virtualization on an M1-based Macintosh. Their technology is marked as a "technical preview" and is not a fully supported shipping product yet. You can try the technical preview here.
If you are willing to download and install the Parallels technical preview, I will provide instructions for obtaining an ARM-based Ubuntu distribution and show how to install it in the technical preview.
Begin by going to the following URL to download a Ubuntu distribution for ARM:
https://cdimage.ubuntu.com/focal/daily-live/current/
You'll see the following image:
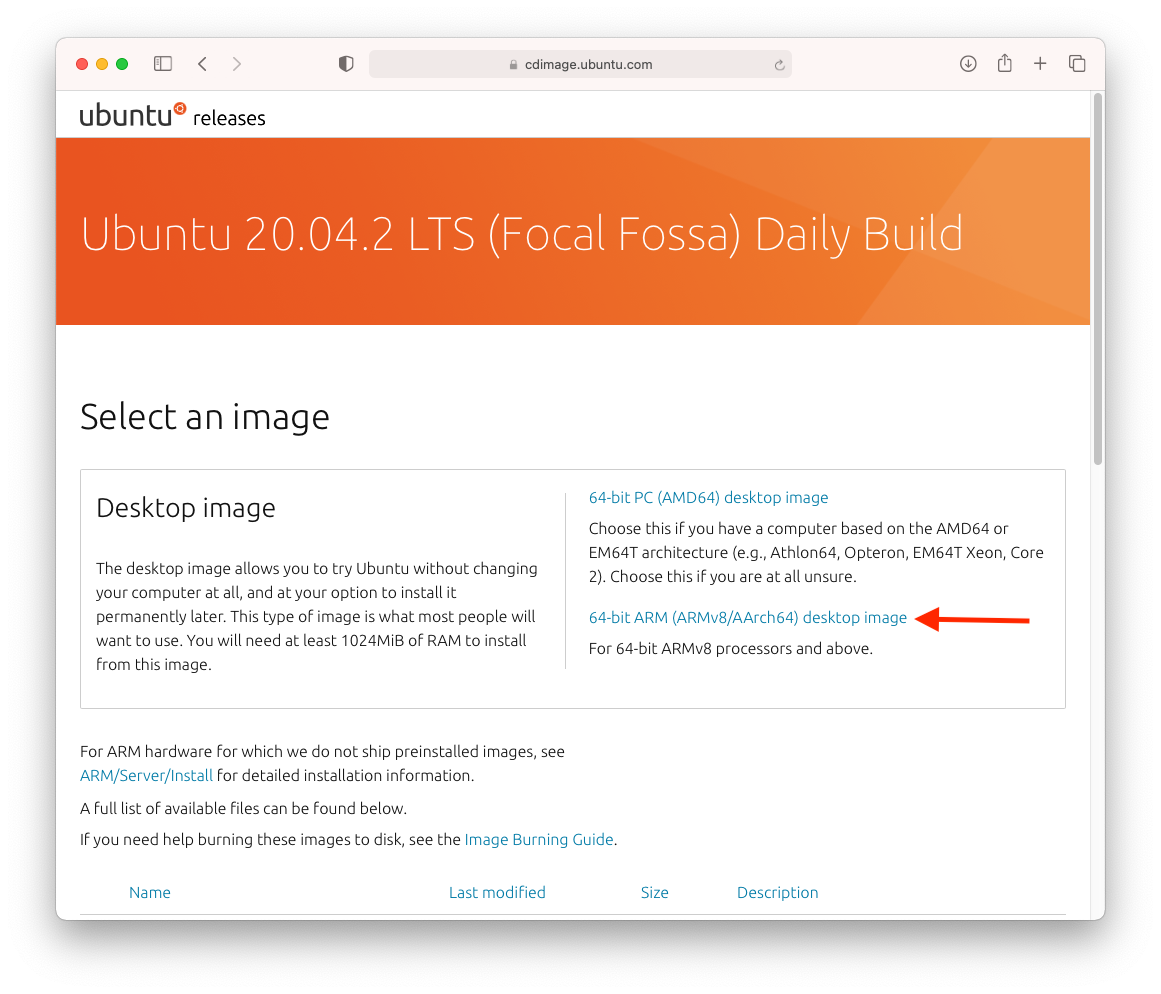
Click on the "64-bit ARM (ARMv8/AArch64) desktop image" link. This will cause a file named focal-desktop-arm64.iso to be downloaded. Remember where that file is saved to; you'll need it later.
Once the file is downloaded launch the Parallels application. You'll see: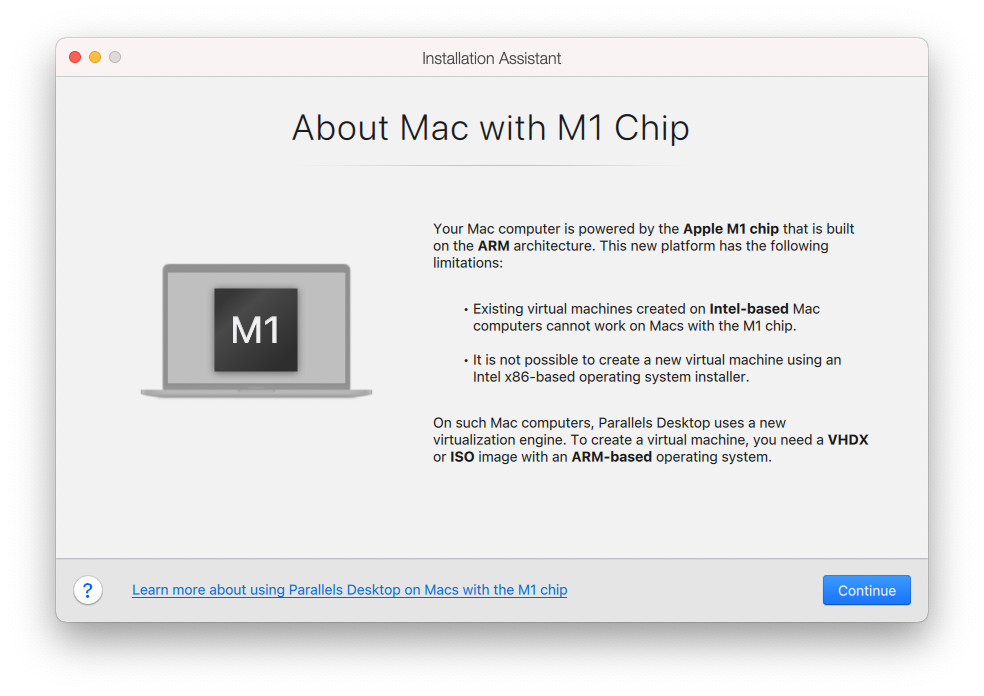
Click "Continue". Then you will see:
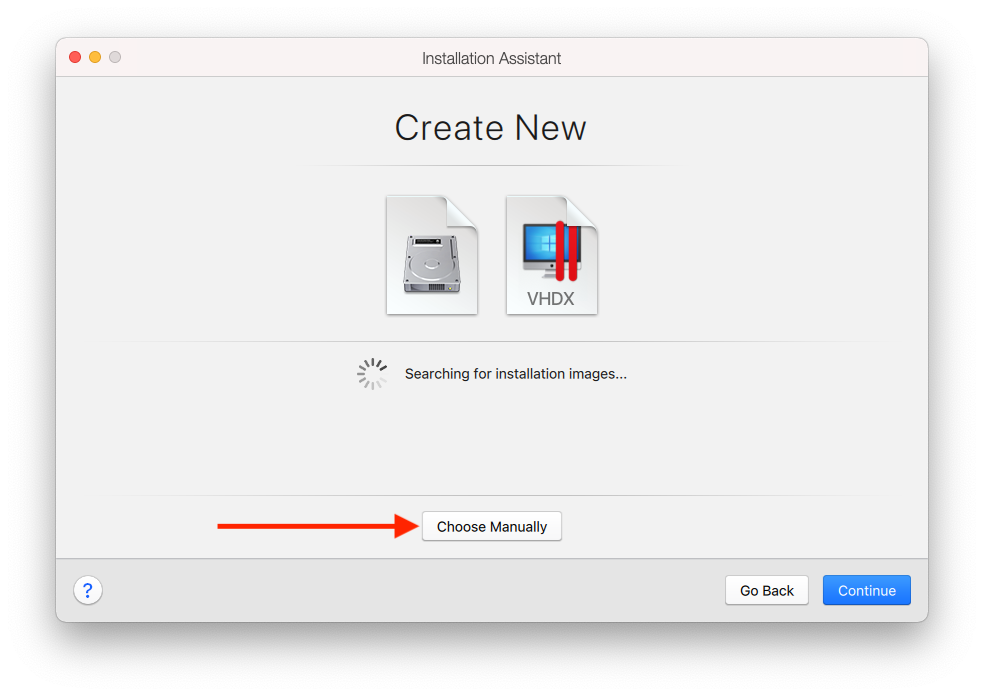
It can take a while for it to find the .iso file you just downloaded, so click on "Choose Manually" to bring up the following screen:
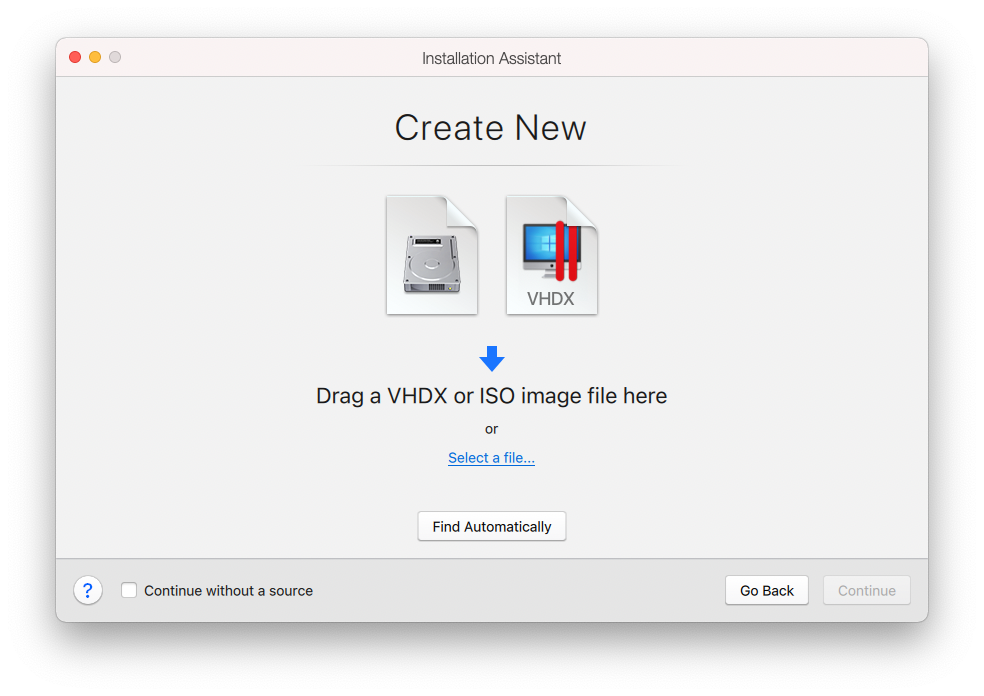
Then, find your .iso file (that you downloaded at the beginning of these instructions) and drag it into this window. You should see:
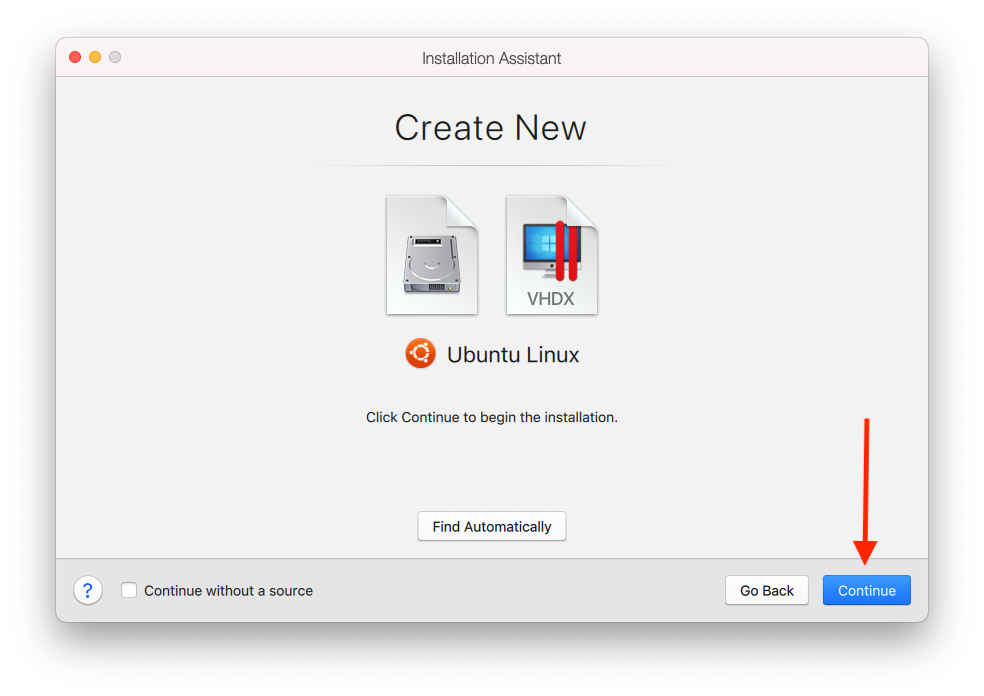
Verify that you see the "Ubuntu Linux" label, and then click "Continue":
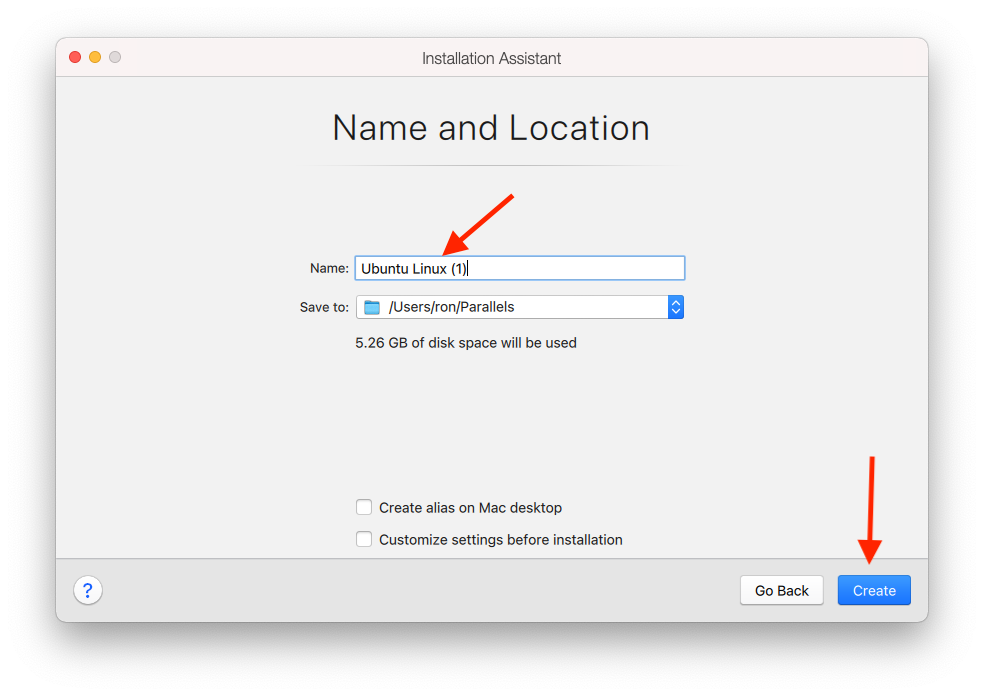
You'll be asked to name your Virtual Machine. It should just say "Ubuntu Linux", and that should be fine. By default, it will store the VM in a directory named "Parallels" in your home directory. Again, it should be fine to accept the default settings in this window. Go ahead and click "Create":
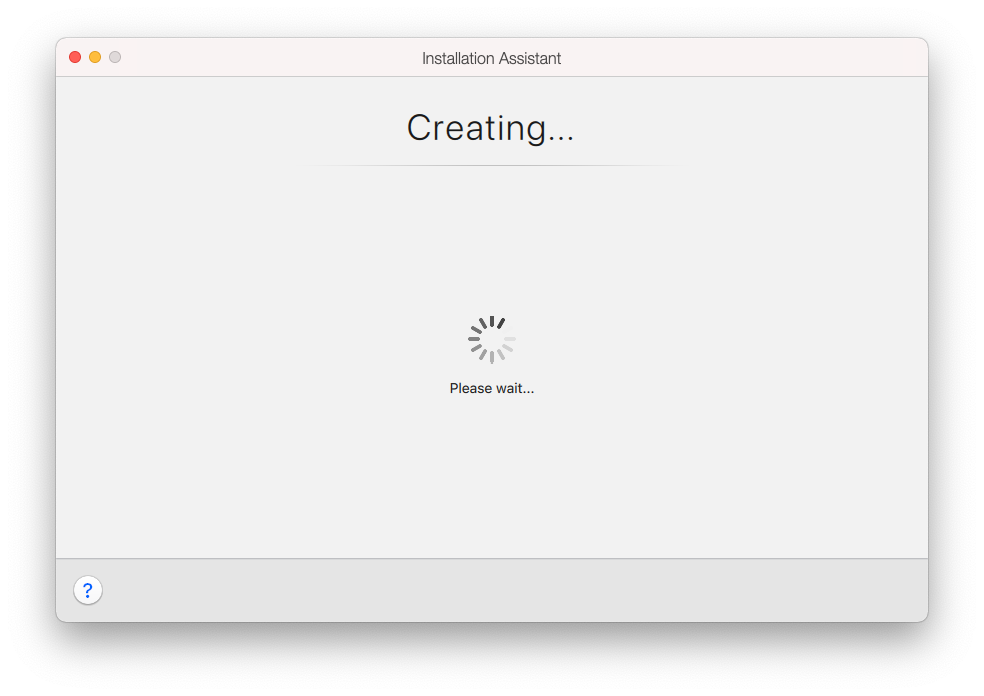
It will spin for a little bit…
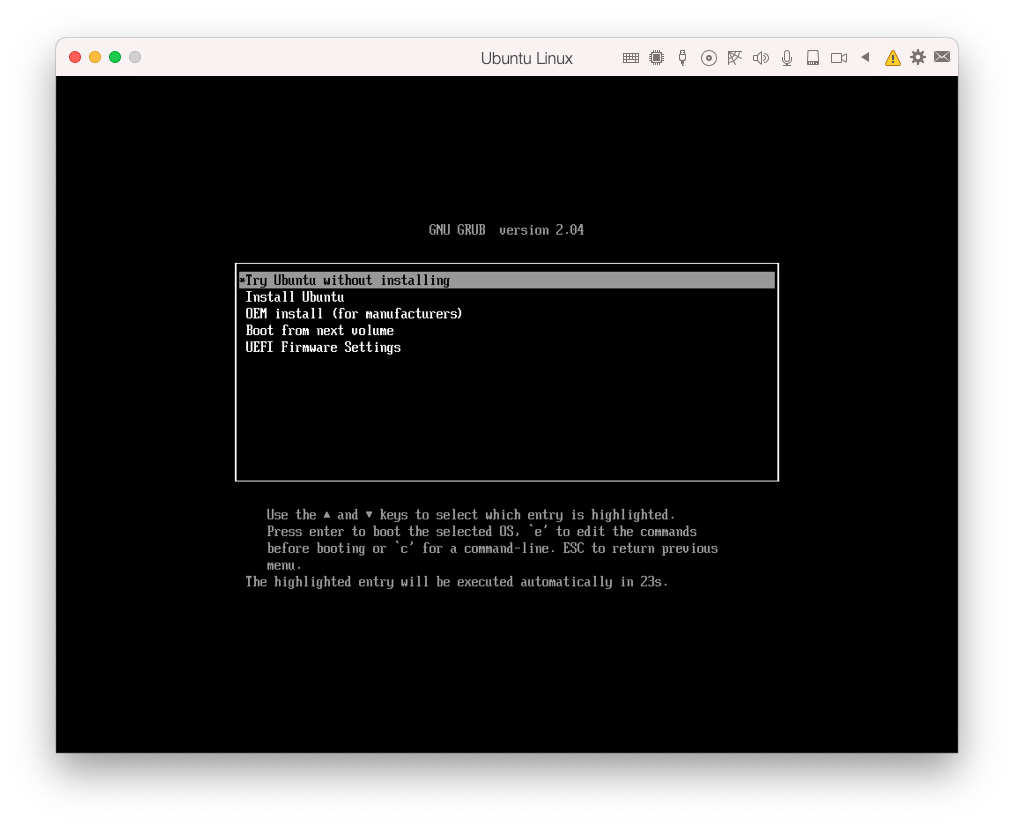
And then you'll see the window above. Use your arrow key to move the selection to "Install Ubuntu", like this:
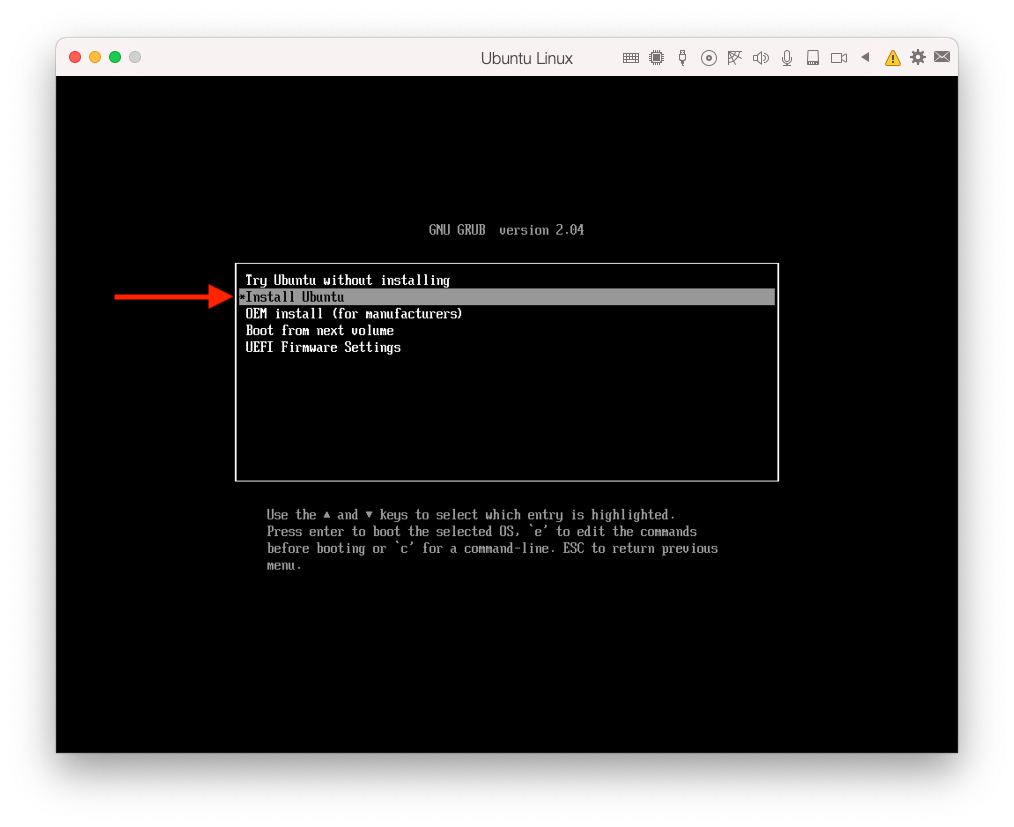
Then, press the RETURN key on your keyboard. The graphical Ubuntu installer should launch:
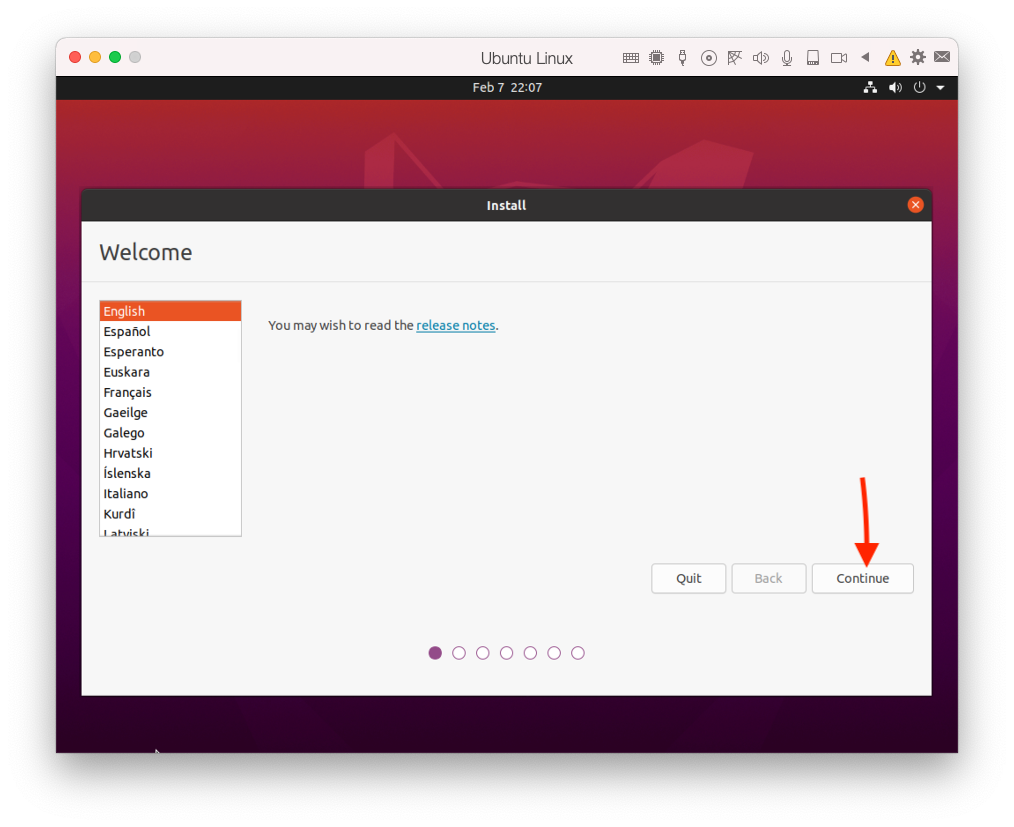
You are free to choose whichever language you want, then click "Continue"…
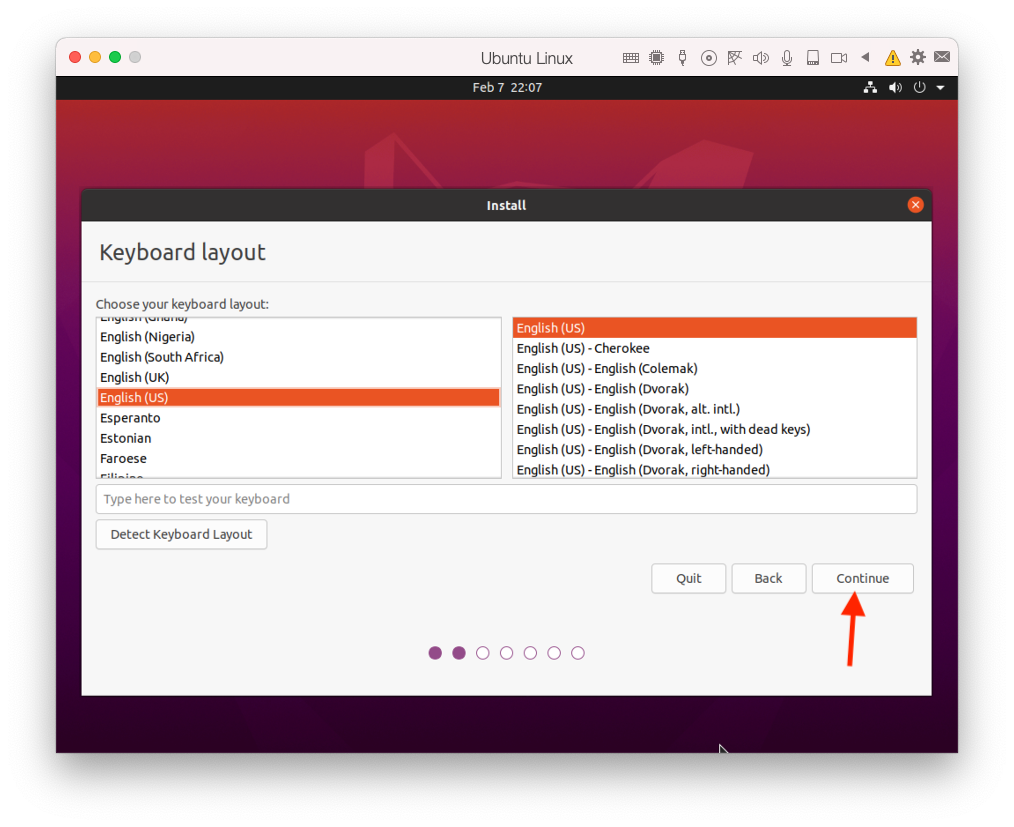
You should be able to accept the default values in the "Keyboard layout" screen, so just click "Continue"…
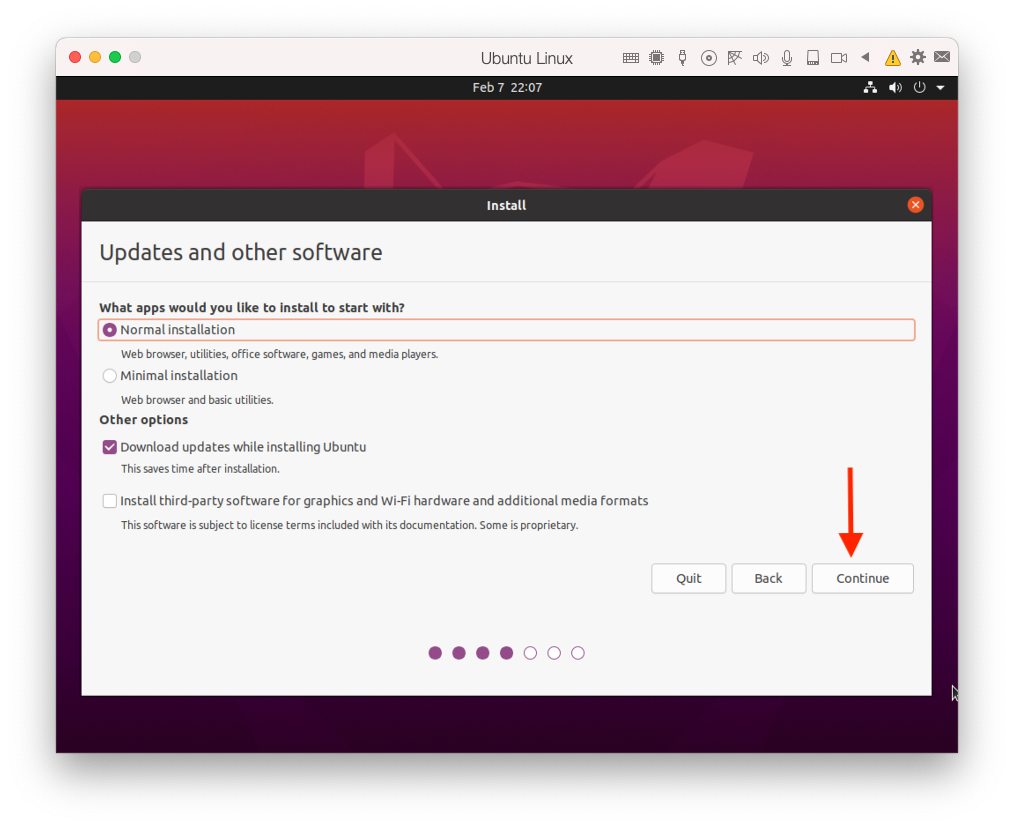
Make sure that "Normal Installation" is selected, then click "Continue"…
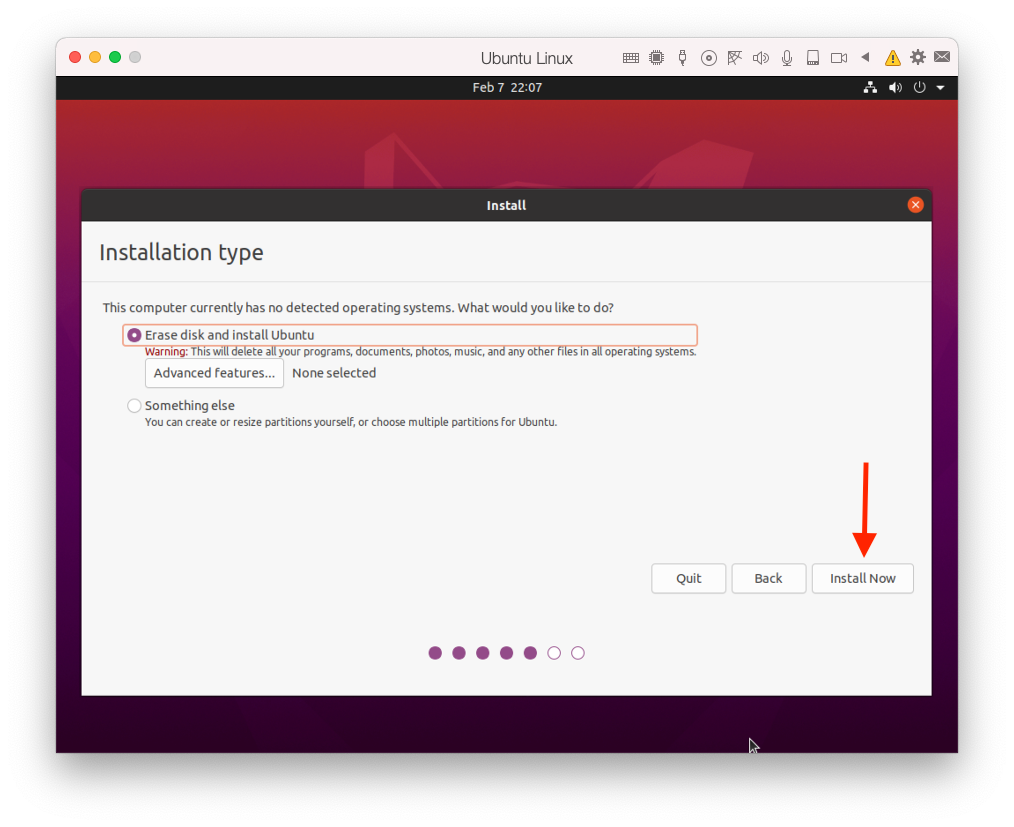
Make sure "Erase disk and Install Ubuntu" is selected. This WON'T erase your computer's hard drive/storage, it will erase the virtual disk that is created with the VM. Click "Install Now"
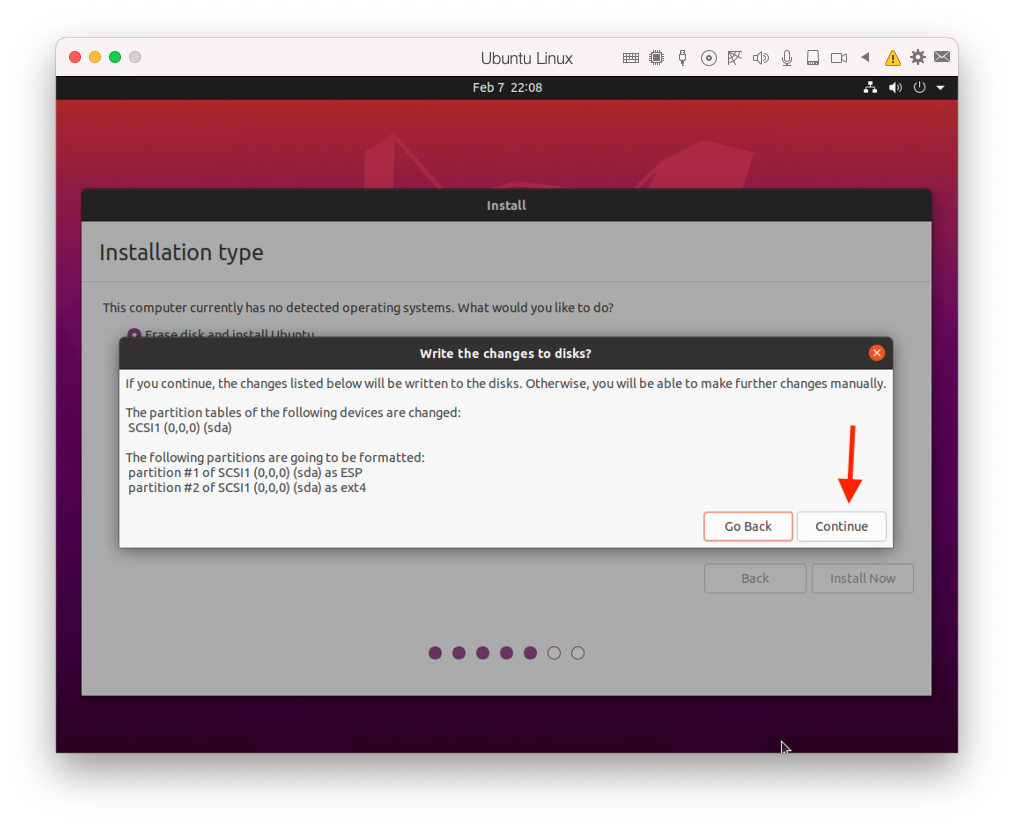
When this confirmation dialog appears, click "Continue"…

You'll be asked for your time zone. Select it and click "Continue"…
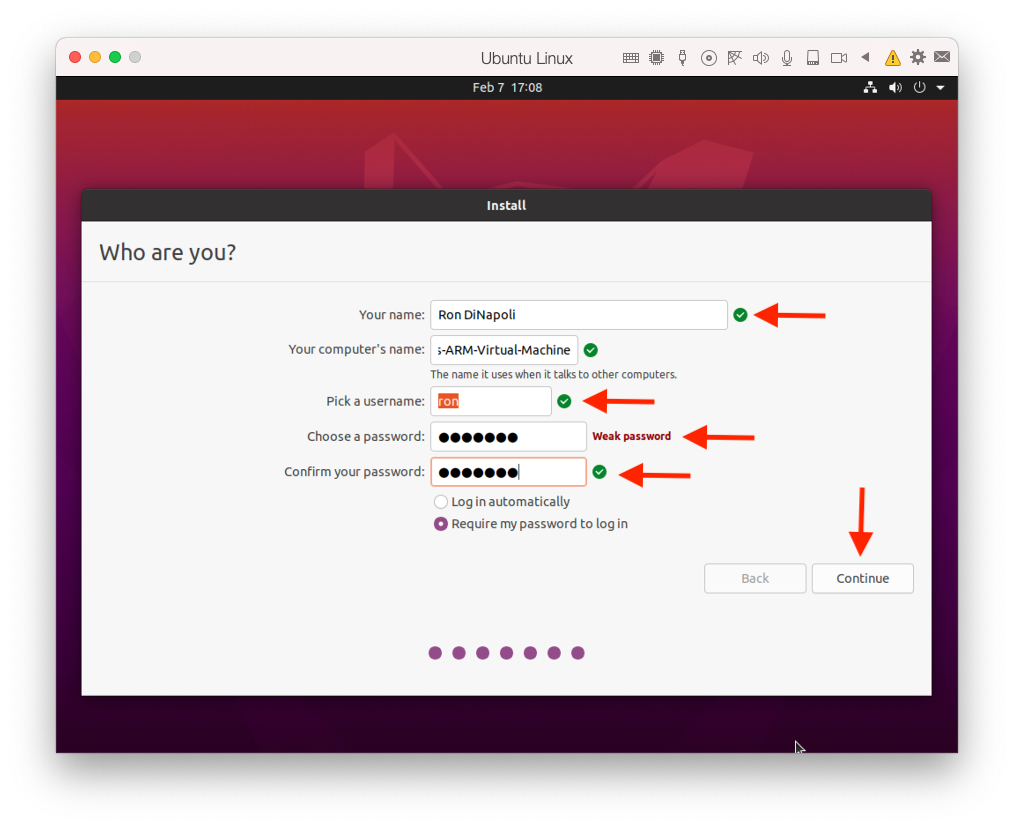
Here is the dialog in which you will set up your "login account" for the virtual machine. Put your name in the first field. The "Computer name" will be auto-generated so you shouldn't need to put anything in there. Your username will also be auto-generated. You can just use whatever the installer generates for your user name or you can specify it yourself. If you specify it yourself, it's best if it has no spaces and is all lowercase letters. Then, choose a password and verify it. Since this machine will be private on your own computer, you probably don't need to worry about creating a strong password!
Click "Continue" when you are done entering the data…
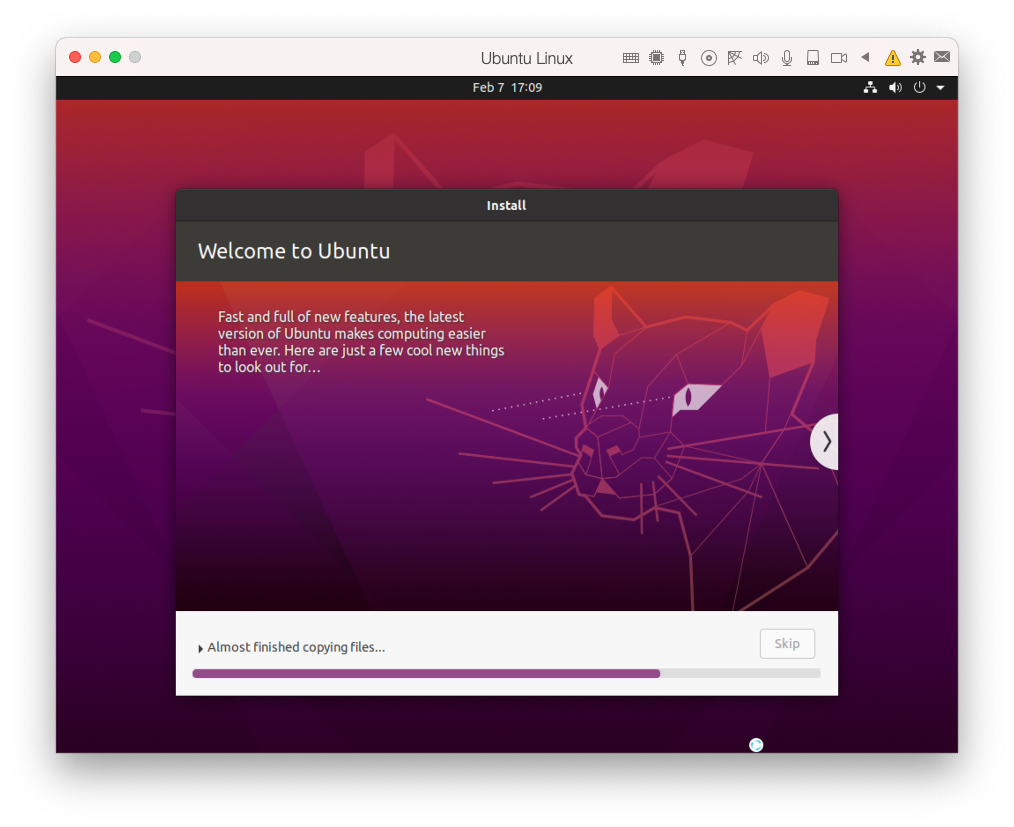
The installation procedure will continue…
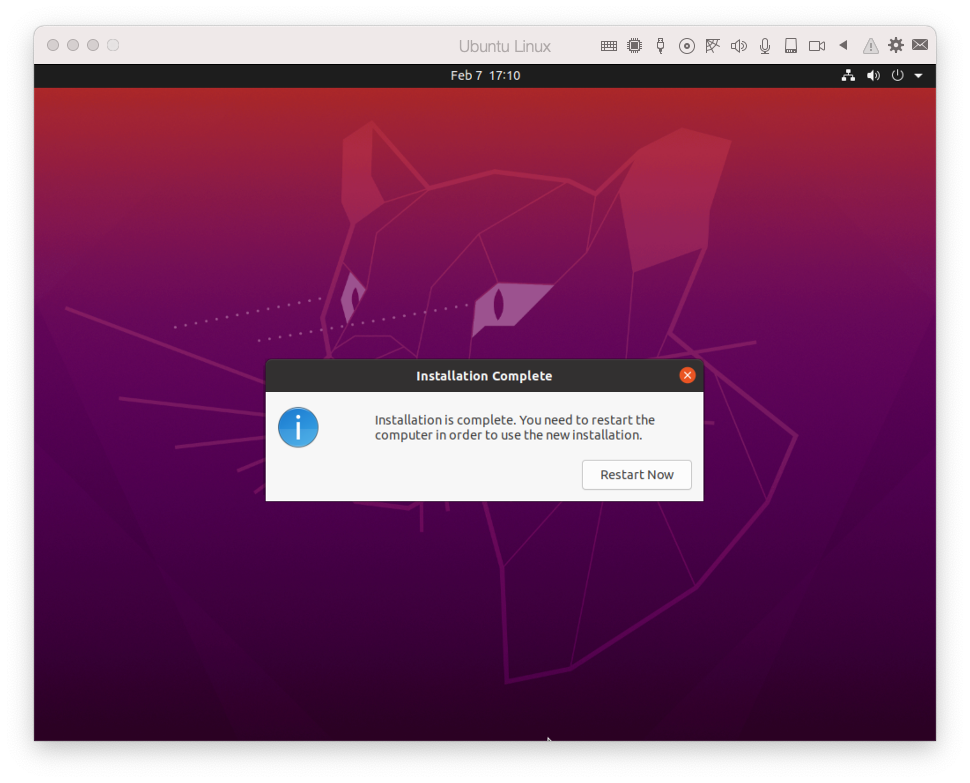
When installation is complete, you'll be asked to restart the virtual machine.
NOTE: If the virtual machine gets "stuck" while attempting to reboot (like this):
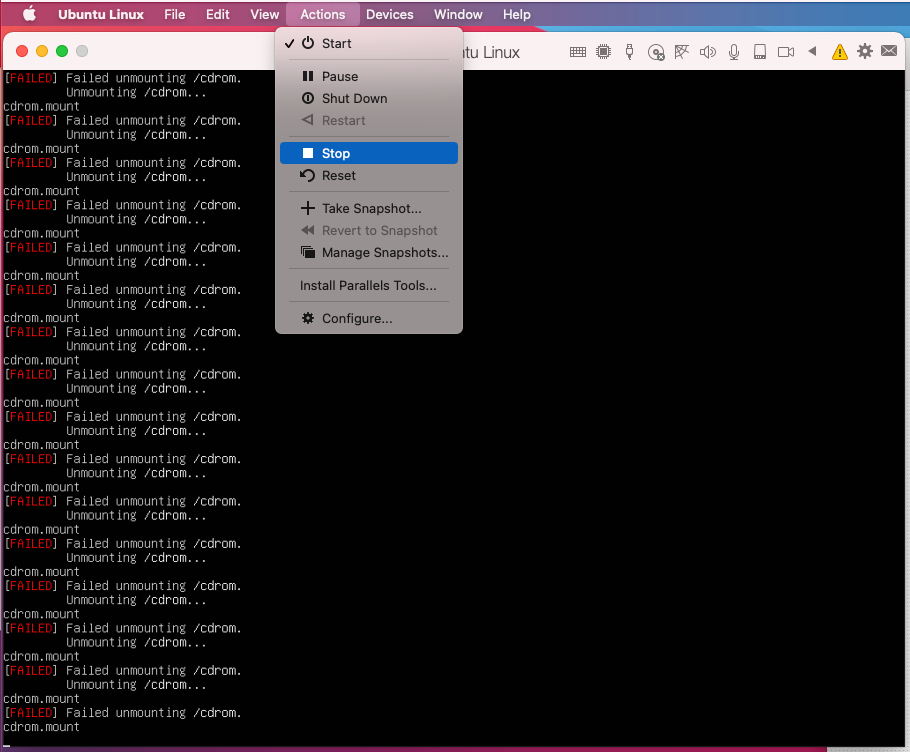
Go to the "Actions" menu and choose "Stop". Then, you can quit and restart Parallels and you should see the following:
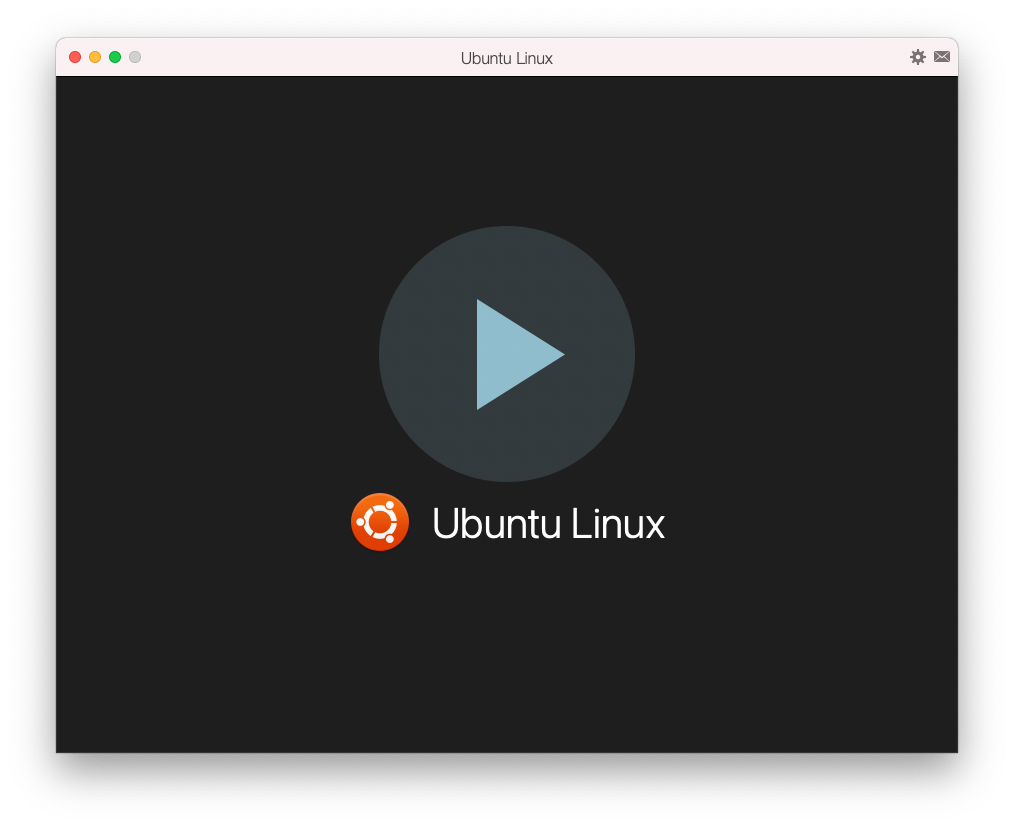
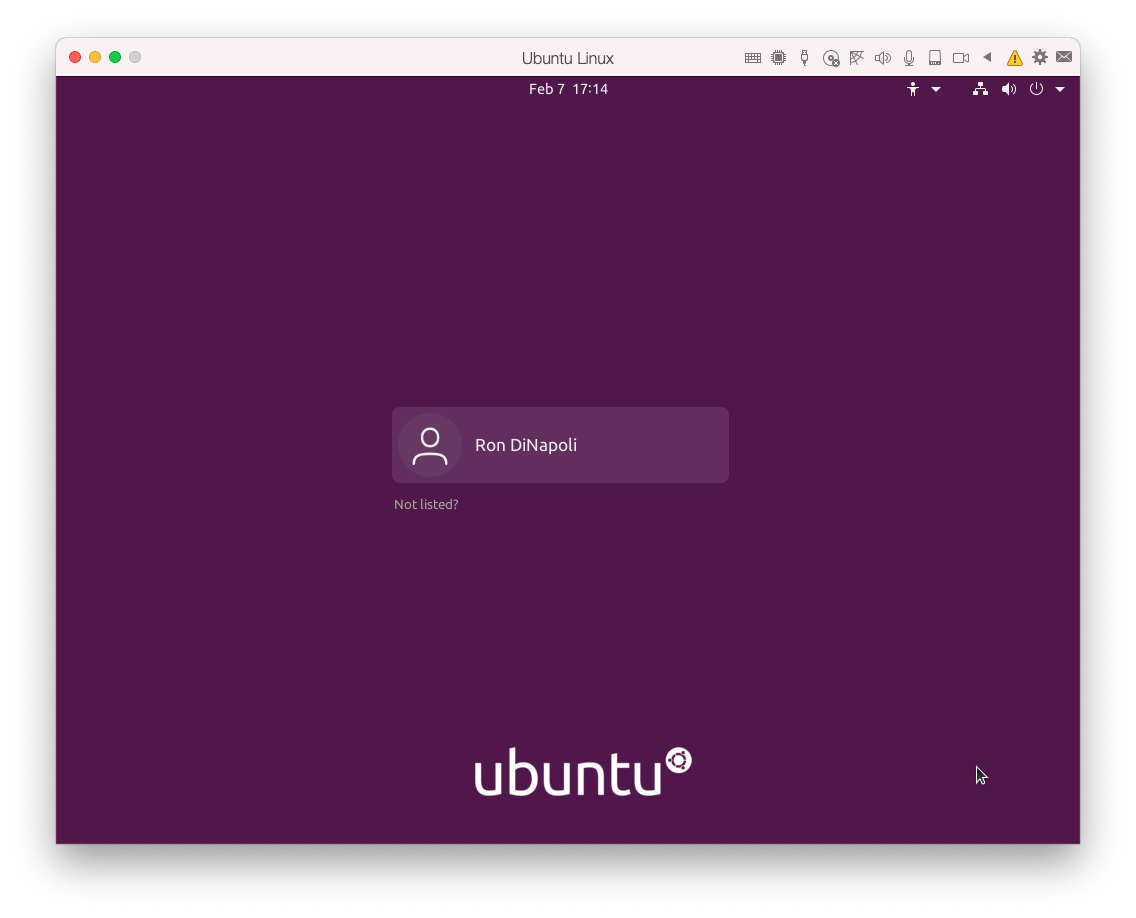
Click on the triangle to boot Ubuntu. When done booting, you should see the Ubuntu login screen…
And then you can proceed to the Ubuntu Setup instructions!