To begin, go to the search bar on your Windows Desktop and type "Windows Features"
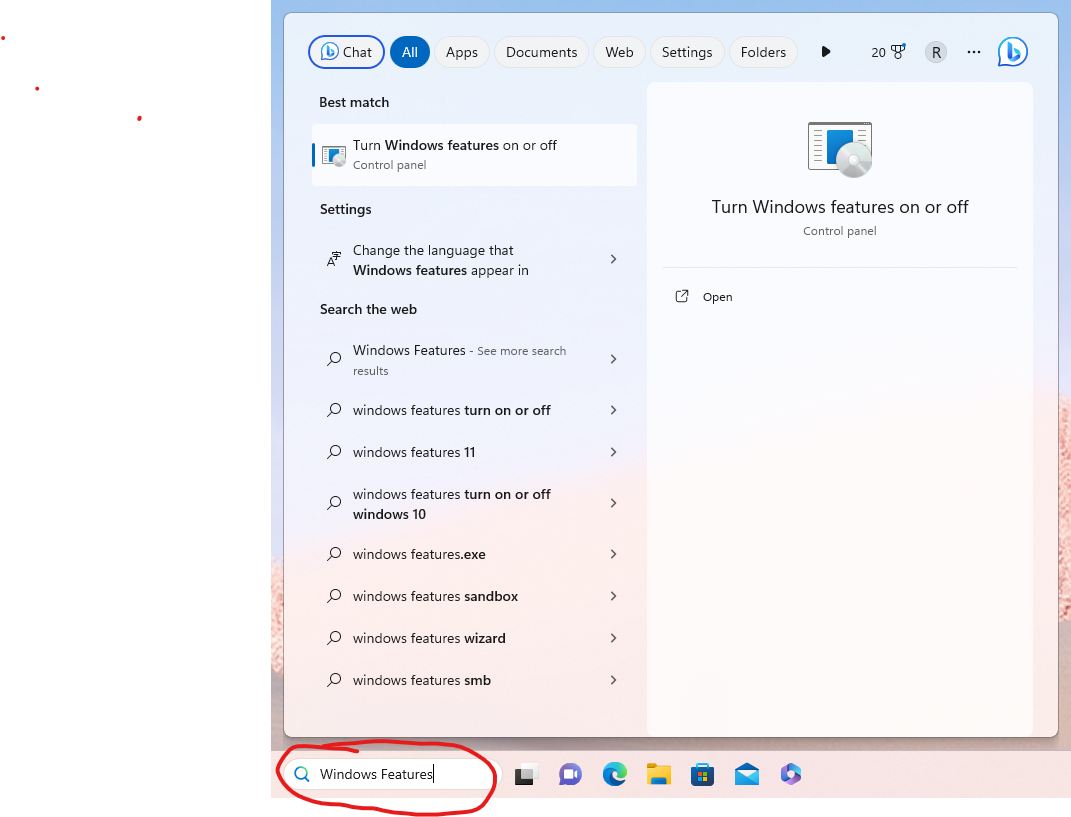
Hit RETURN or click on the "Open" link in the window above. This will bring up a window showing features available for you to enable or disable. Scroll down until you see "Windows Subsystem for Linux" and click the checkbox:
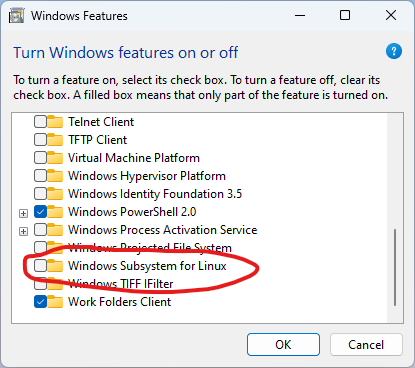
Then click OK. You will see a progress window such as this:
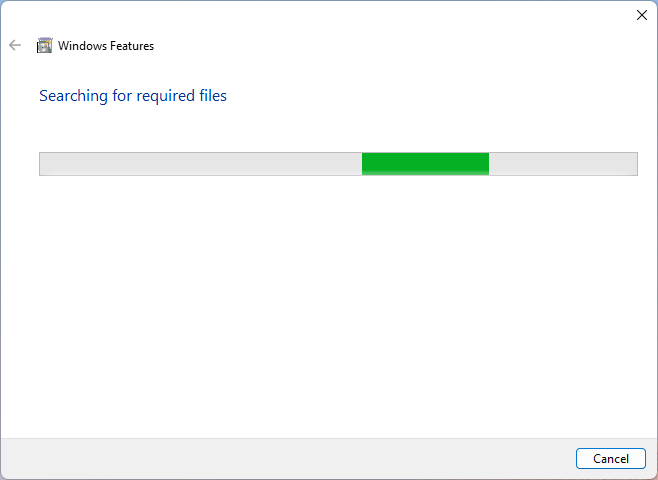
After the files are located and the software is installed, you will be asked to reboot your machine:
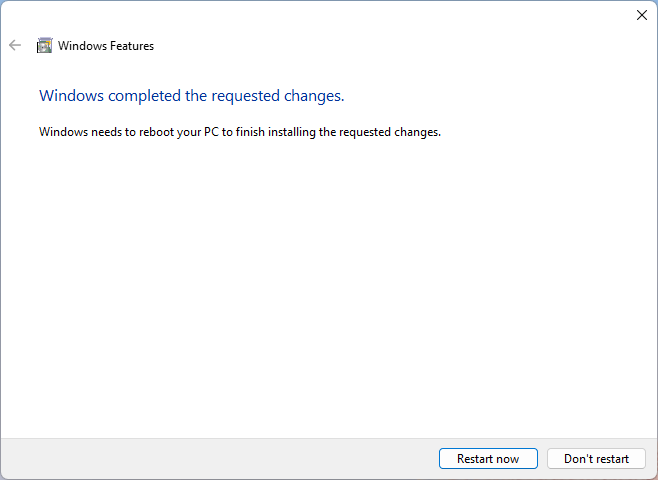
Click "Restart Now" when you are ready. Your machine will reboot. When your machine is back at the desktop, go back to the search bar on your Desktop and search for "Microsoft Store":

Then either hit RETURN or click on the "Open" link…
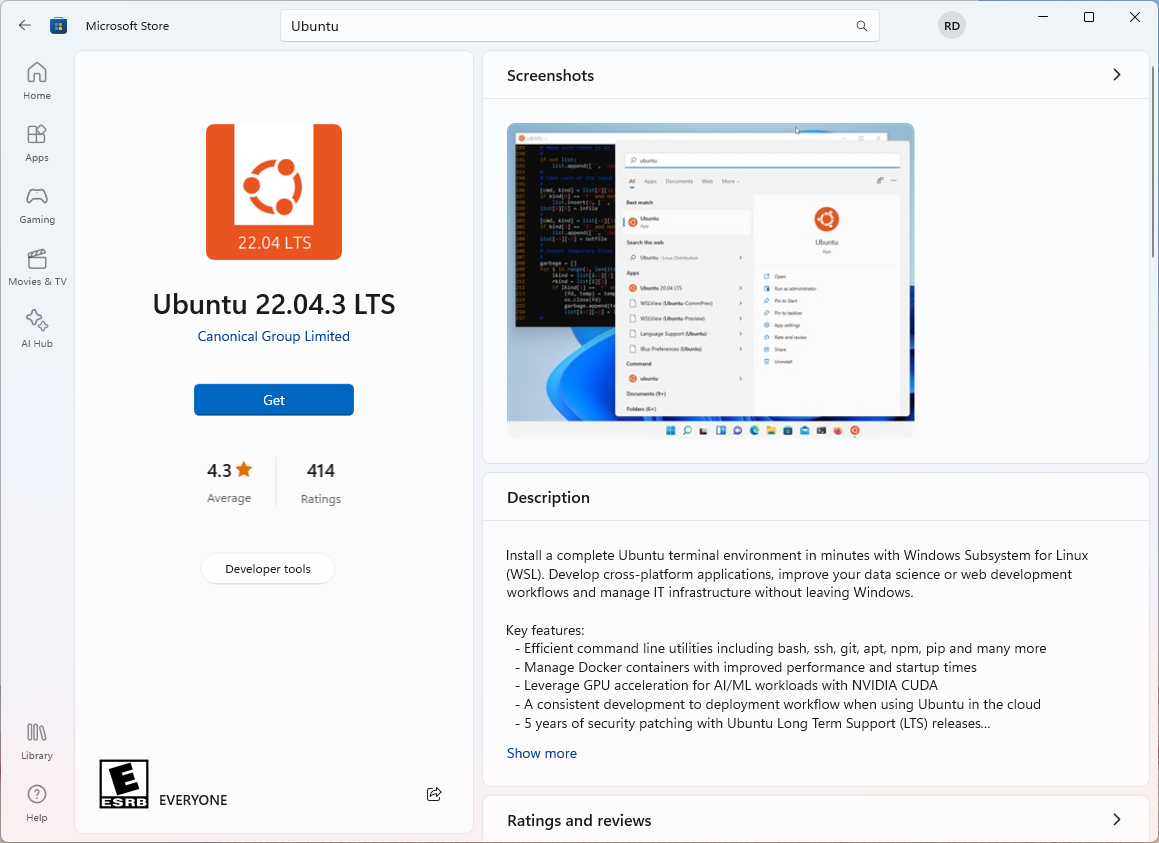
In the Microsoft Store application, search for "Ubuntu". Select "Ubuntu 22.04.3 LTS" and then click "Get". This will cause a simple Ubuntu Linux distribution to be downloaded that may be used wit WSL.
Once downloaded, open the Start menu from your desktop again. You should see the "Ubuntu 22.04.3 LTS" download as something you can open:

Go ahead and click on it to open it. You may see an error such as this:
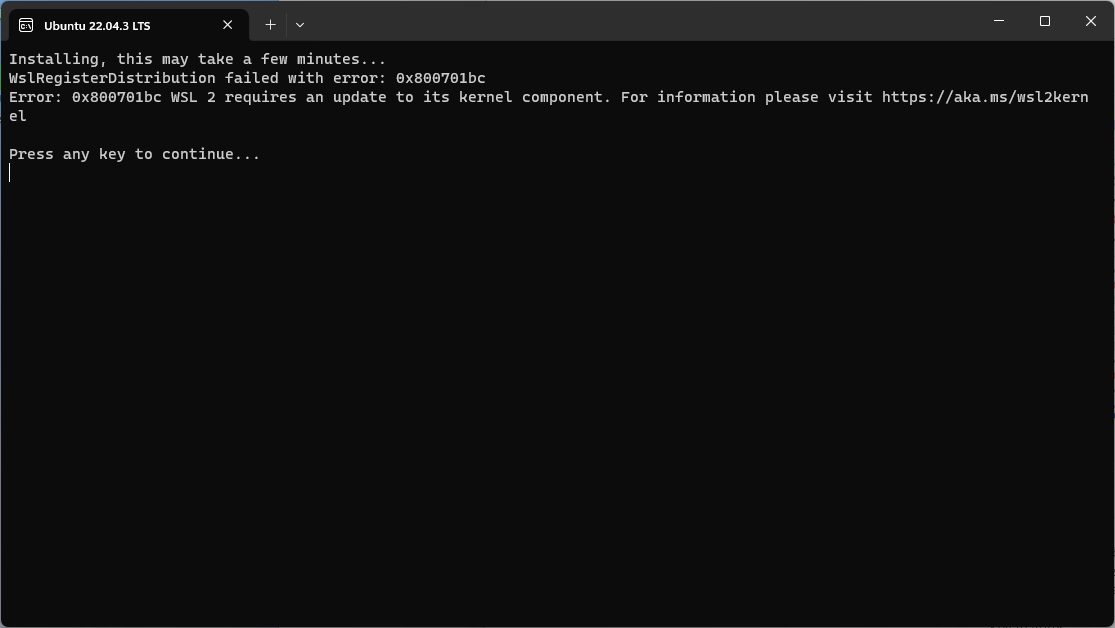
If you see this error, go to the url in the error message (https://aka.ms/wsl2kernel). You should see this:
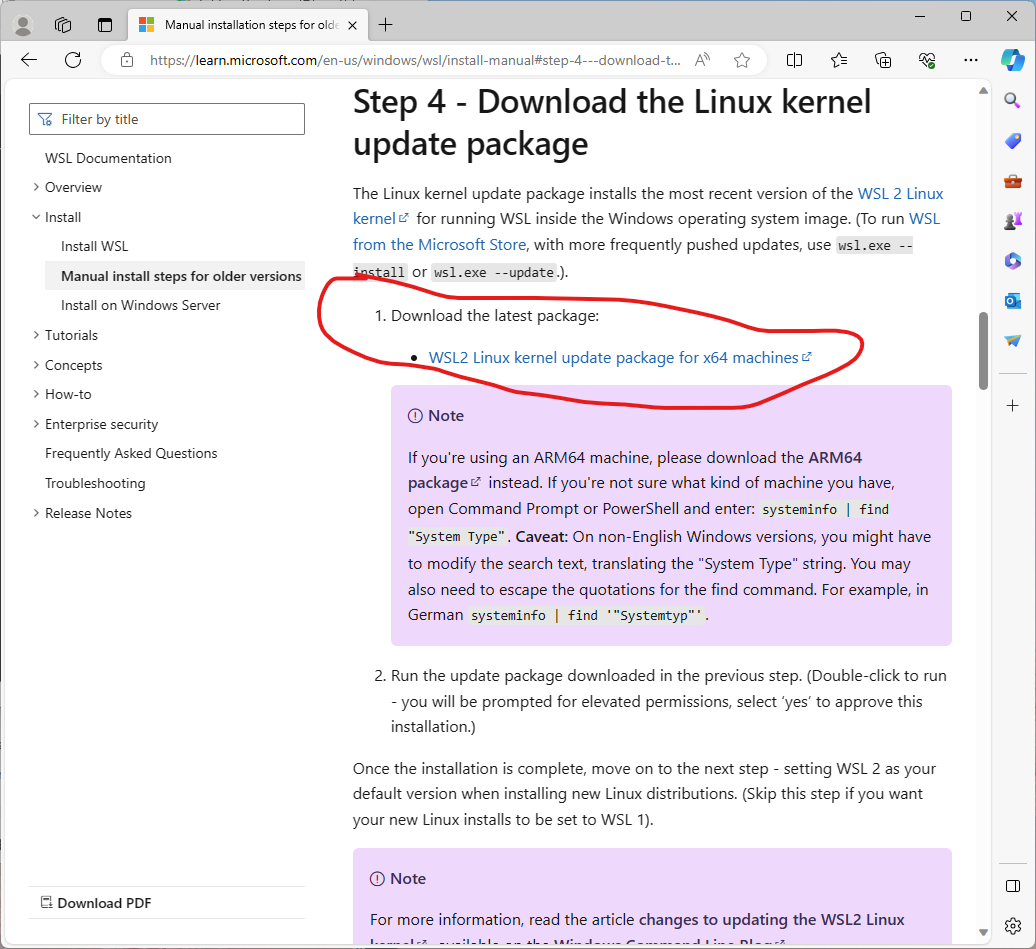
Click on the "WSL2 Linux kernel update package for x64 machines" link highlighted above. The software will download and launch. You'll see the Kernel Updated window:
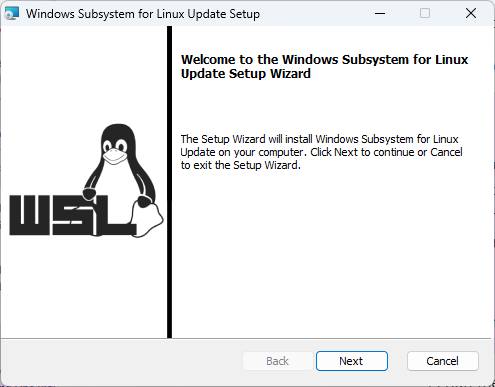
Go ahead and click "Next"…
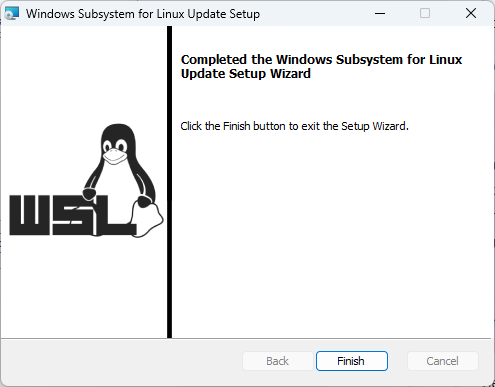
When the software finishes installing, click on the "Finish" button…
Then, click on your Start menu again and attempt to open the Ubuntu distribution. You may see the following error:
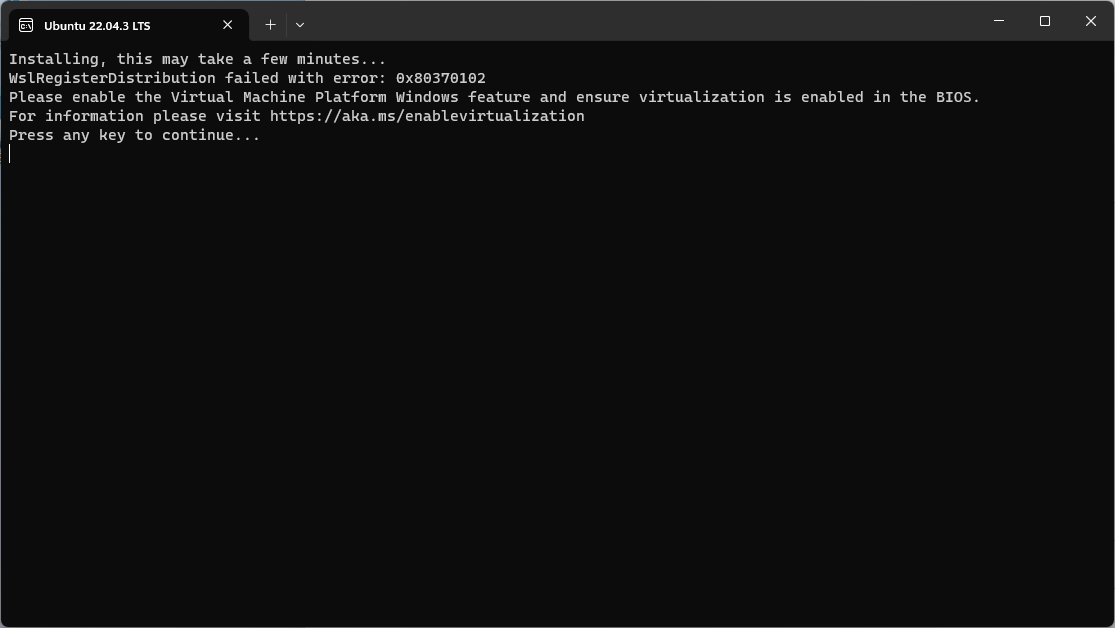
Go ahead an visit the URL specified in the message above (https://aka.ms/enablevirtualization):

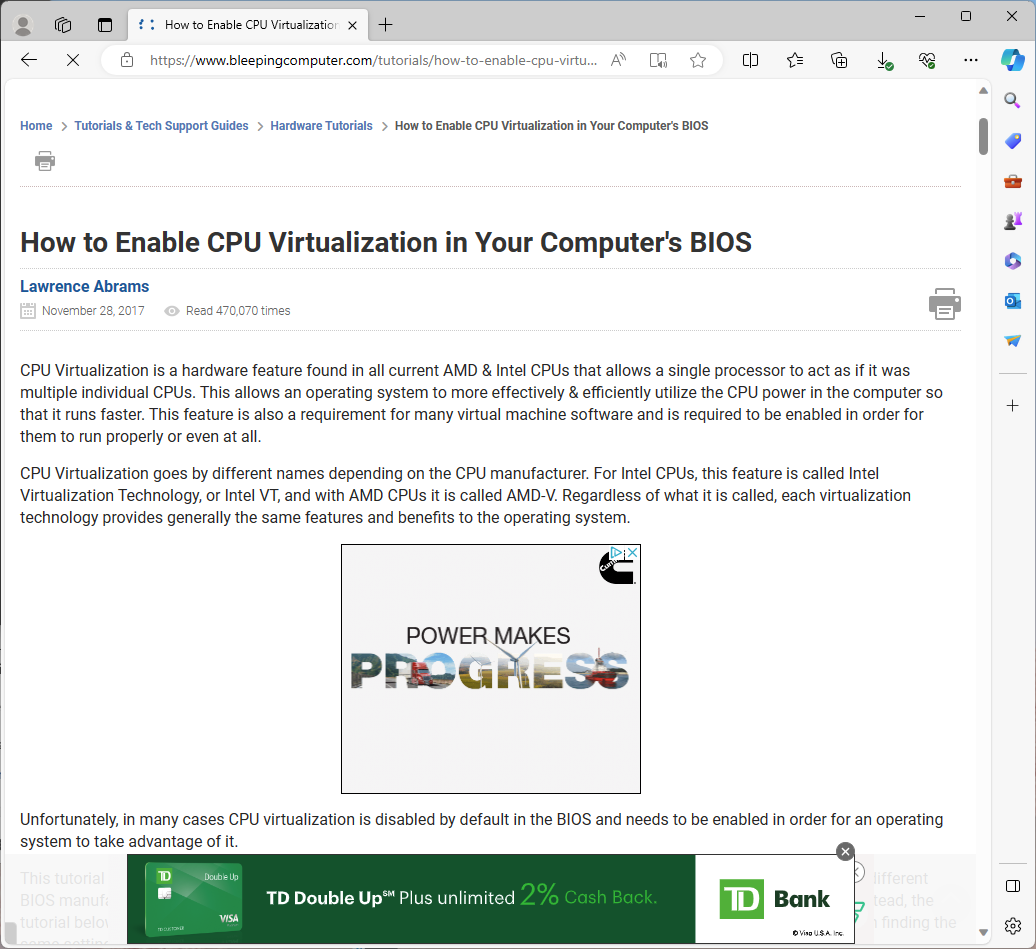
Unfortunately, if you need to enable virtualization on your machine, how to do it will depend on your particular machine. The article linked will give more information:
You may need to understand how to enable in your BIOS, but you may also be able to enable it from Windows Features. To try enabling from Windows Features, go search for Windows Features in the desktop search bar and look for the following feature:
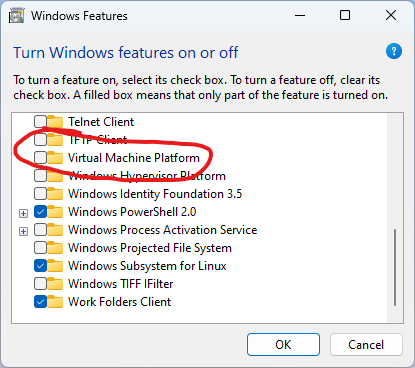
If you see "Virtual Machine Platform", select it and click "OK". You may be asked to reboot your machine again.
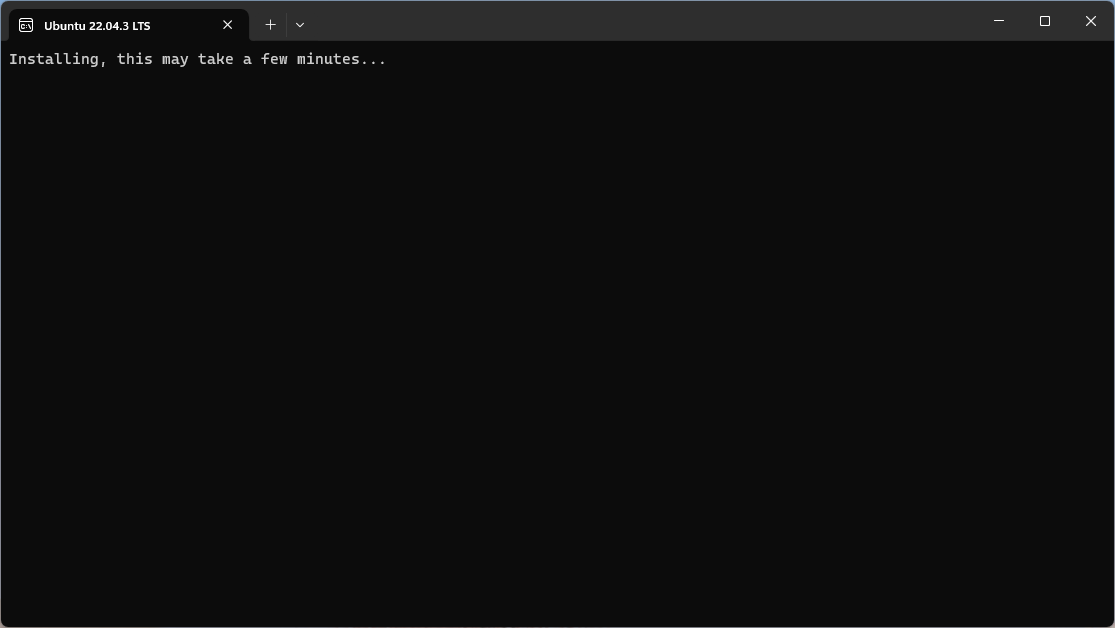
Once Virtualization is enabled, you can return to the Start menu and attempt to open the Ubuntu distribution again. Assuming there are no more errors, you should see something like this:
Once installation is complete, you will be asked to set up a username and password. Enter a username for yourself (I used "Ron" in the example below) and then set a password:
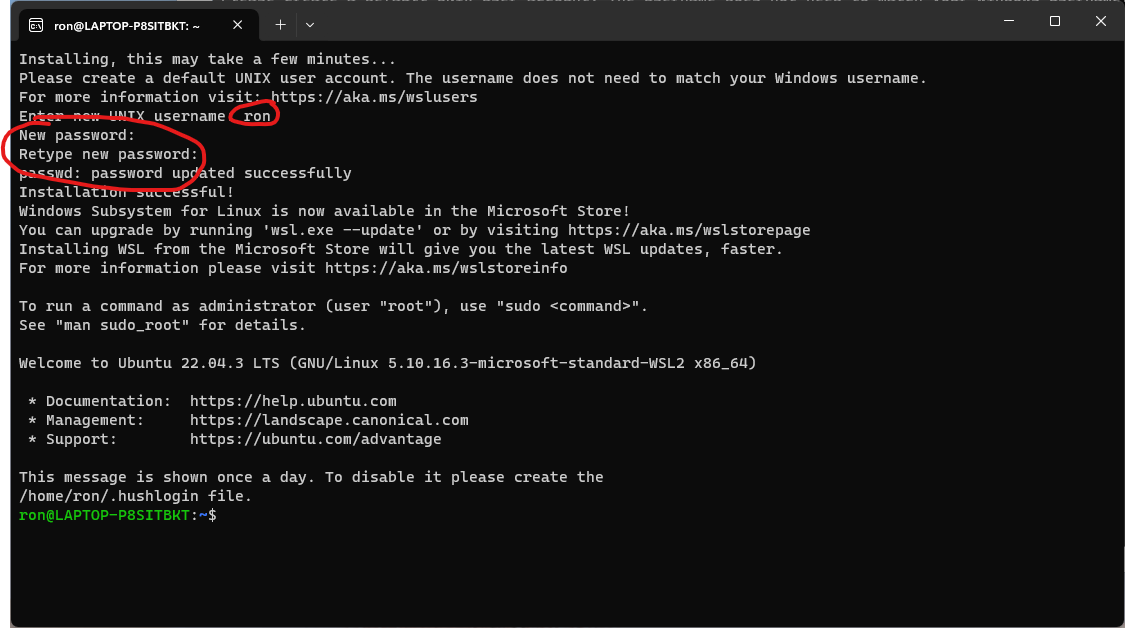
Once you have the username and password entered, you should be taken to a bash (shell) prompt. You are ready for class!