If you are using an M1-based Macintosh, you won't be able to use the standard VMWare Fusion Player for Intel-based Macs. VMWare is working on a full product for M1 Macs, but it isn't quite ready. In the meantime, they are making a technology preview available. Click here to go to the distribution page for the VMWare Fusion Tech Preview for M1-based Macs. You should see this page:

Click on the "Download Now" button. A .dmg file should be downloaded into your Downloads directory.
The next step is to obtain an ARM-based distribution of Ubuntu Desktop. This can be found at https://cdimage.ubuntu.com/focal/daily-live/current/ . When you visit that web page, you should see the following:
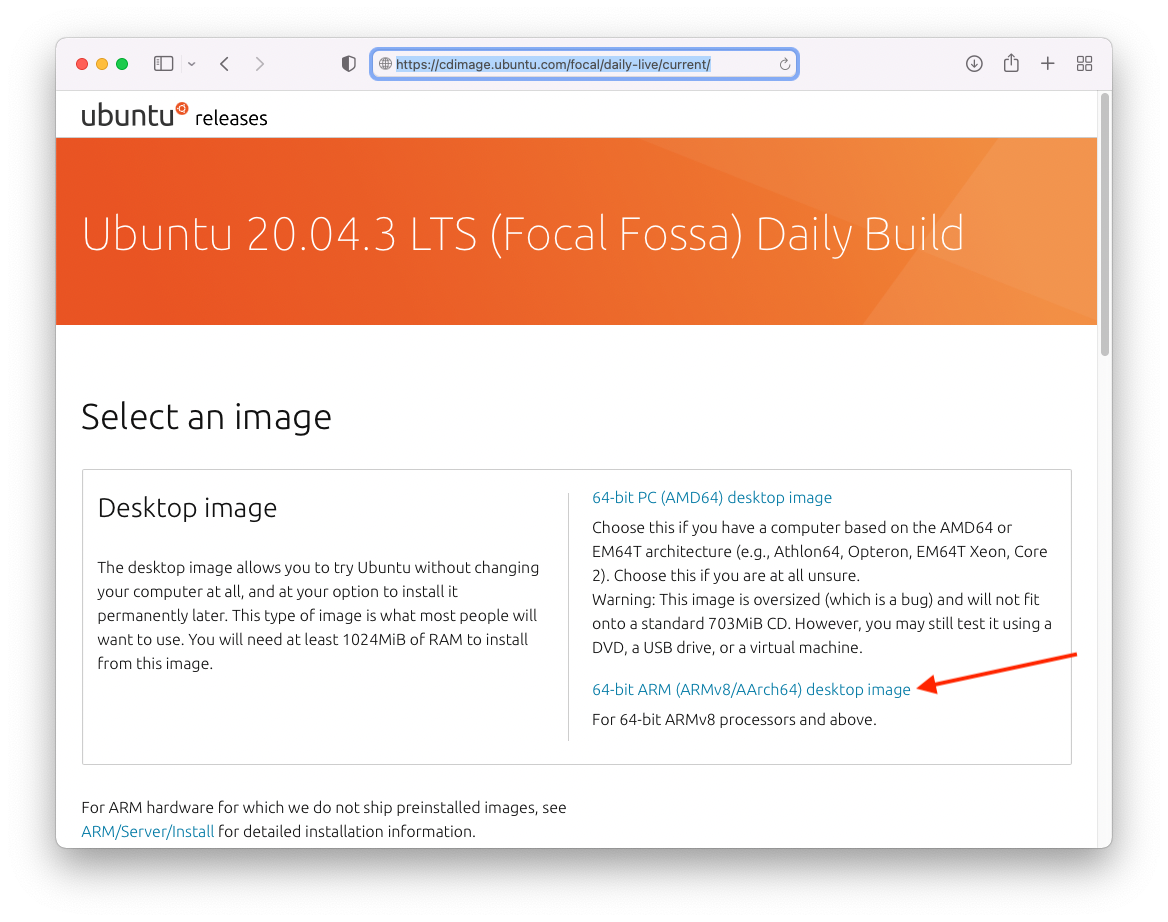
Click on the "64-bit ARM (ARMv8/AArch64) desktop image" link. It should download an .iso file to your Downloads directory.
When both downloads are complete, you should have the following files in your Downloads directory:
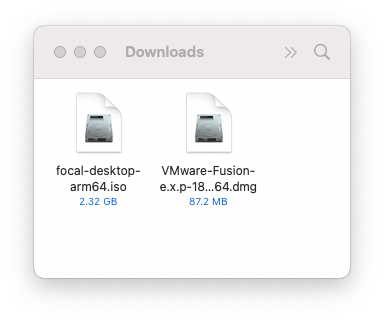
Keep this directory handy as you will need to use both of these files. Begin by double-clicking on the VMWare-Fusion .dmg file. You should see the following on your desktop:
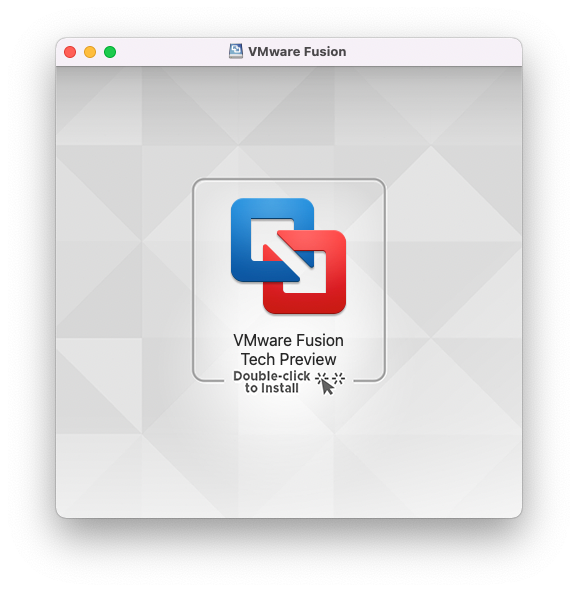
Then, double-click on the VMWare installer. You will likely be asked to enter your computer's admin password:
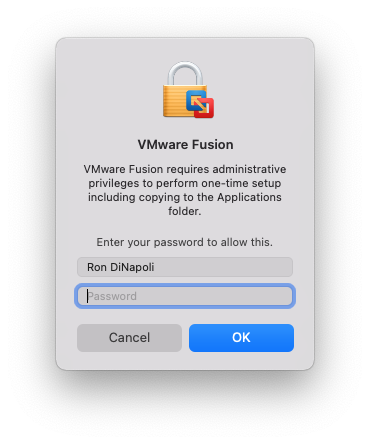
Once you do and click "OK", installation will begin. When it is done, you should see the following screen (if VMWare Fusion doesn't launch when installation is complete, find the VMWare Fusion Tech Preview application in your computer's "Applications" directory and launch it manually):
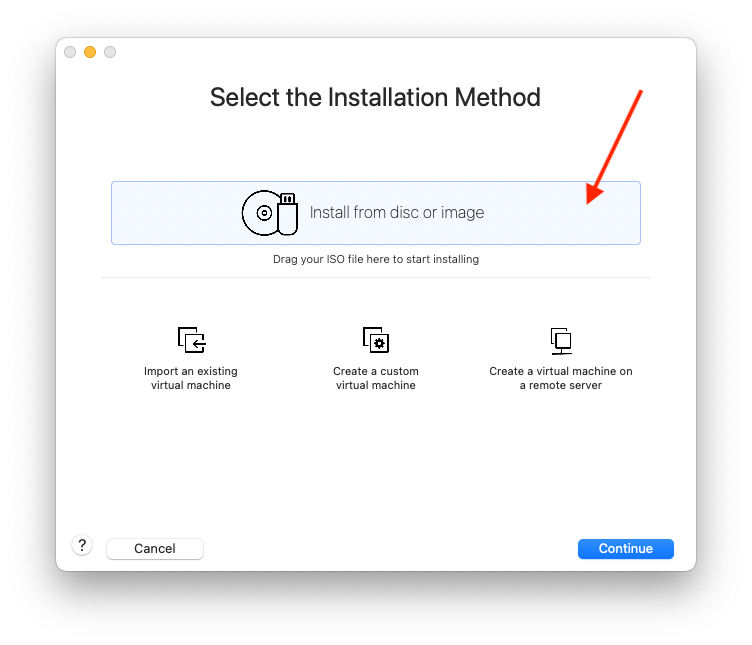
Here, VMWare is giving you the opportunity to create a new Virtual Machine in a variety of ways. Since you downloaded the Focal Fossa ISO file earlier (focal-desktop-arm64.iso), drag that .iso file onto the are of the window above that says "Install from disc or image" and then click "Continue". VMWare should launch a virtual machine and you should see the following:
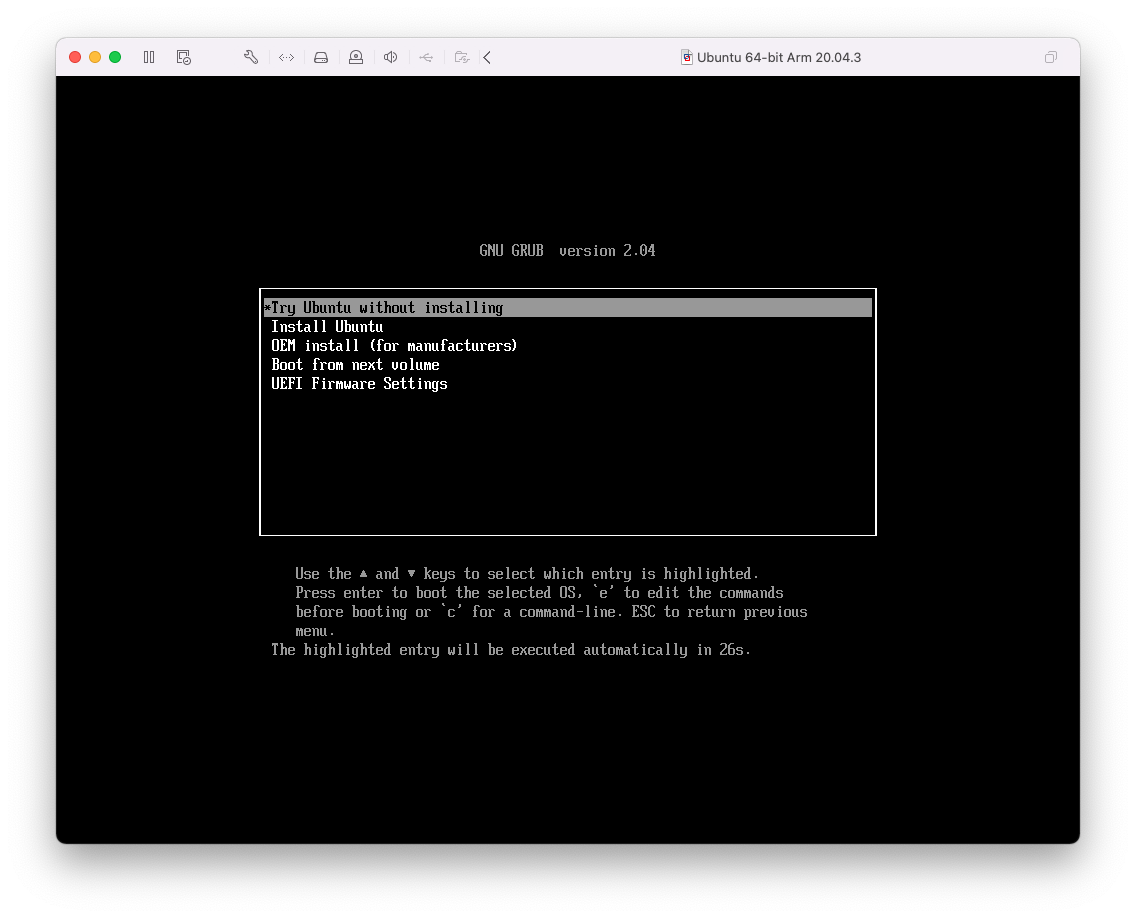
Click inside the window so that your keyboard will control the VM. Then, use the down-arrow key to move the highlighted text to "Install Ubuntu":
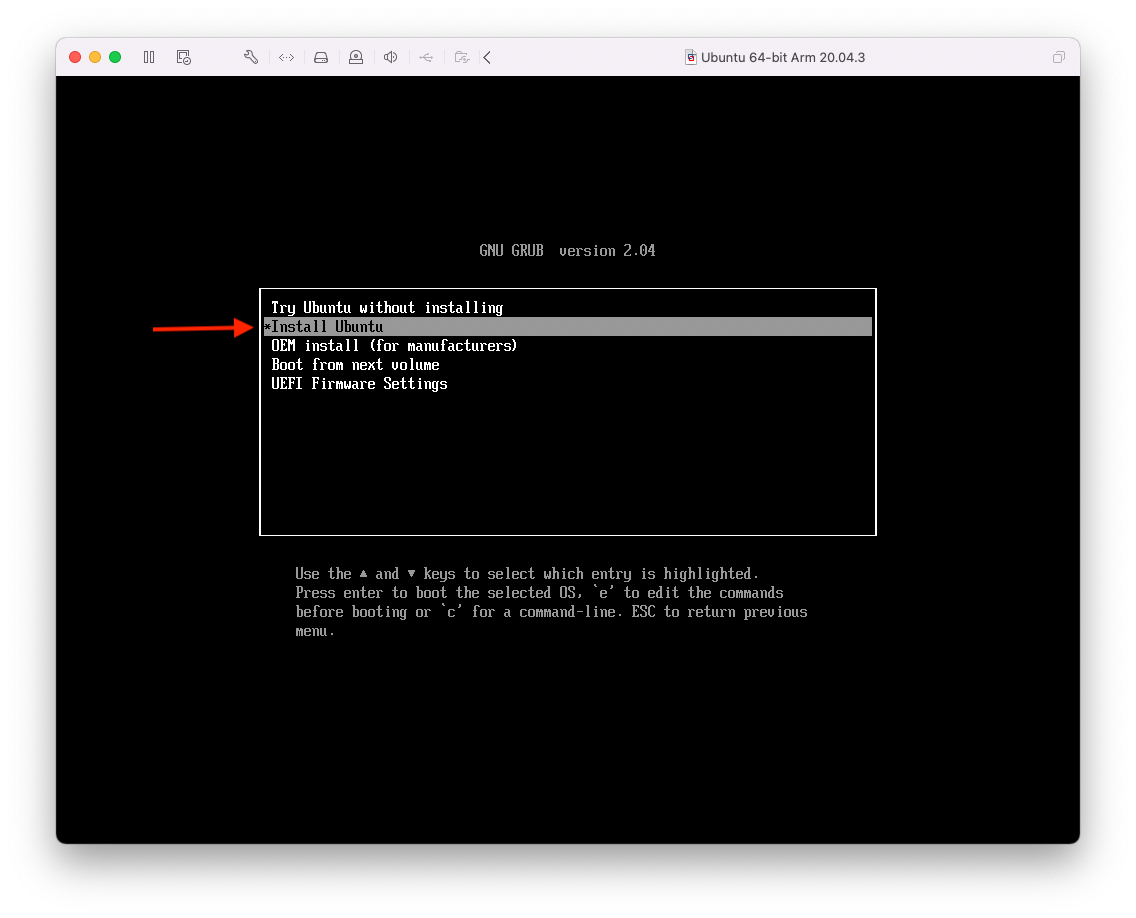
Then hit RETURN. Ubuntu installation should begin. You will eventually see this screen:
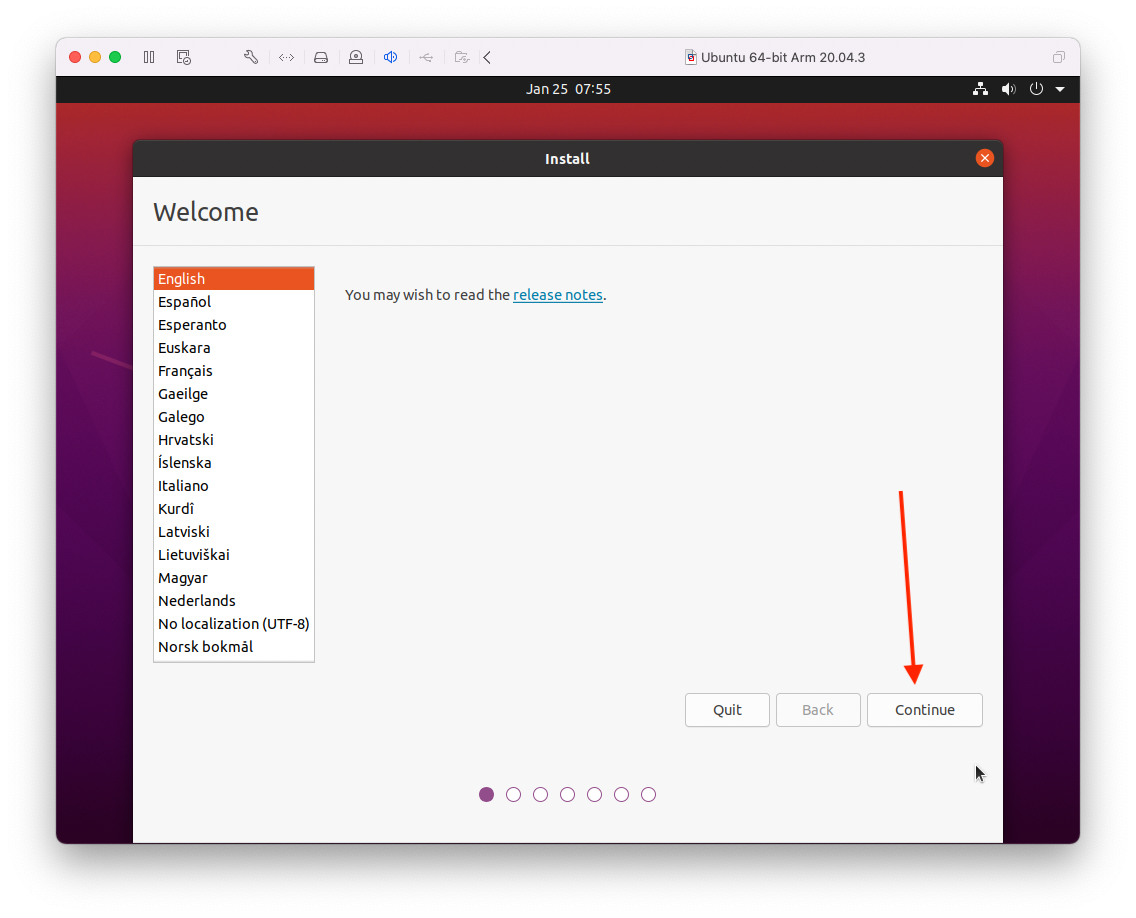
You should probably keep it to an "English" installation (though feel free to use another language if you'd prefer). Then, click on "Continue". You will see the following:

Again, assuming you are installing in English, you should be able to accept the default settings in this window. Click "Continue"

You want to perform a "Normal Installation", so make sure that is selected and click "Continue". You will see the following next:

You want the "Erase disk and install Ubuntu" option here. While the warning sounds scary, it WON'T erase anything on your actual computer; the warning refers to the Virtual Disk that is being created for your virtual machine. Go ahead and click "Install Now":
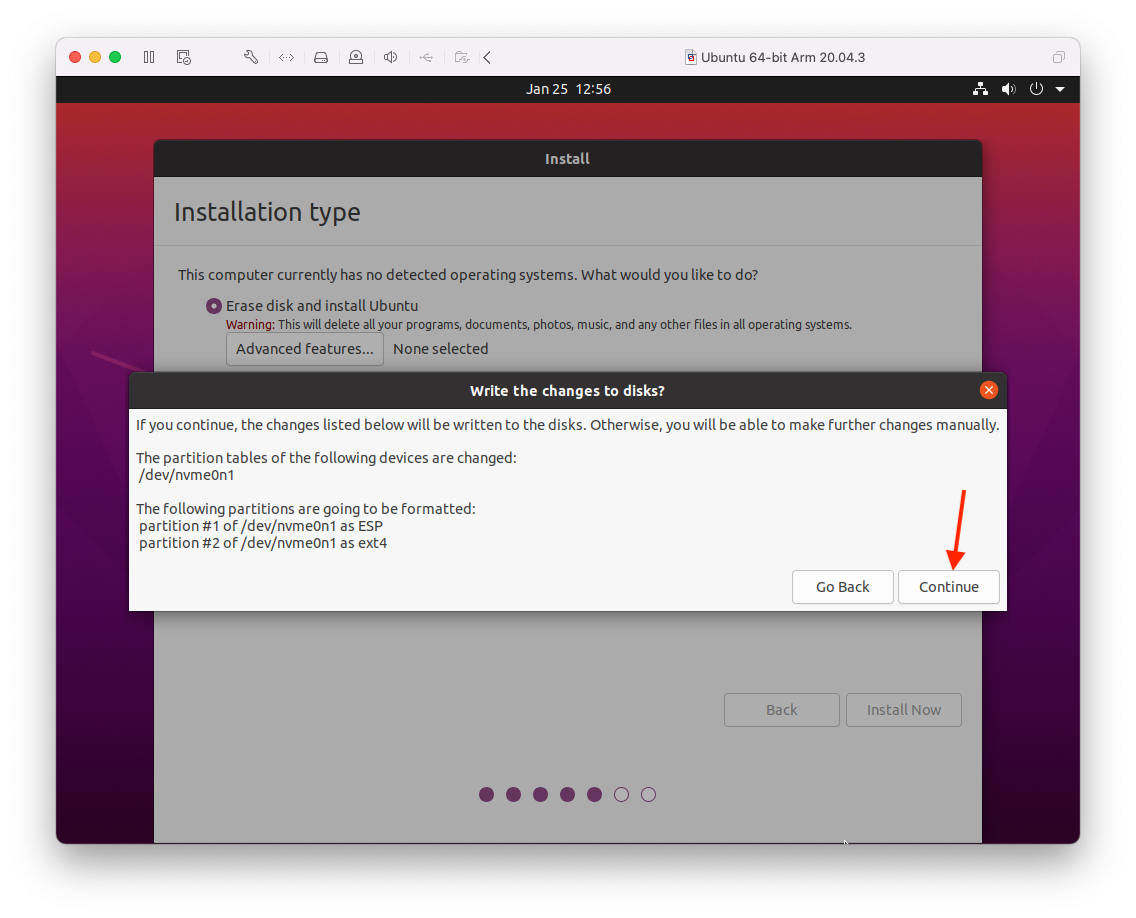
Again, the above warning pertains to the virtual disk being created for your virtual machine. Just click "Continue" to advance to the next screen:
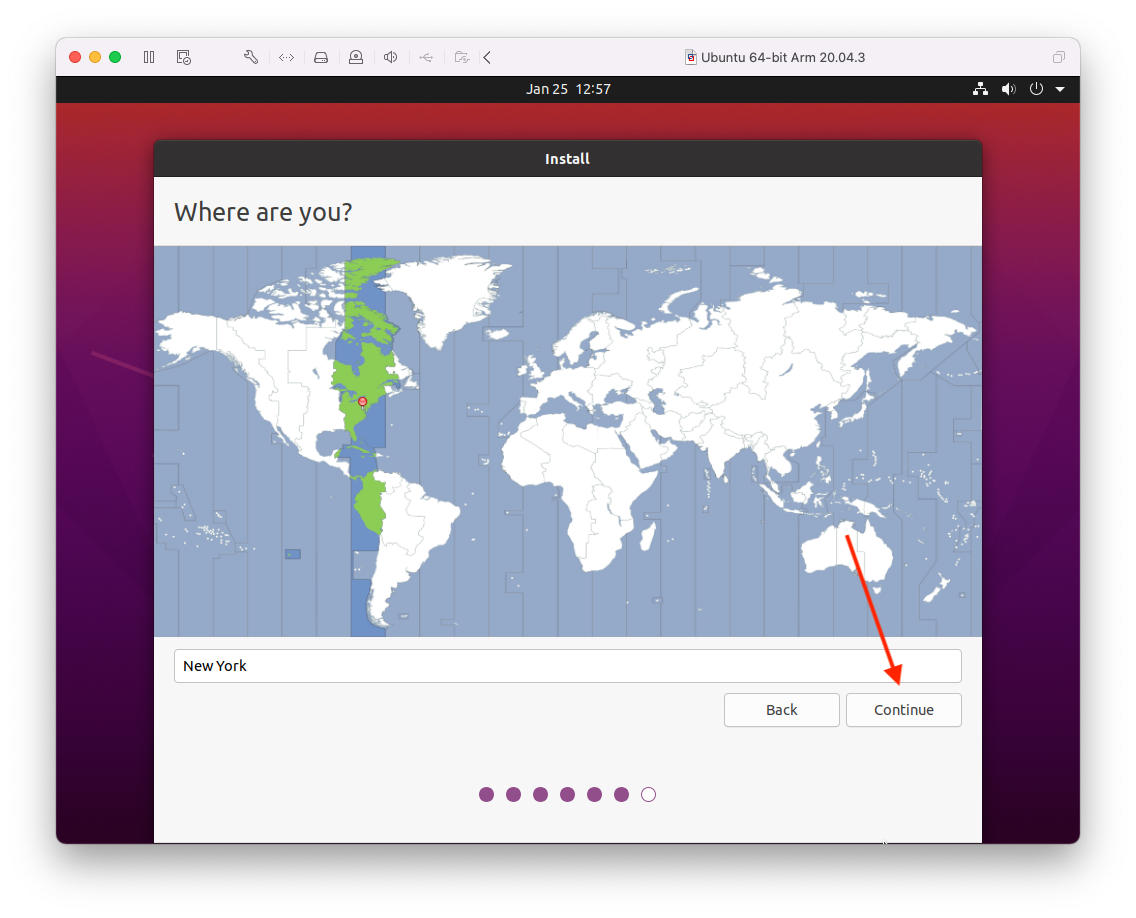
The installation will probably default to the Eastern time zone; if it doesn't you may want to type "New York" in the text field. Either way, click "Continue" to advance to the next screen:

Before installation begins, the installer wants you to set up the "account" used for this installation. Note that those students using Intel-based machines (Windows or Mac) that downloaded a pre-configured virtual machine from osboxes.org don't have to complete this because those VMs come with a default account enabled. I'd suggest putting you full name in the "Your name" field, put just your first name (or some other "short" name with no spaces) in the "Pick a username" field and then choose a simple password that you can remember. You can see I chose a "weak password". Since this virtual machine is only going to run in a container where no one else should be able to access it, you shouldn't need to worry too much about having a very complicated password. However, you can choose whatever type of password you want! Just make sure you put the same password in the "Choose a password" field and the "Confirm your password" field. Then, click "Continue" to start the actual installation process:

Once installation is complete, you will see the following:

Click on "Restart Now" to reboot the virtual machine. You may see the following while it is booting:
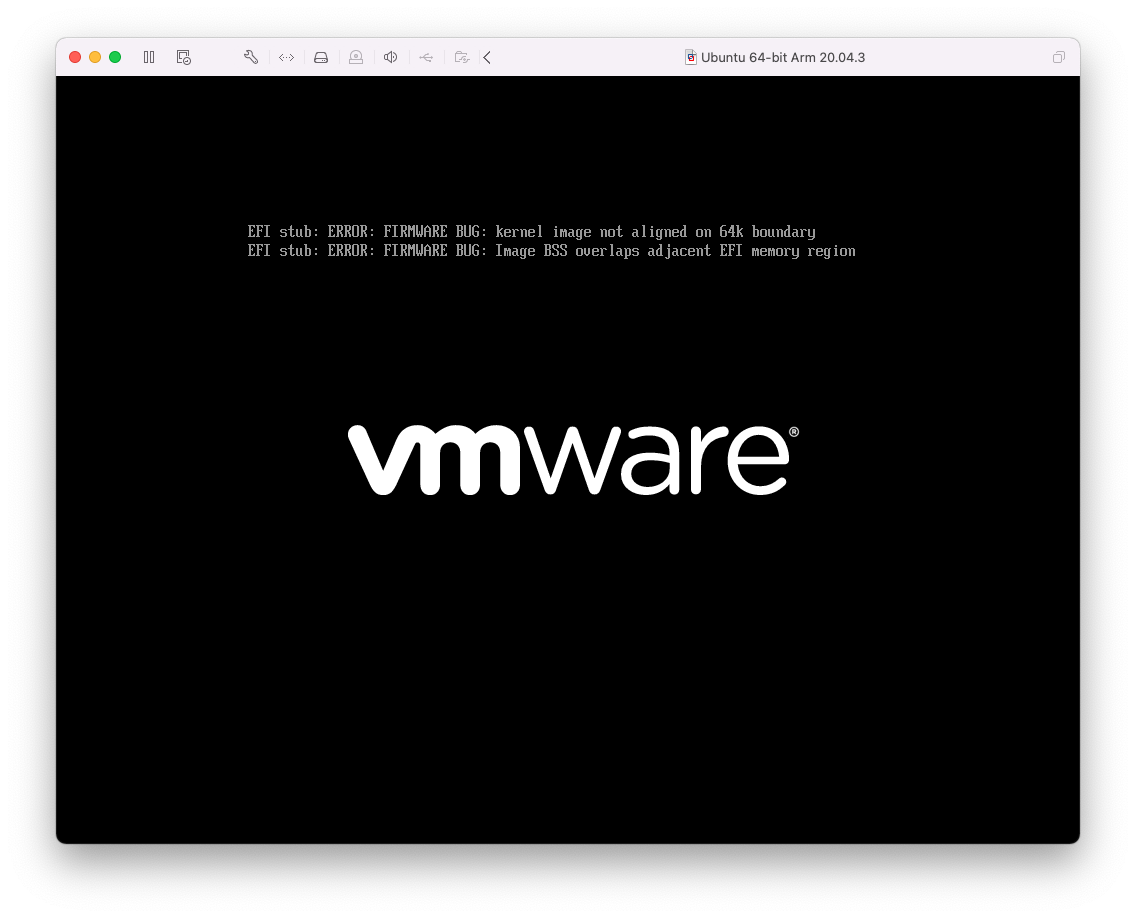
You can ignore the ERROR lines above. When the reboot is complete, you should see the Ubuntu login screen:
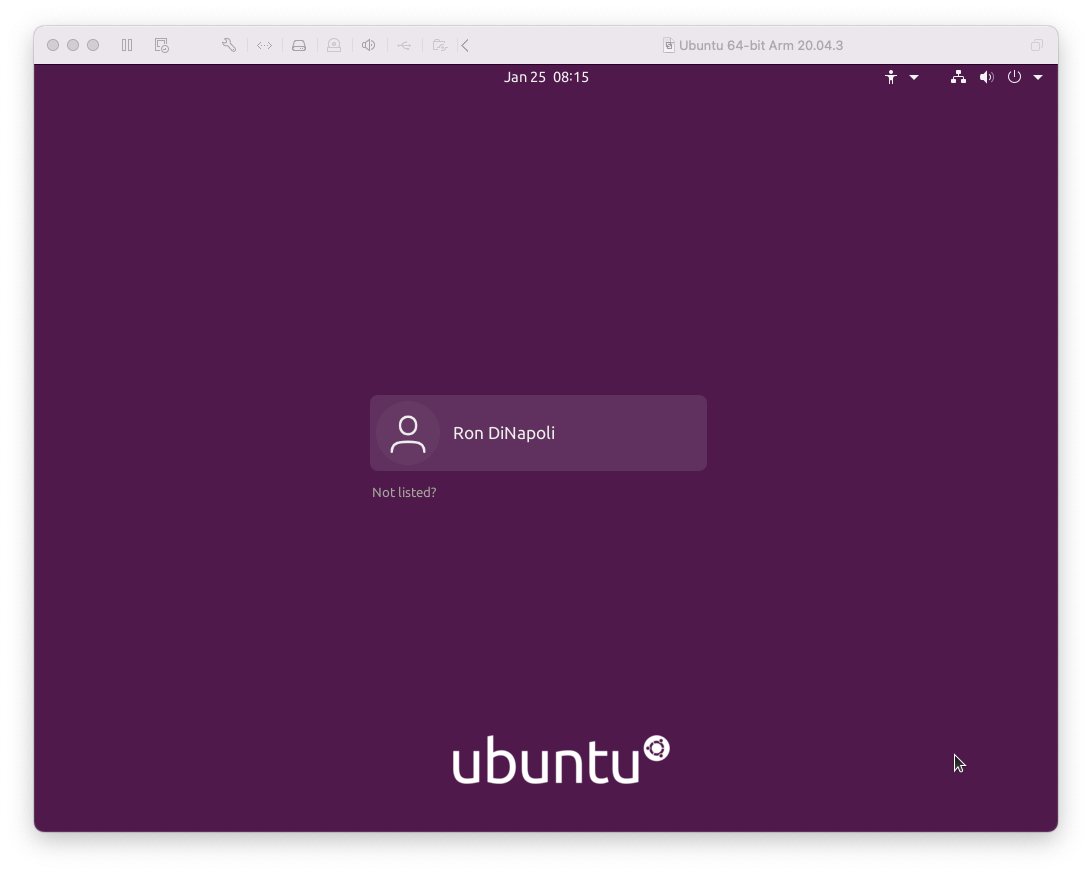
You can now continue with the Ubuntu Setup instructions, but remember to use the password you provided during this installation process instead of using "osboxes.org" as the password.
NOTE: You may find that you are very limited to the "screen size" of the Ubuntu desktop. There are instructions for fixing that; I will post those later this week.