Part 1: Basic Pinhole Camera
Camera Design
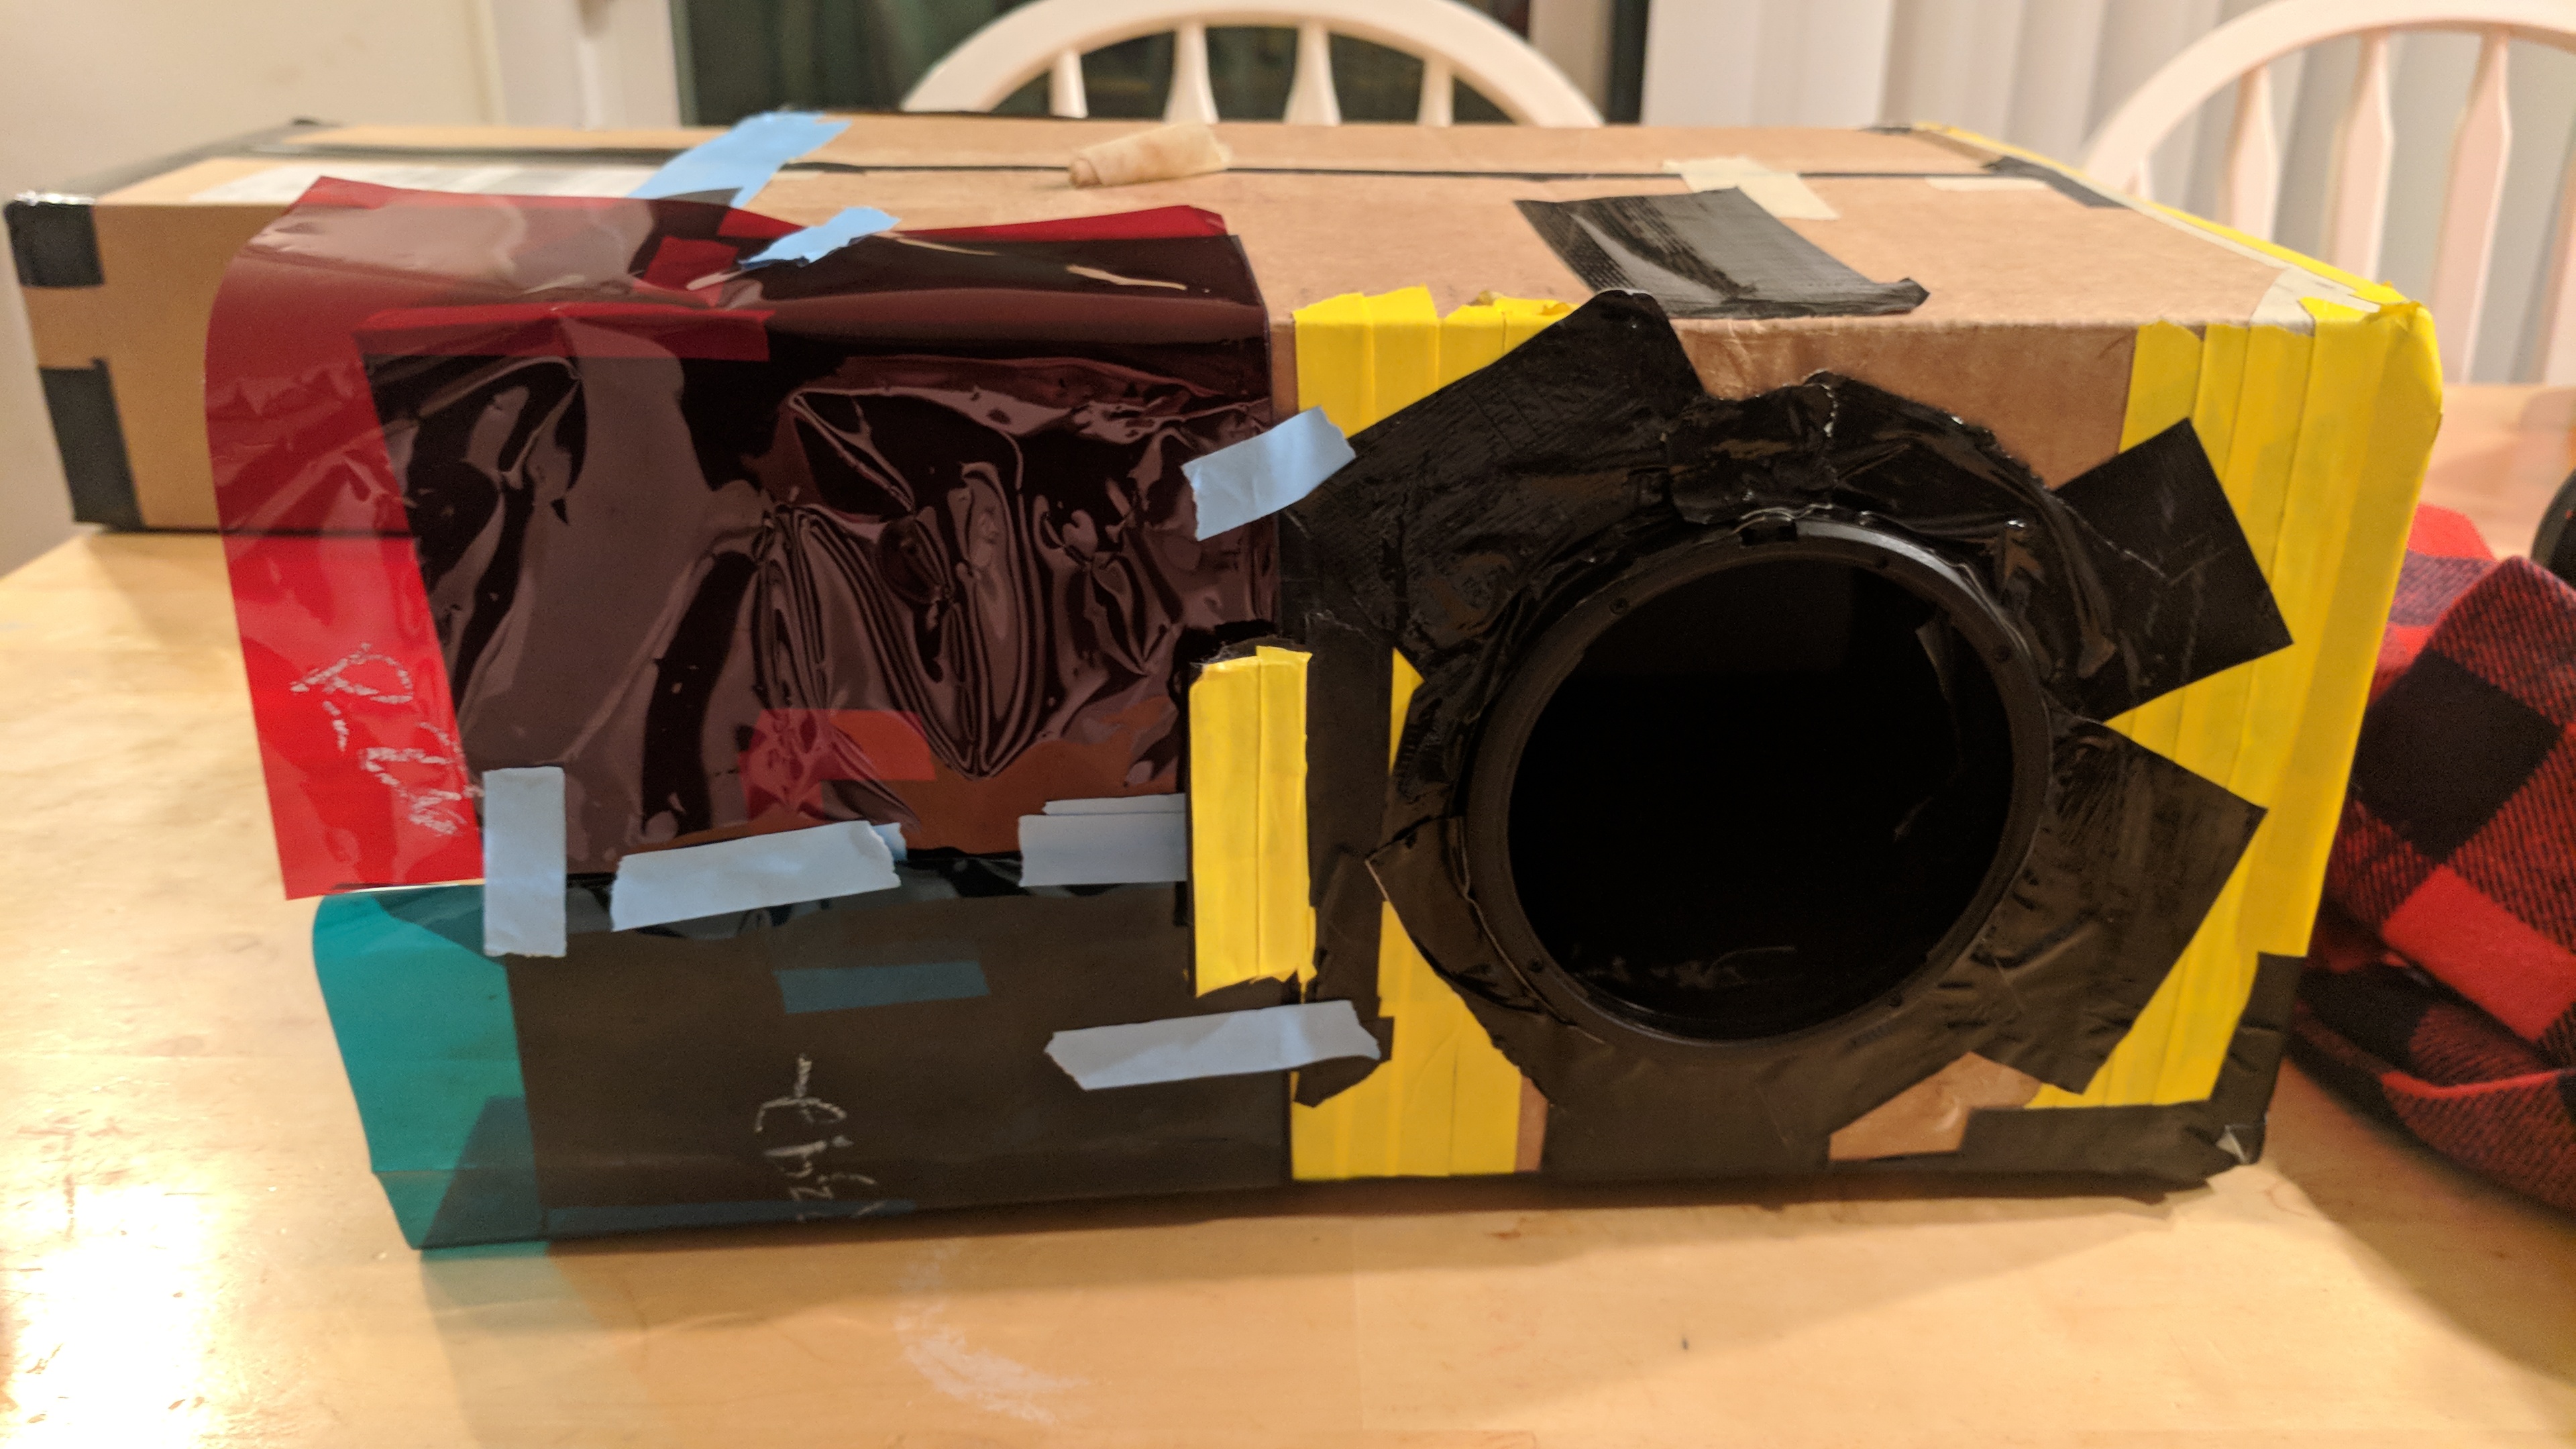
Pinhole camera:
we used an cardboard box as the body and made it completed dark by lightproof tapes.
The left hole is for replacable pinhole cards and the right one is for the camera.
Although the best pinhole size we calculated from the formula is around 0.7mm, it's not easy to prick or measure such a small pinhole. Instead we made four different size of pinhole cards: 1mm, 2mm, 3mm and 5mm. To adjust the pinhole size, we just insert the card with desirable size and cover the left hole completely.
We attached the lens hood to the right hole to make sure the digital camera can be fixed on our pinhole camera and the quality of photos would not be affected.
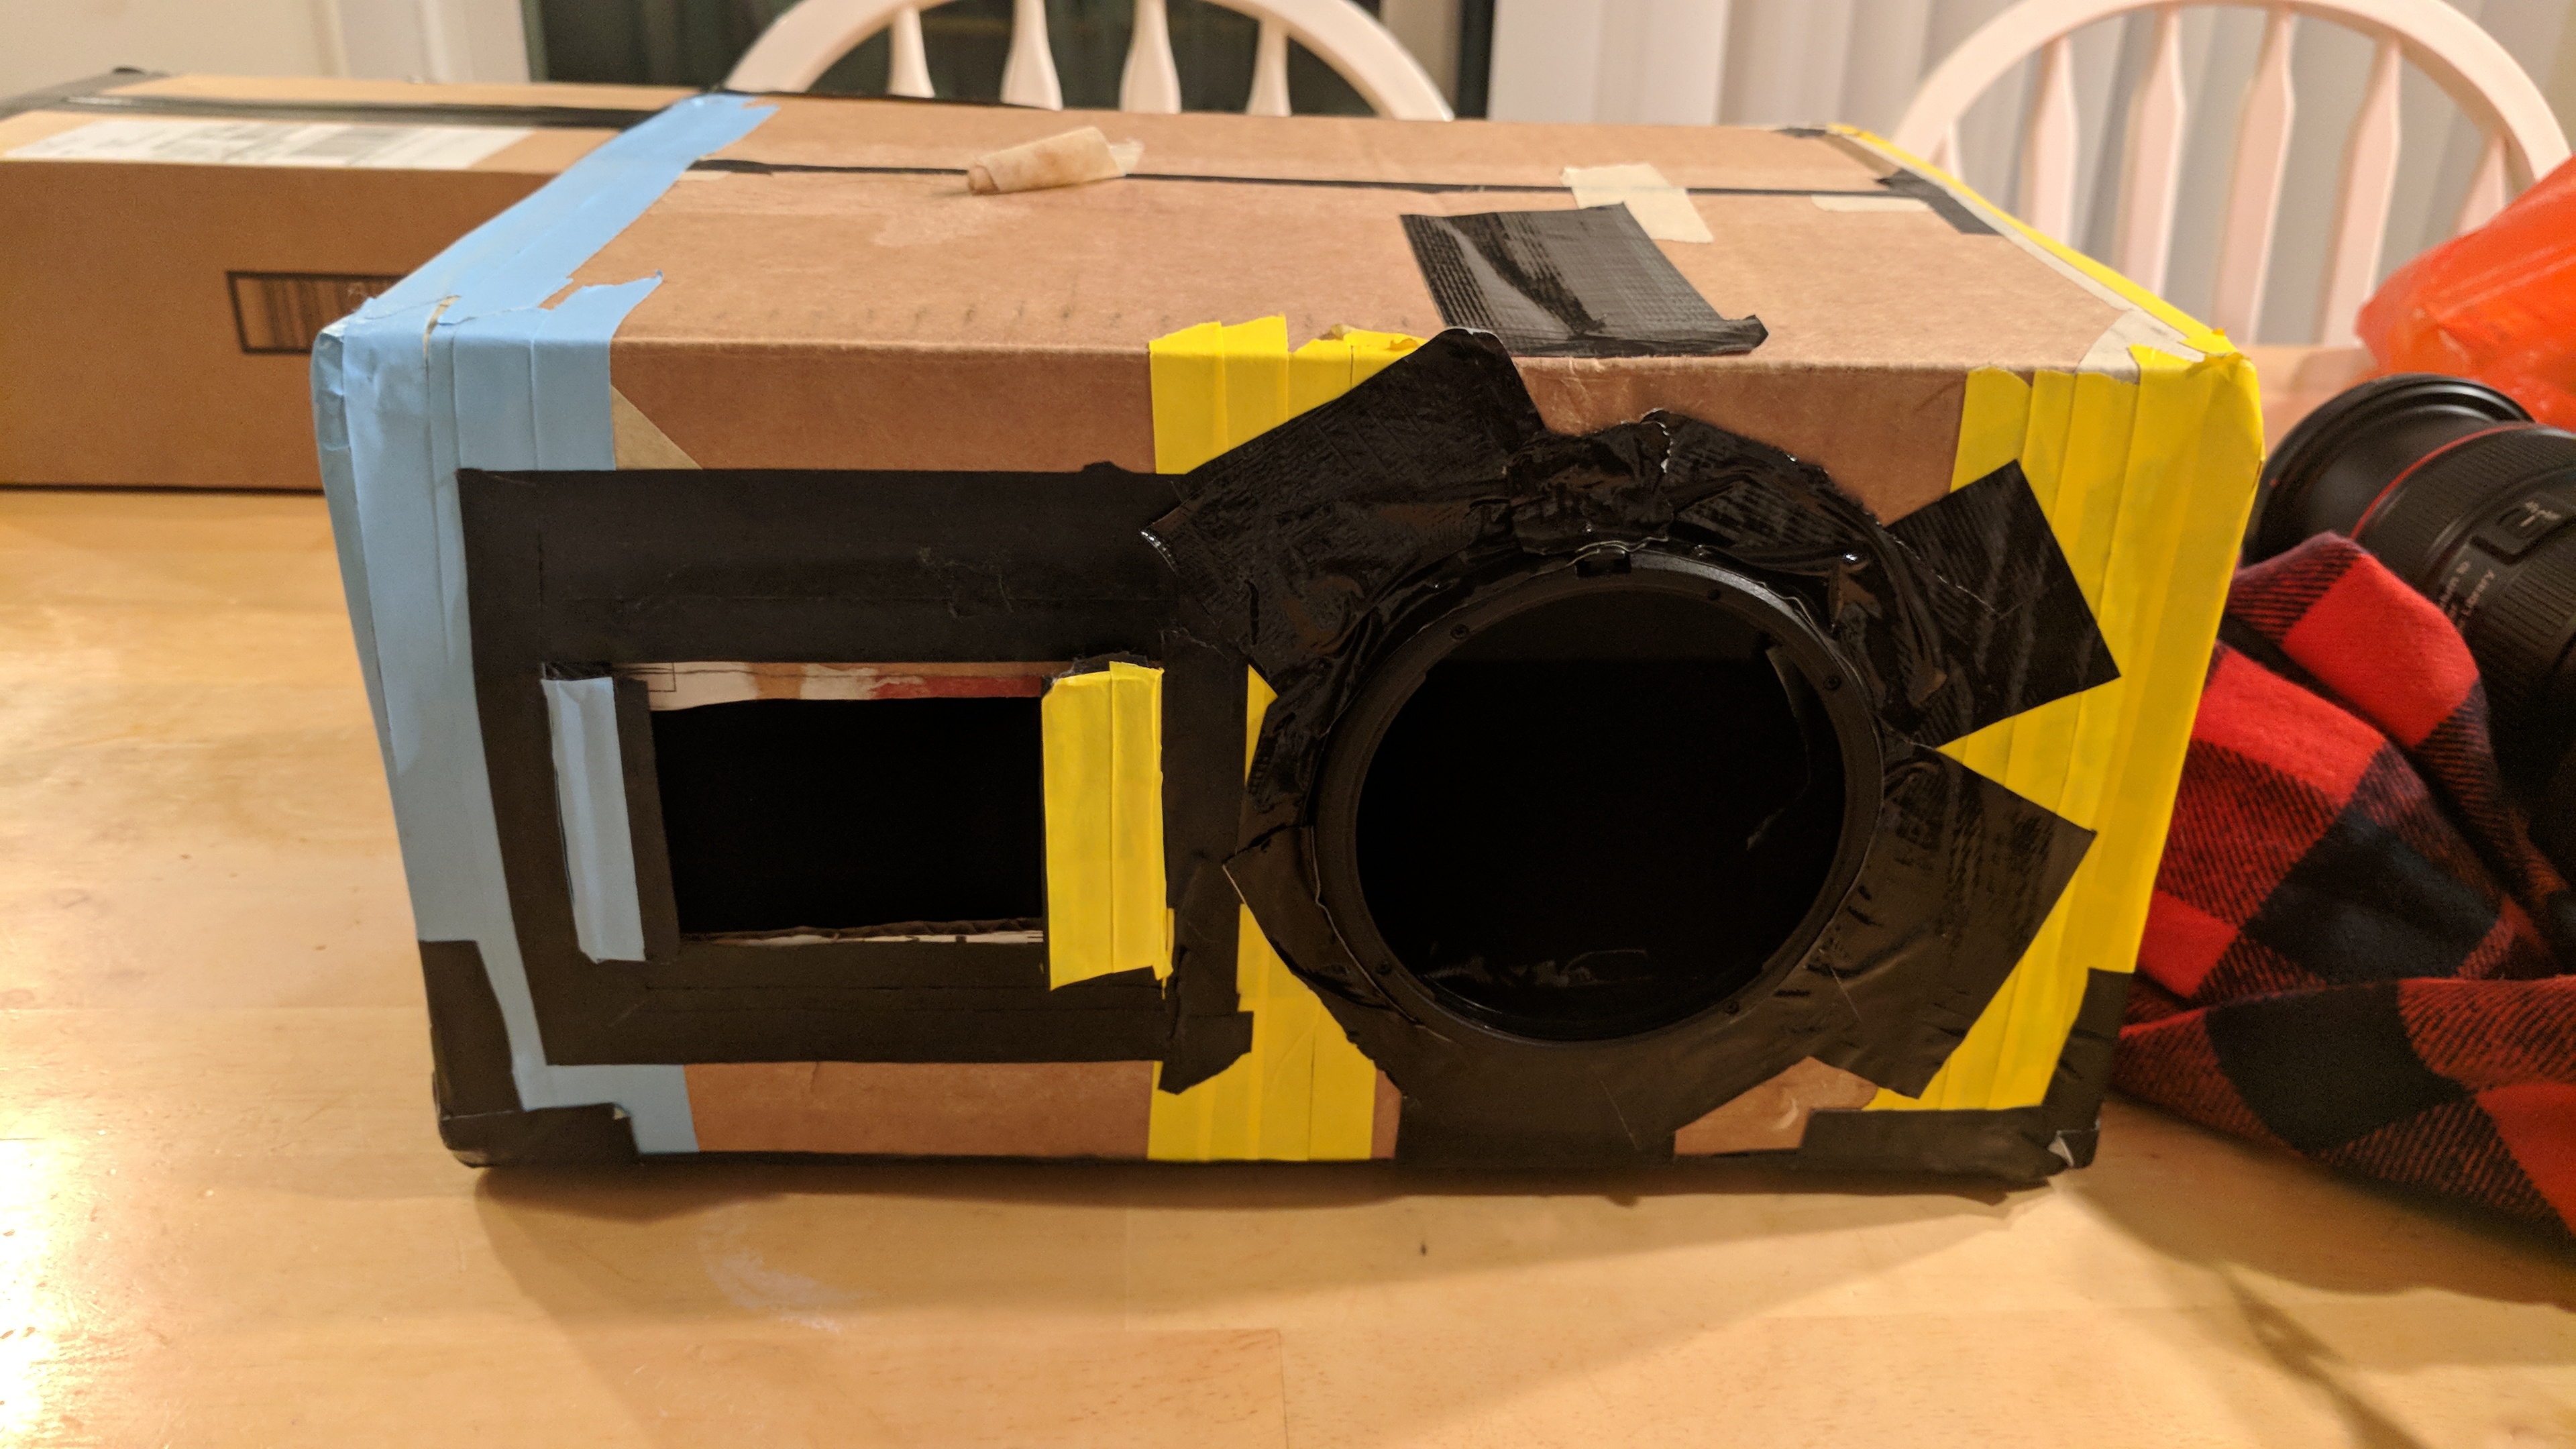
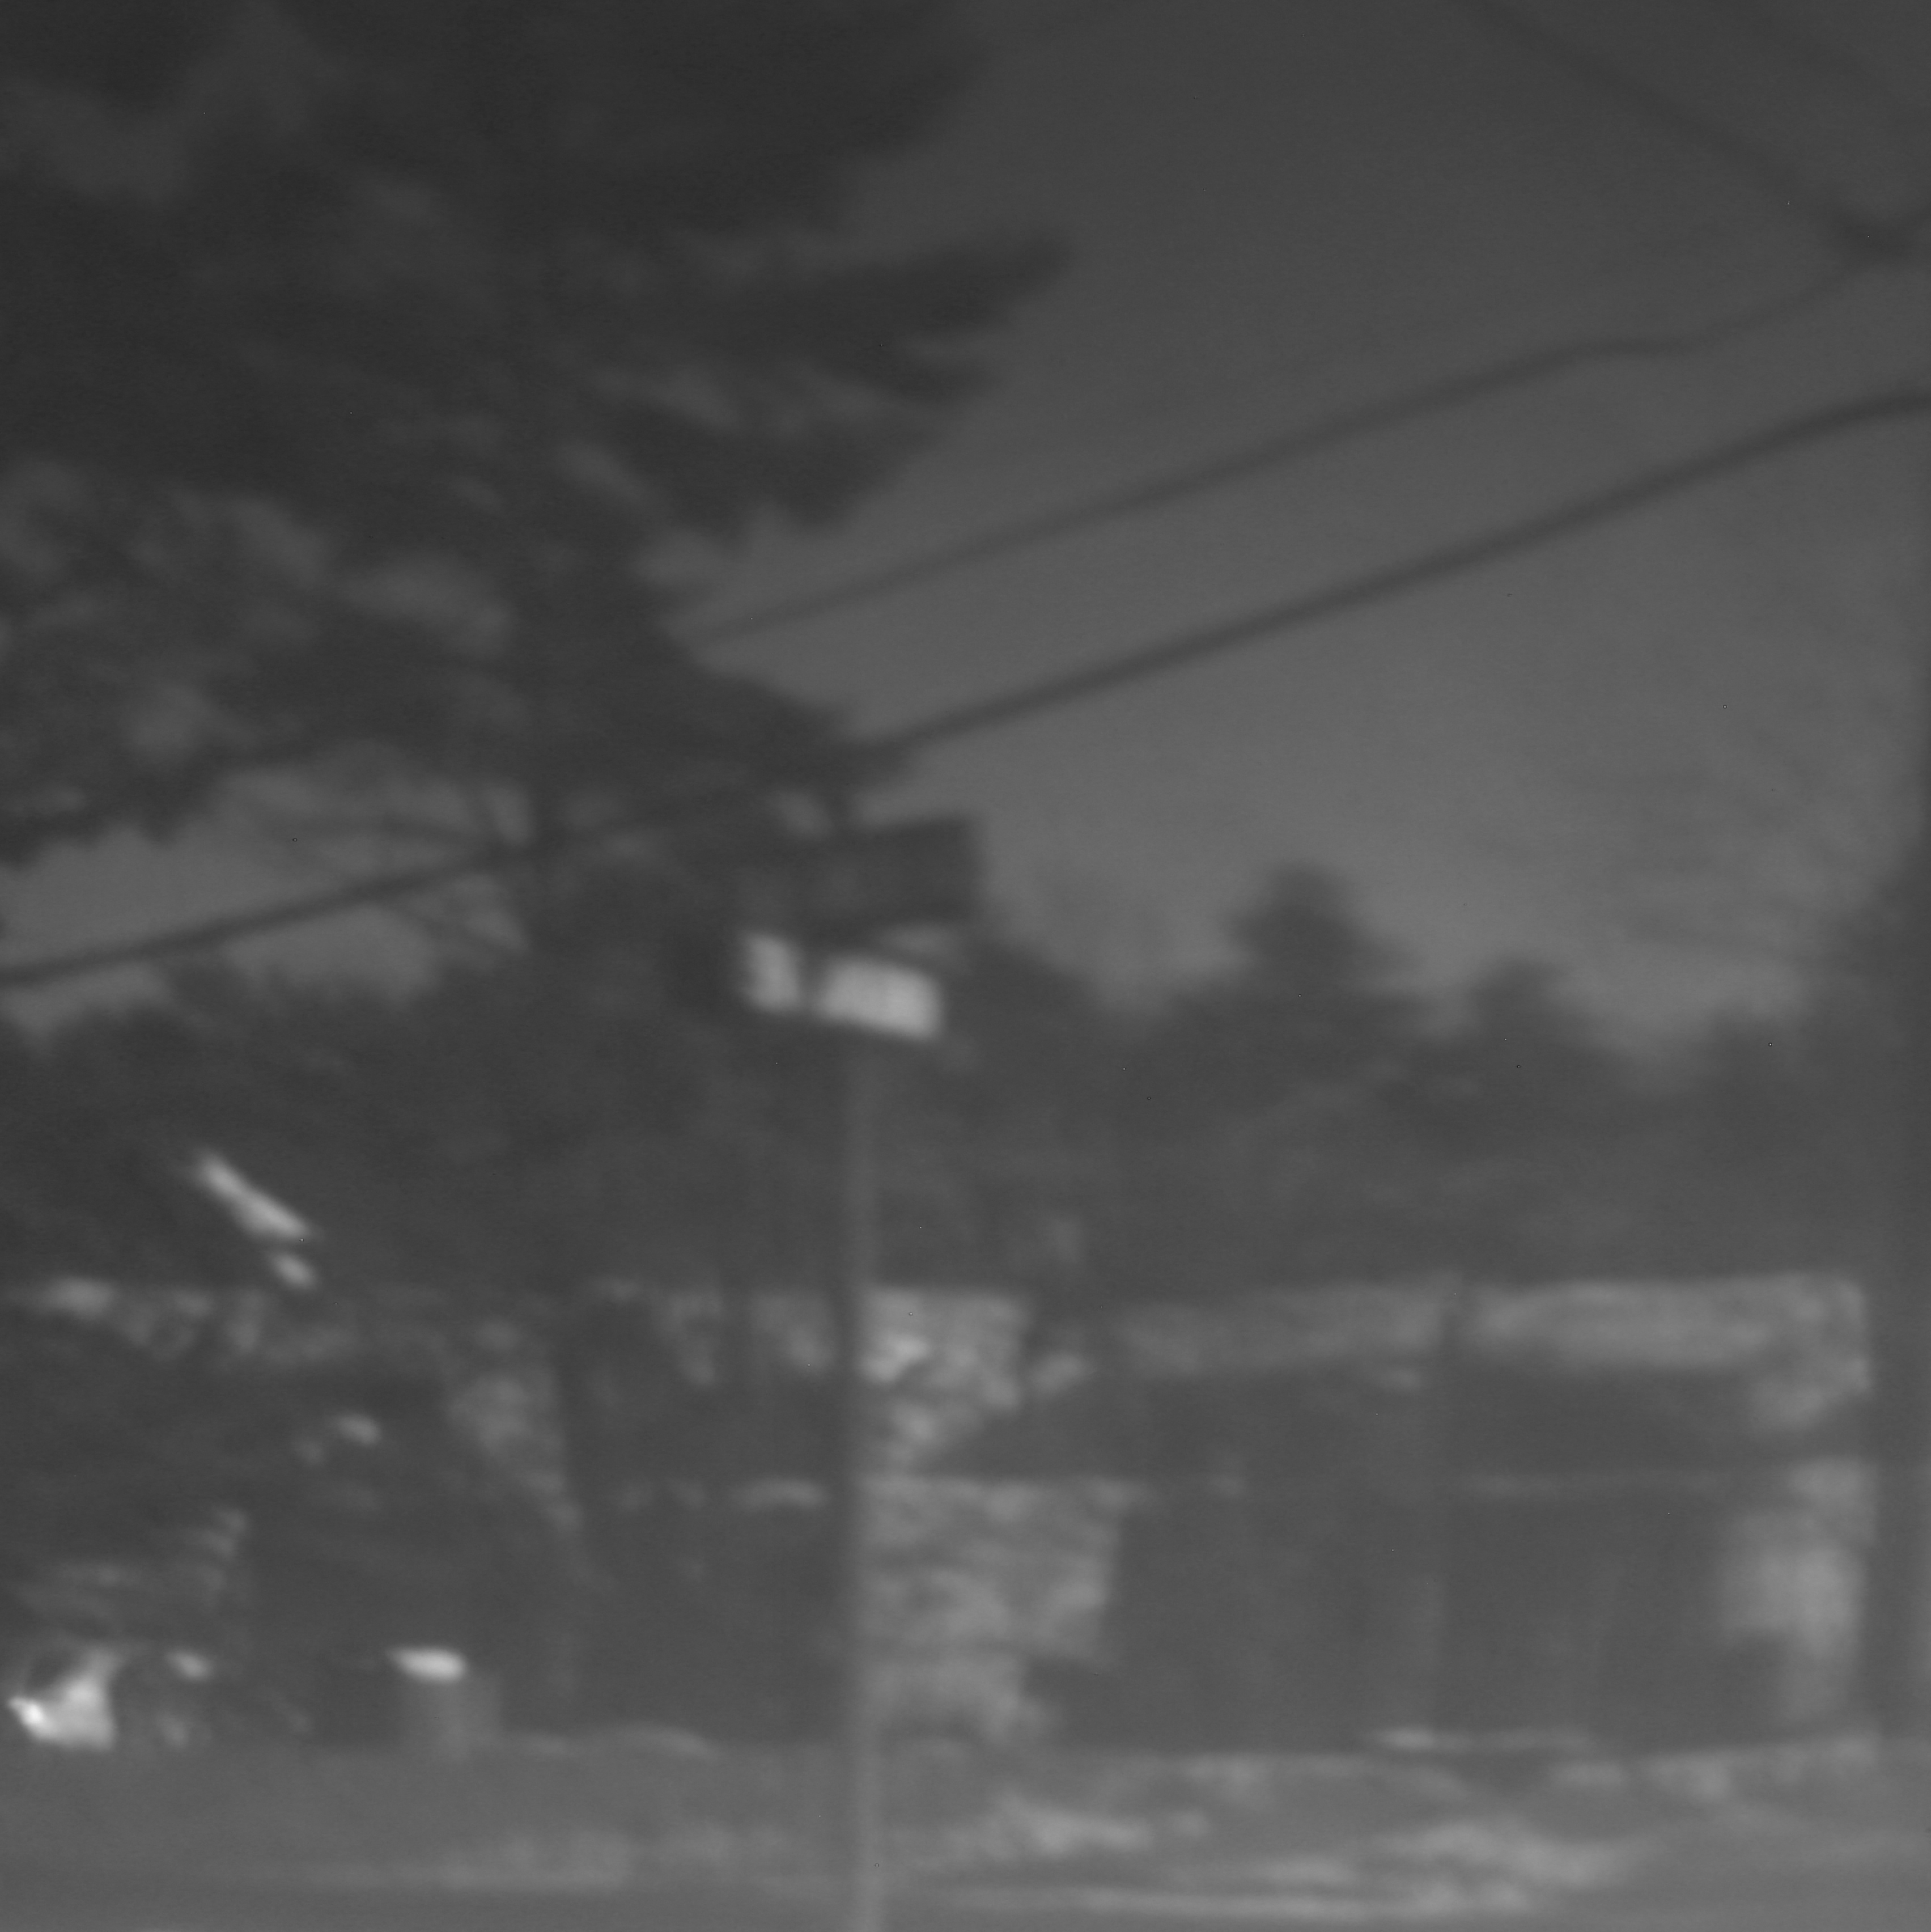
Appearance of our digital camera
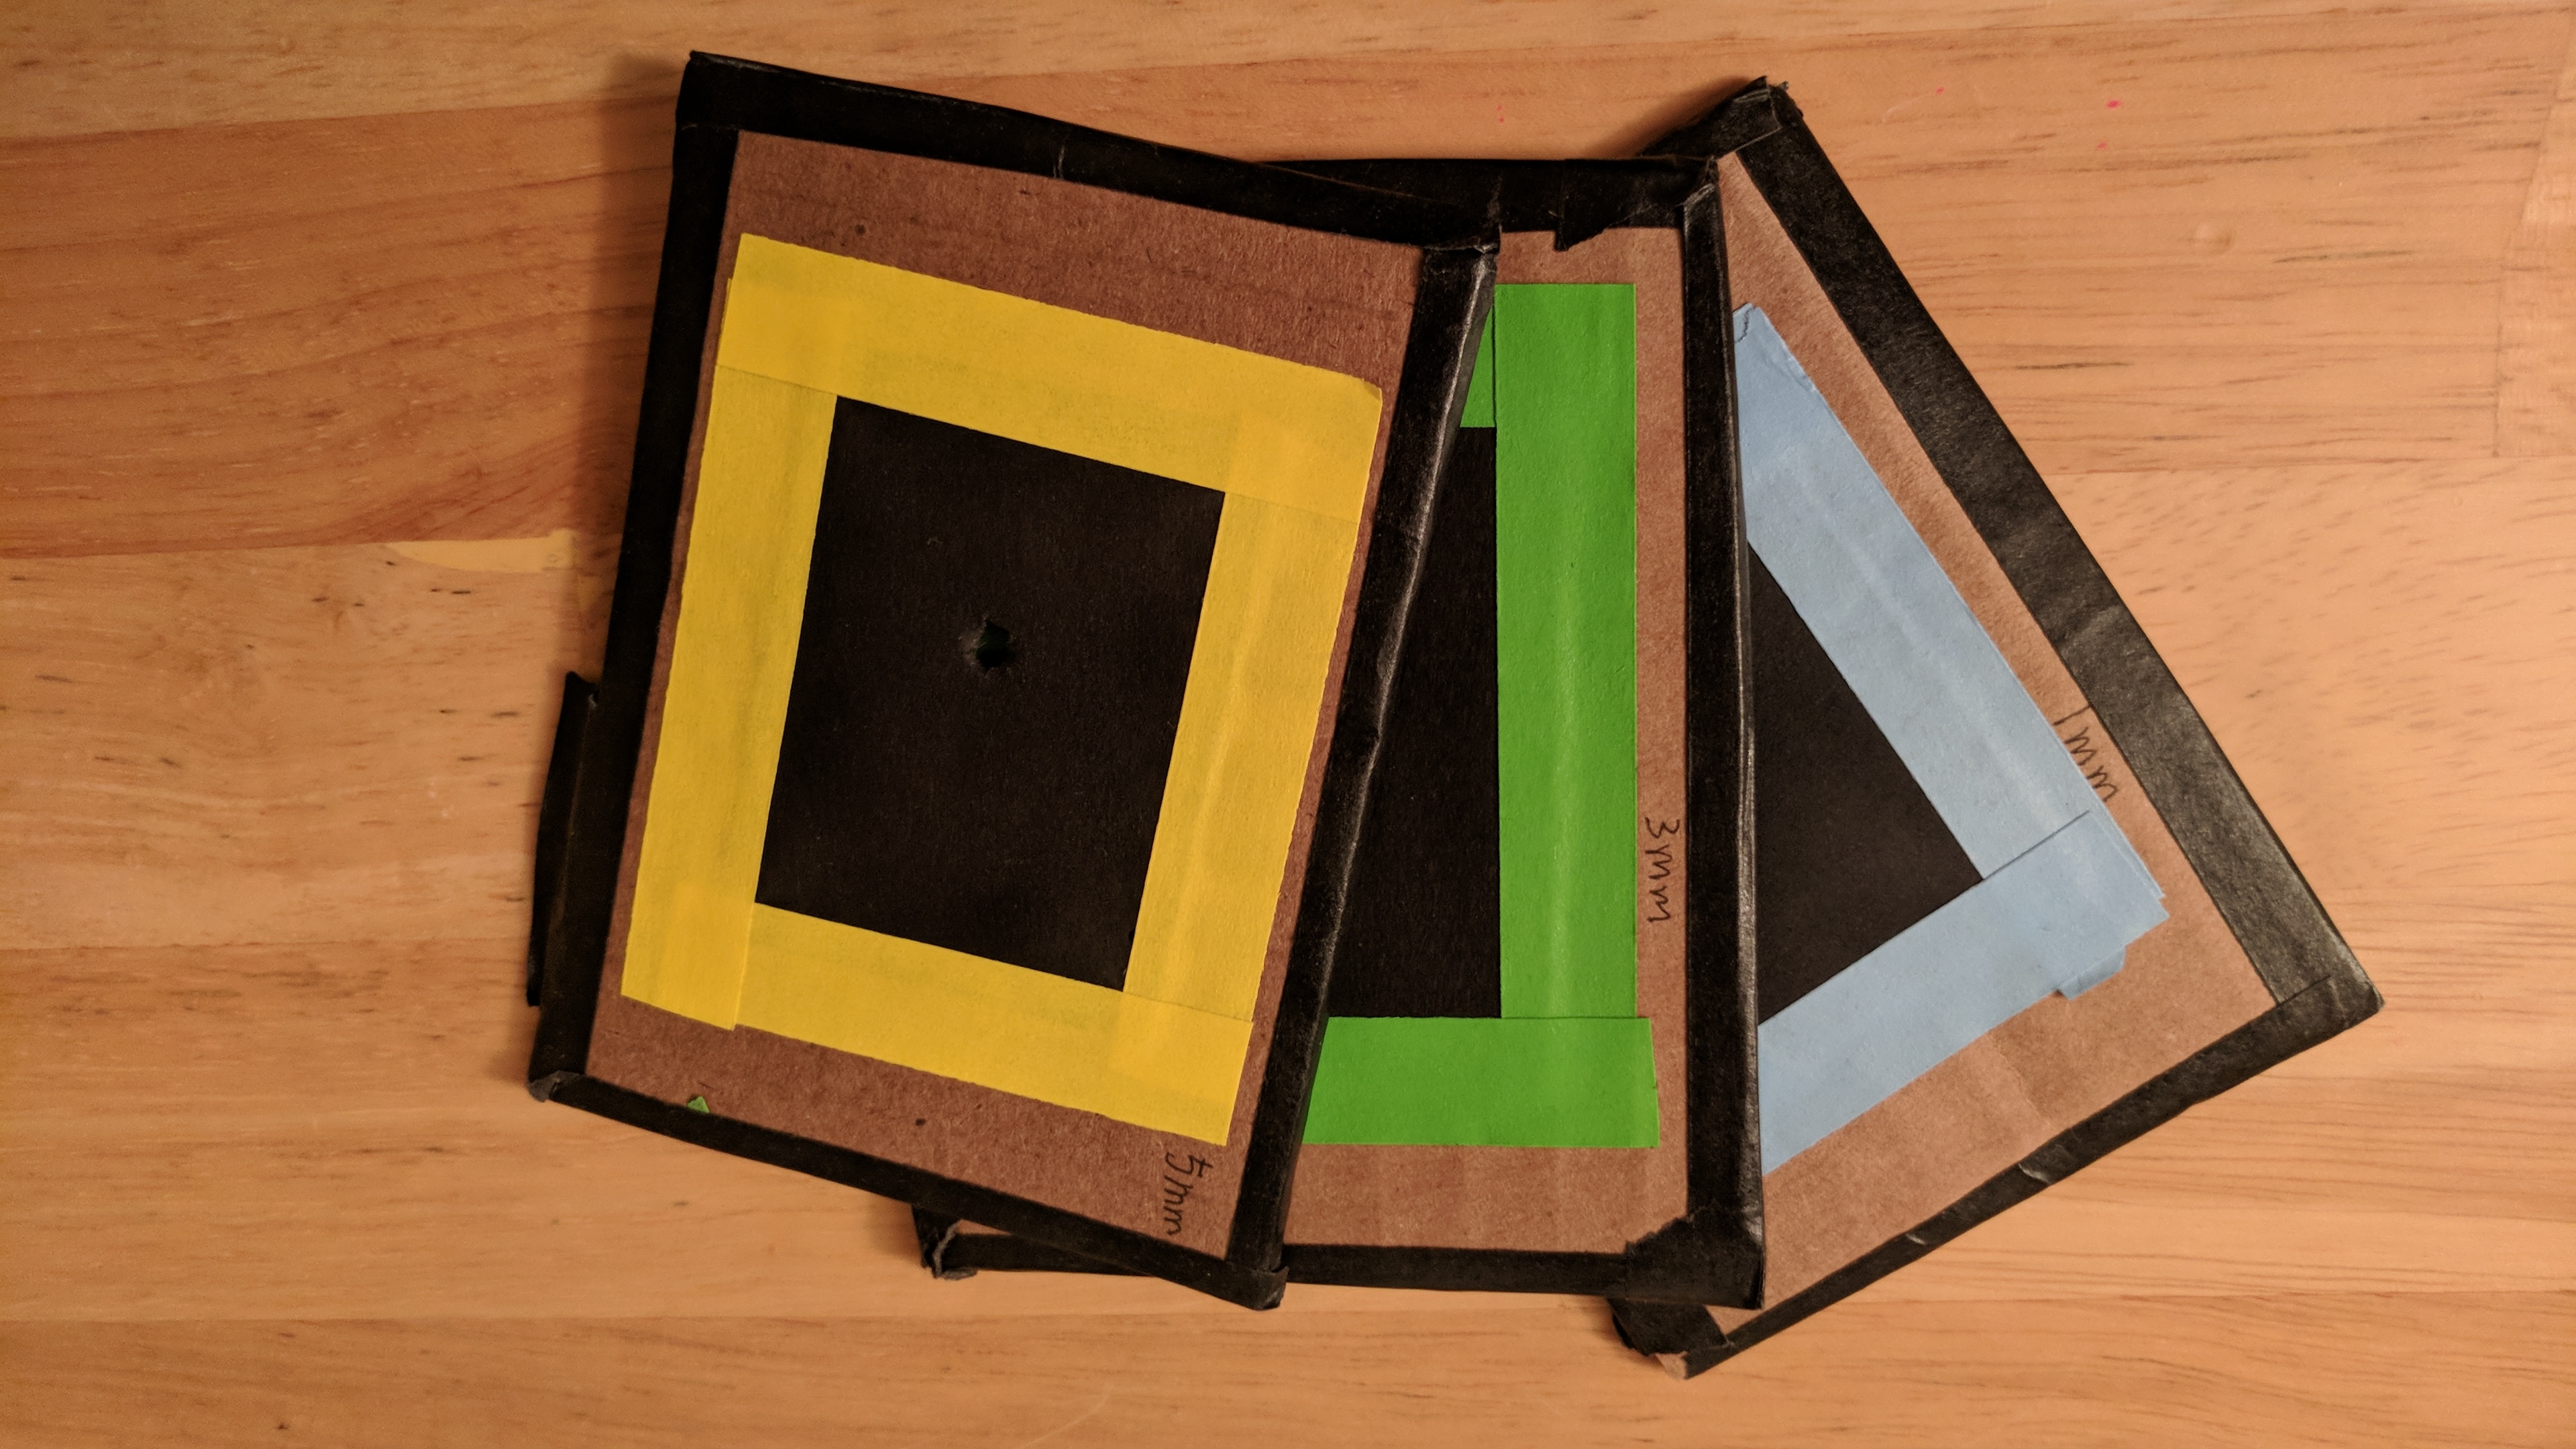
Pinhole cards
Camera setup:
Tripod to keep camera steady during long exposure, and scarf to avoid light leak.
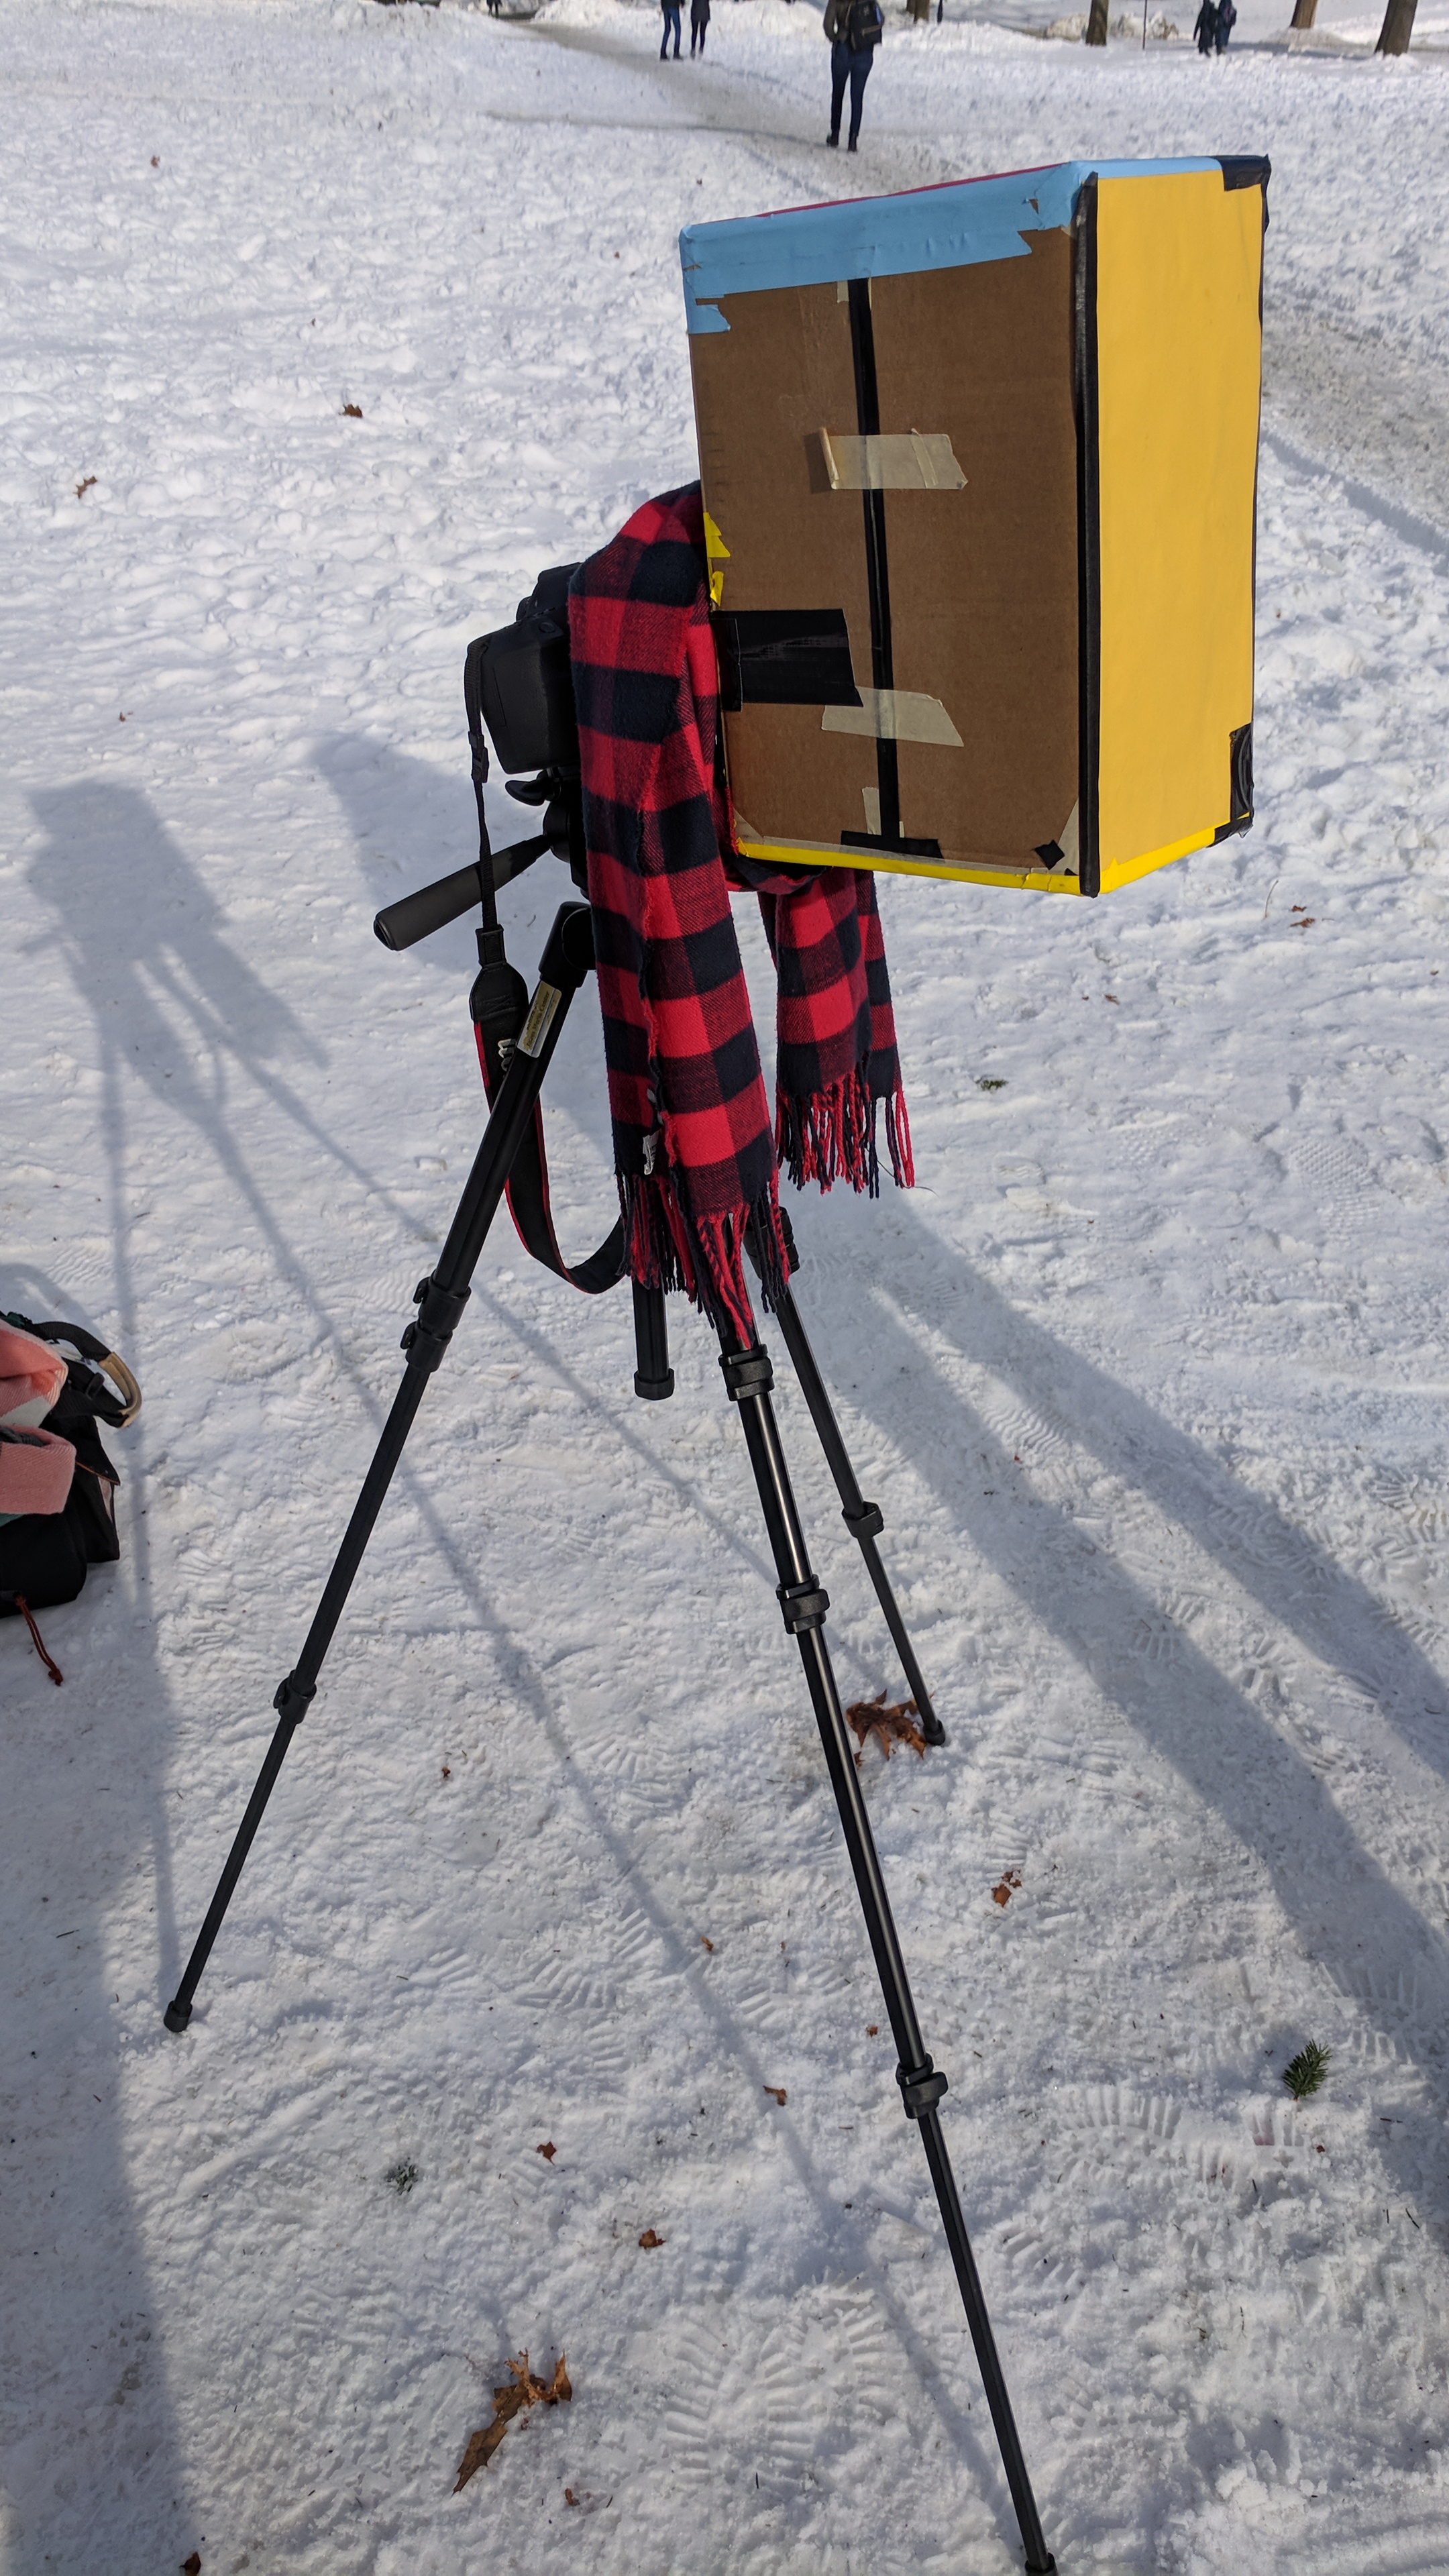
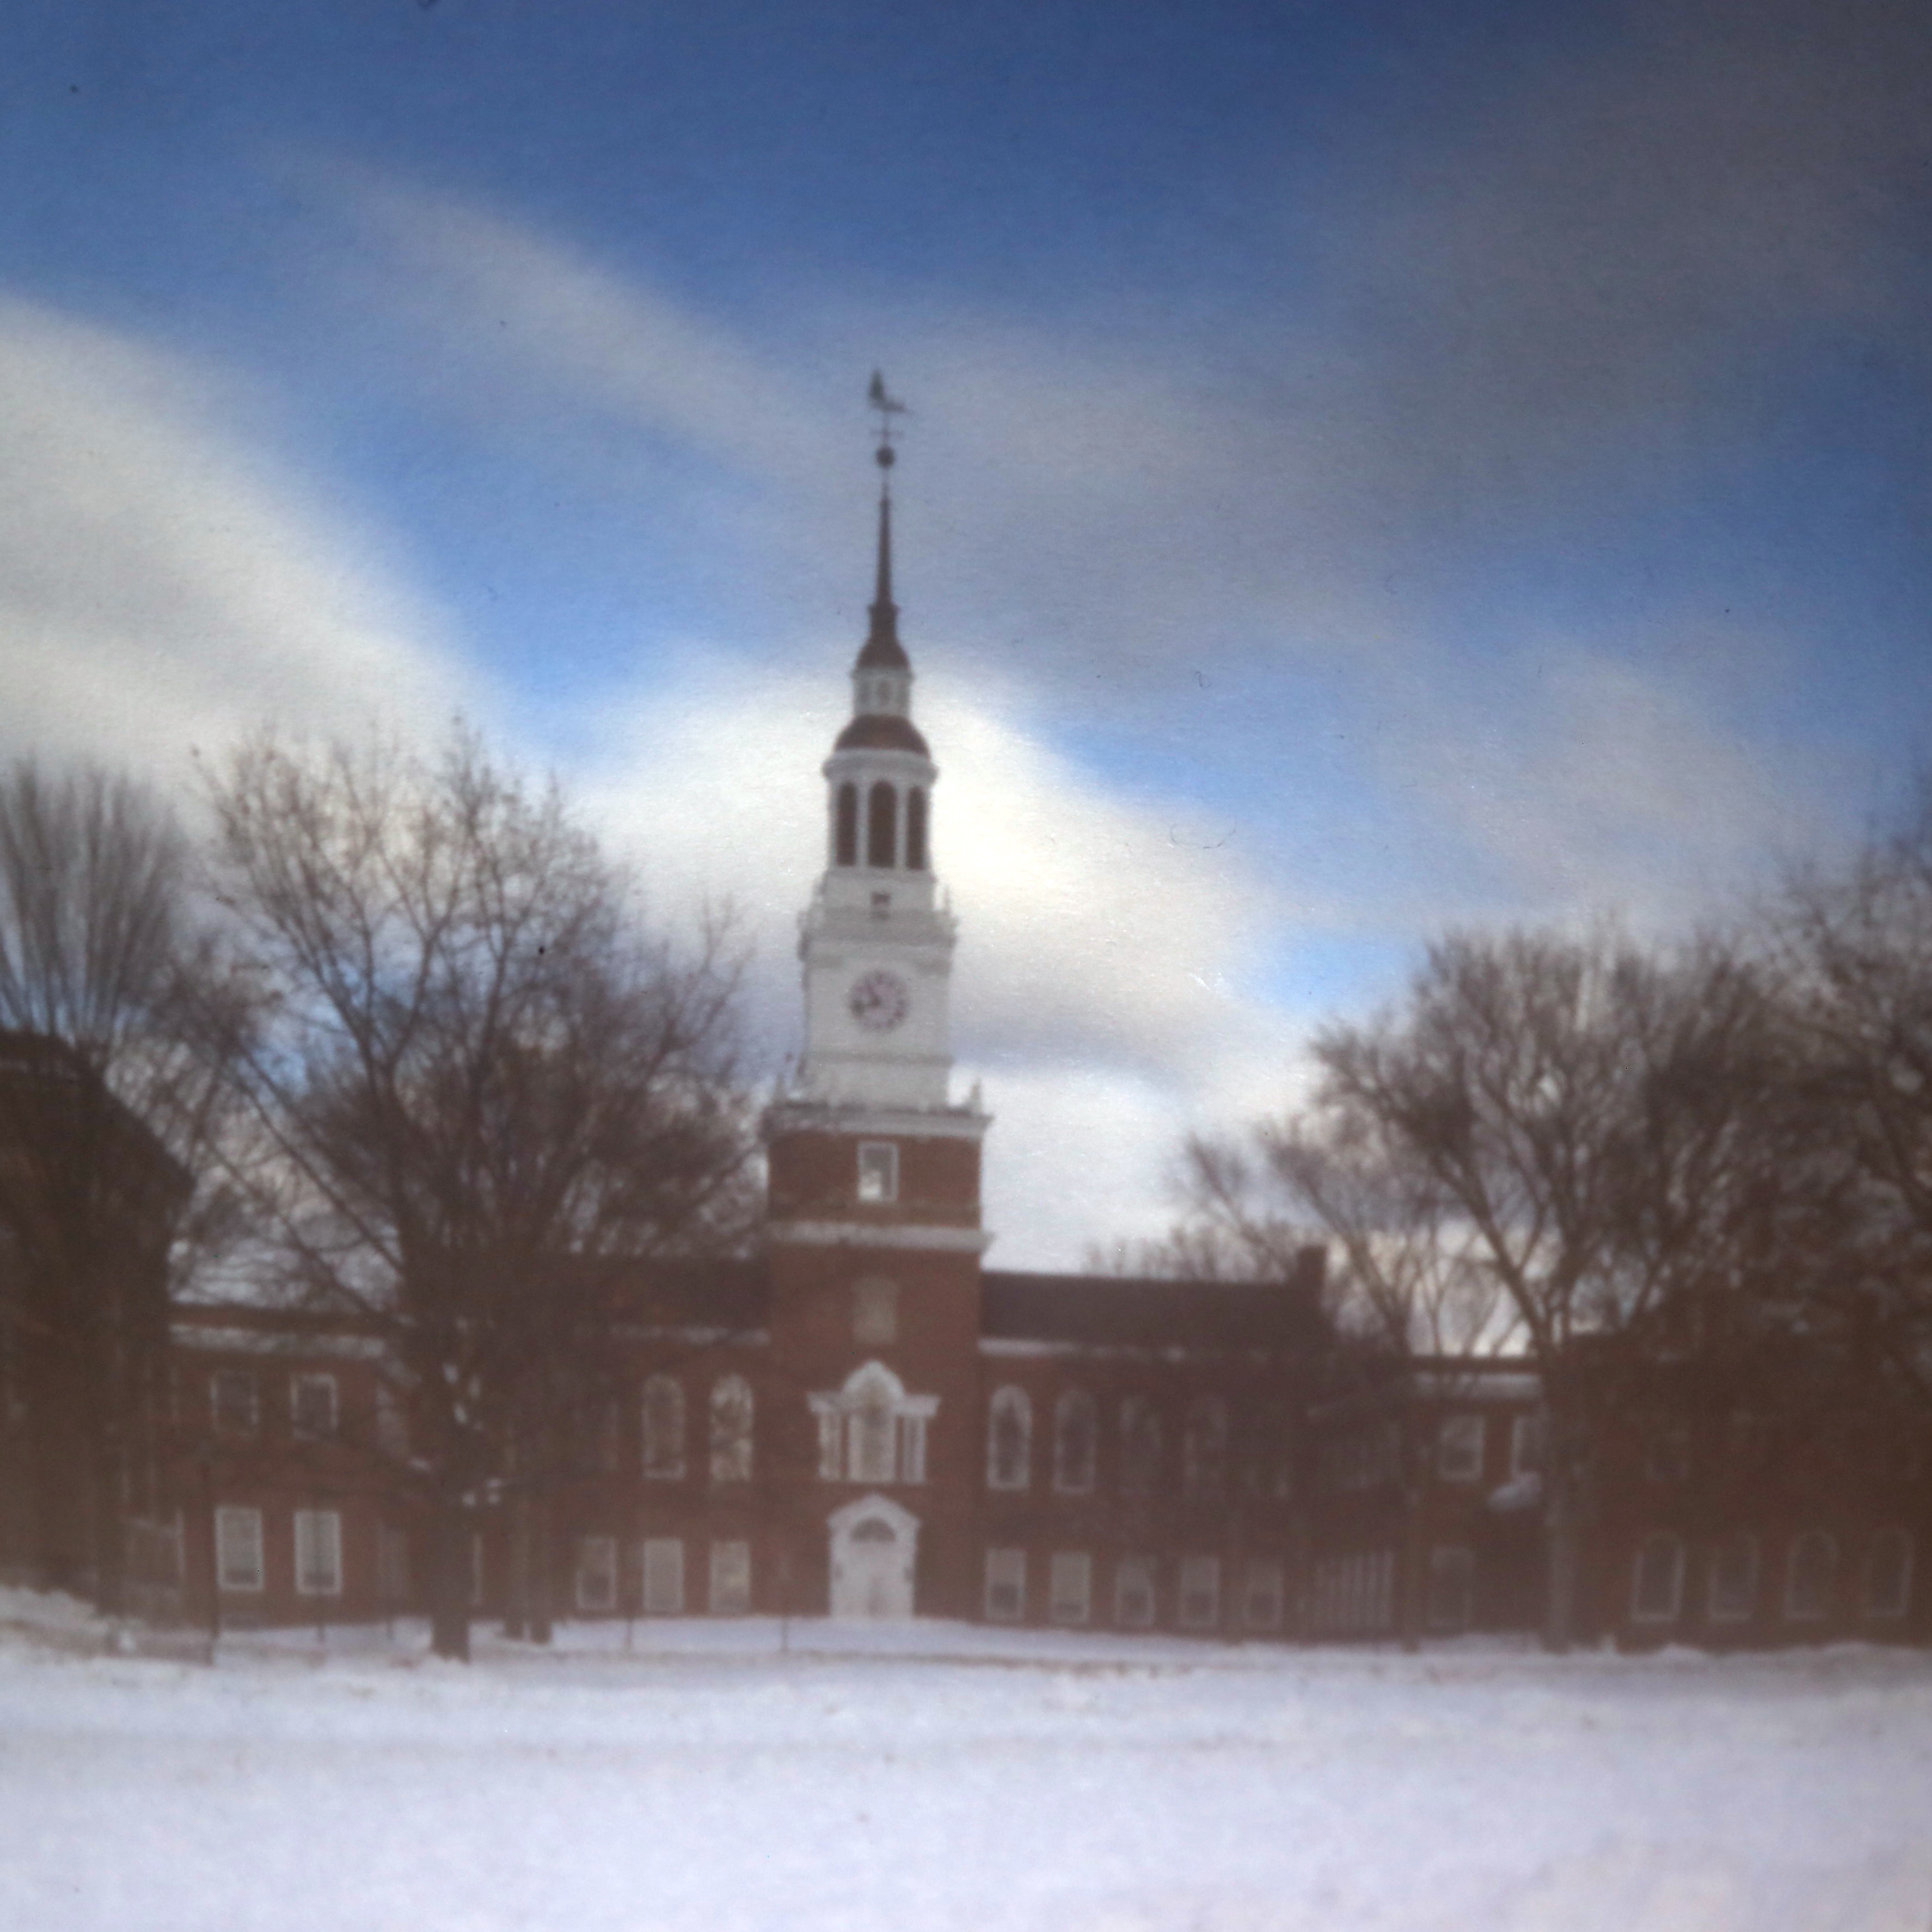
Taking photo on the Green
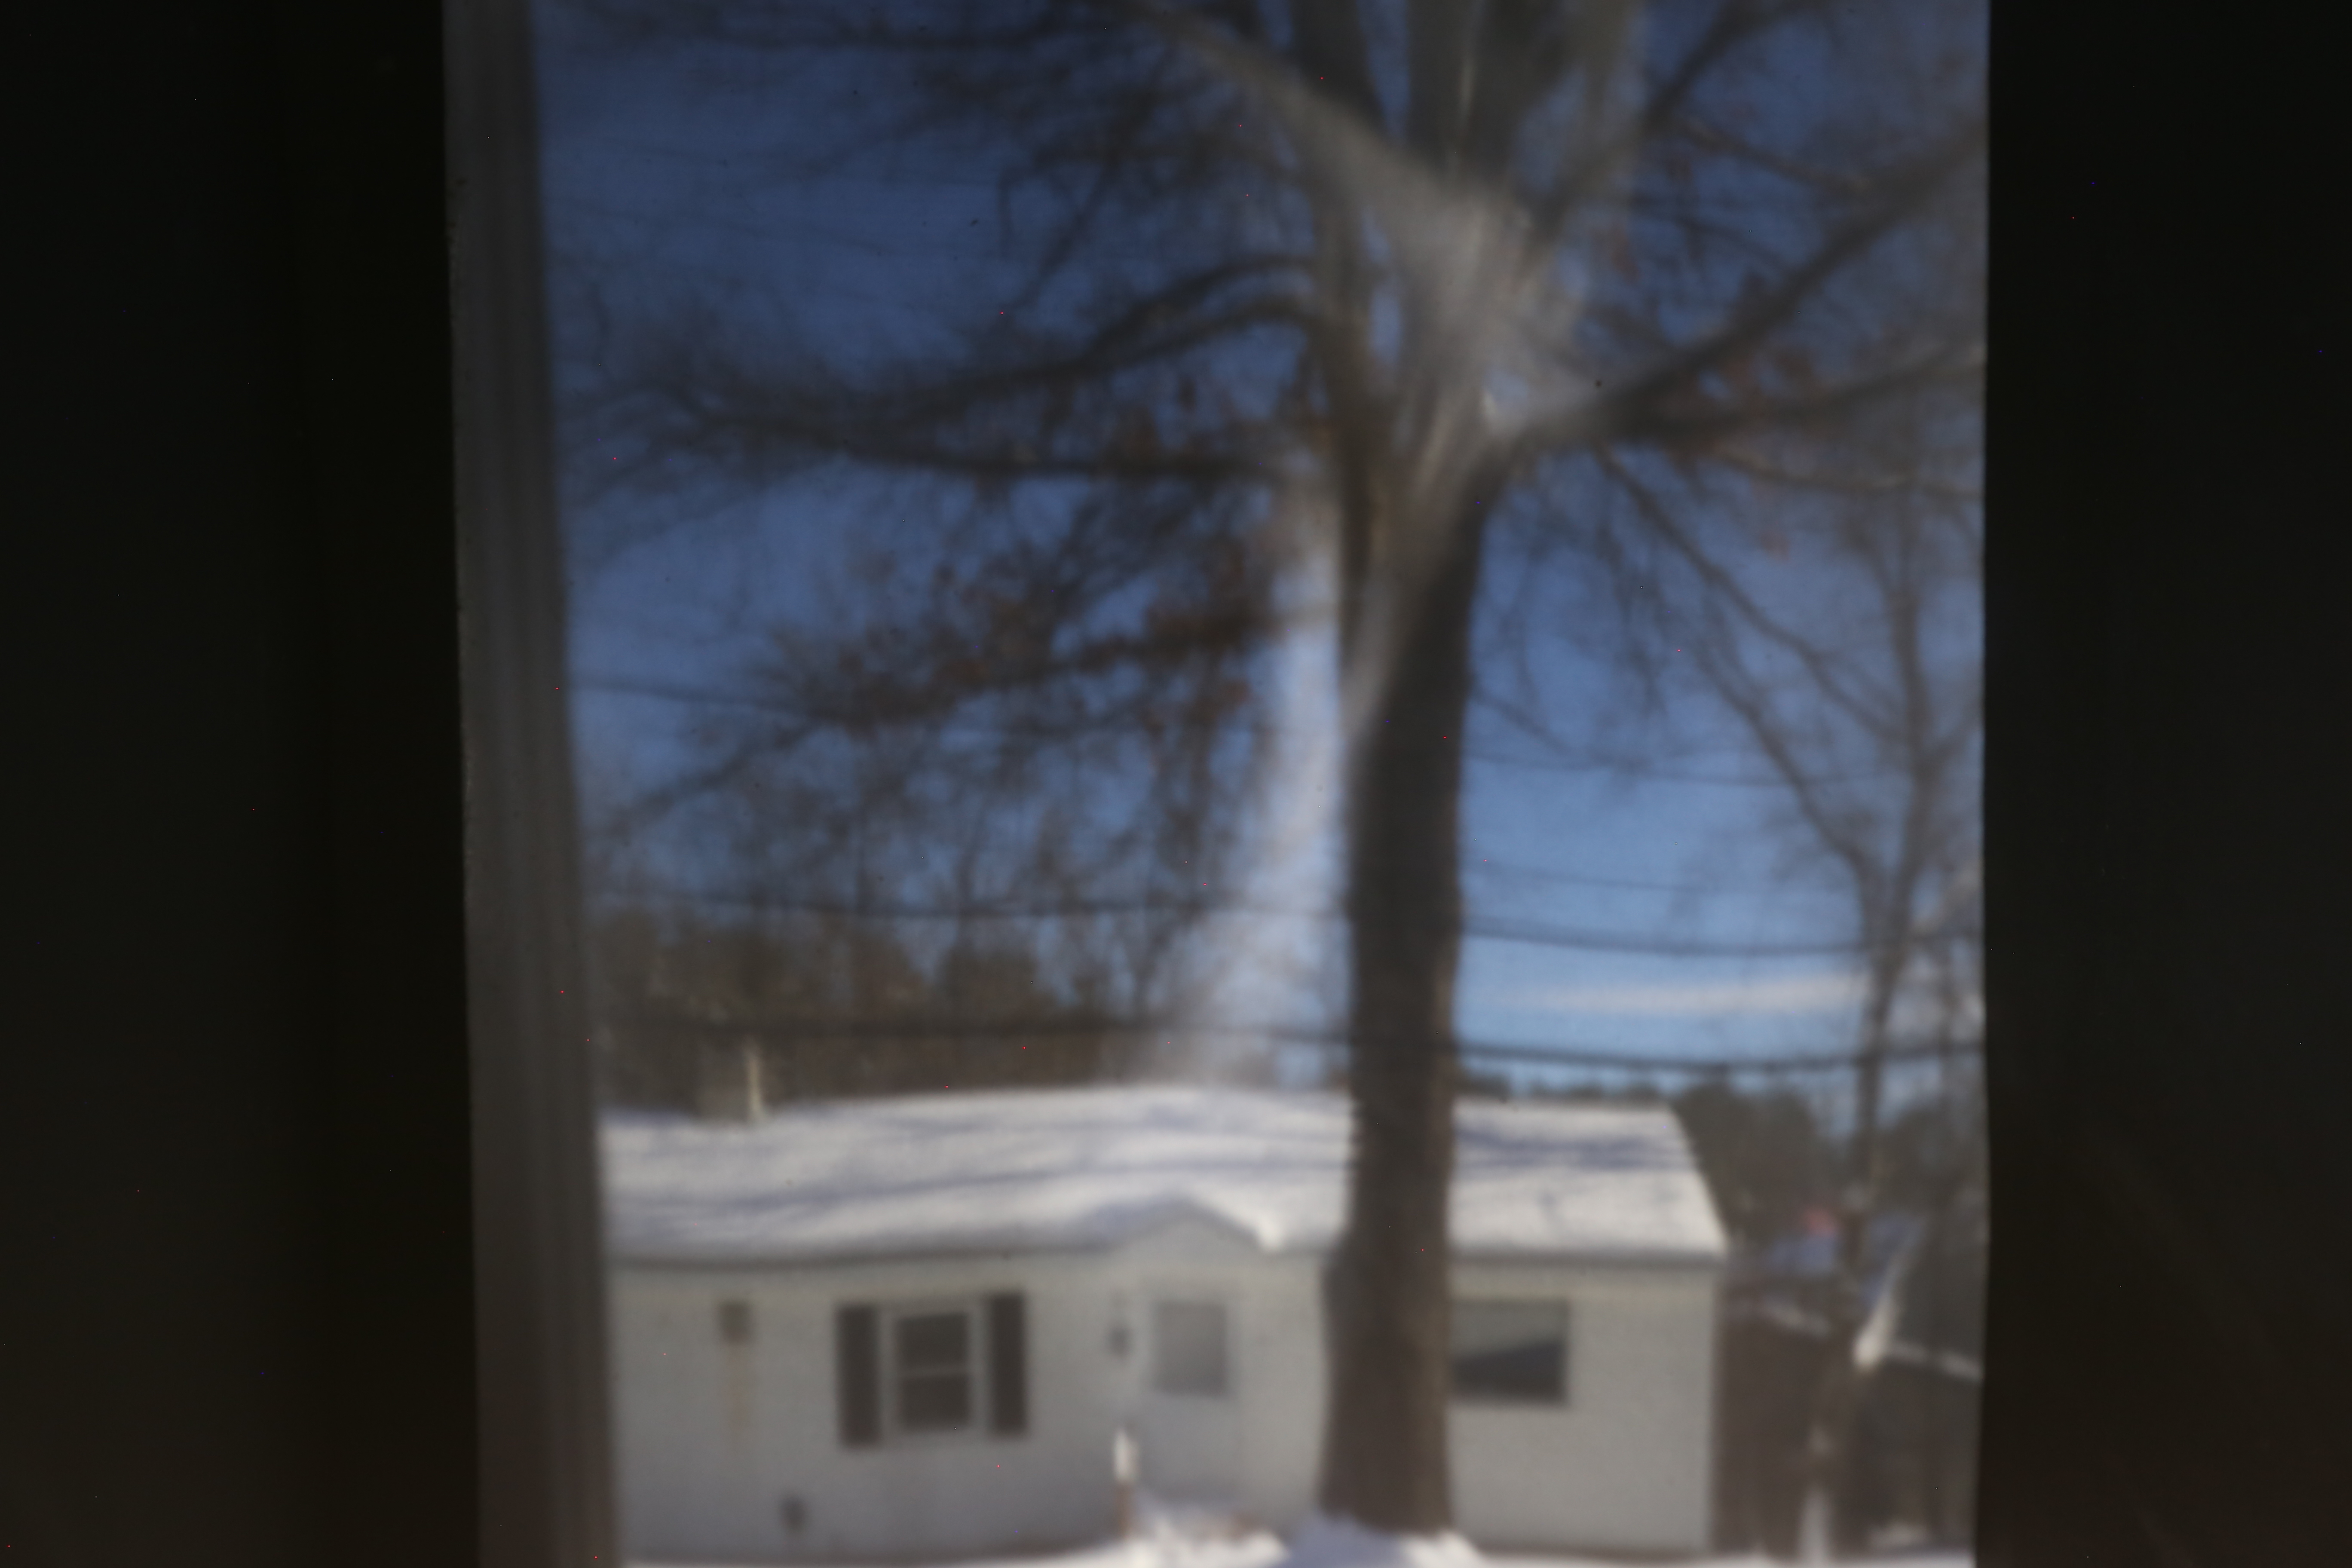
Photo with light leaking through lens hood
Pinhole Diameter Comparison
We can clearly see the differences on brightness and sharpness between photos taken with different pinhole size. By using a smaller pinhole, we can get a sharper but dimmer image.
Scene 1: Desktop View
Camera settings: f: 2.8, ISO:1000, Exposure time: 30s


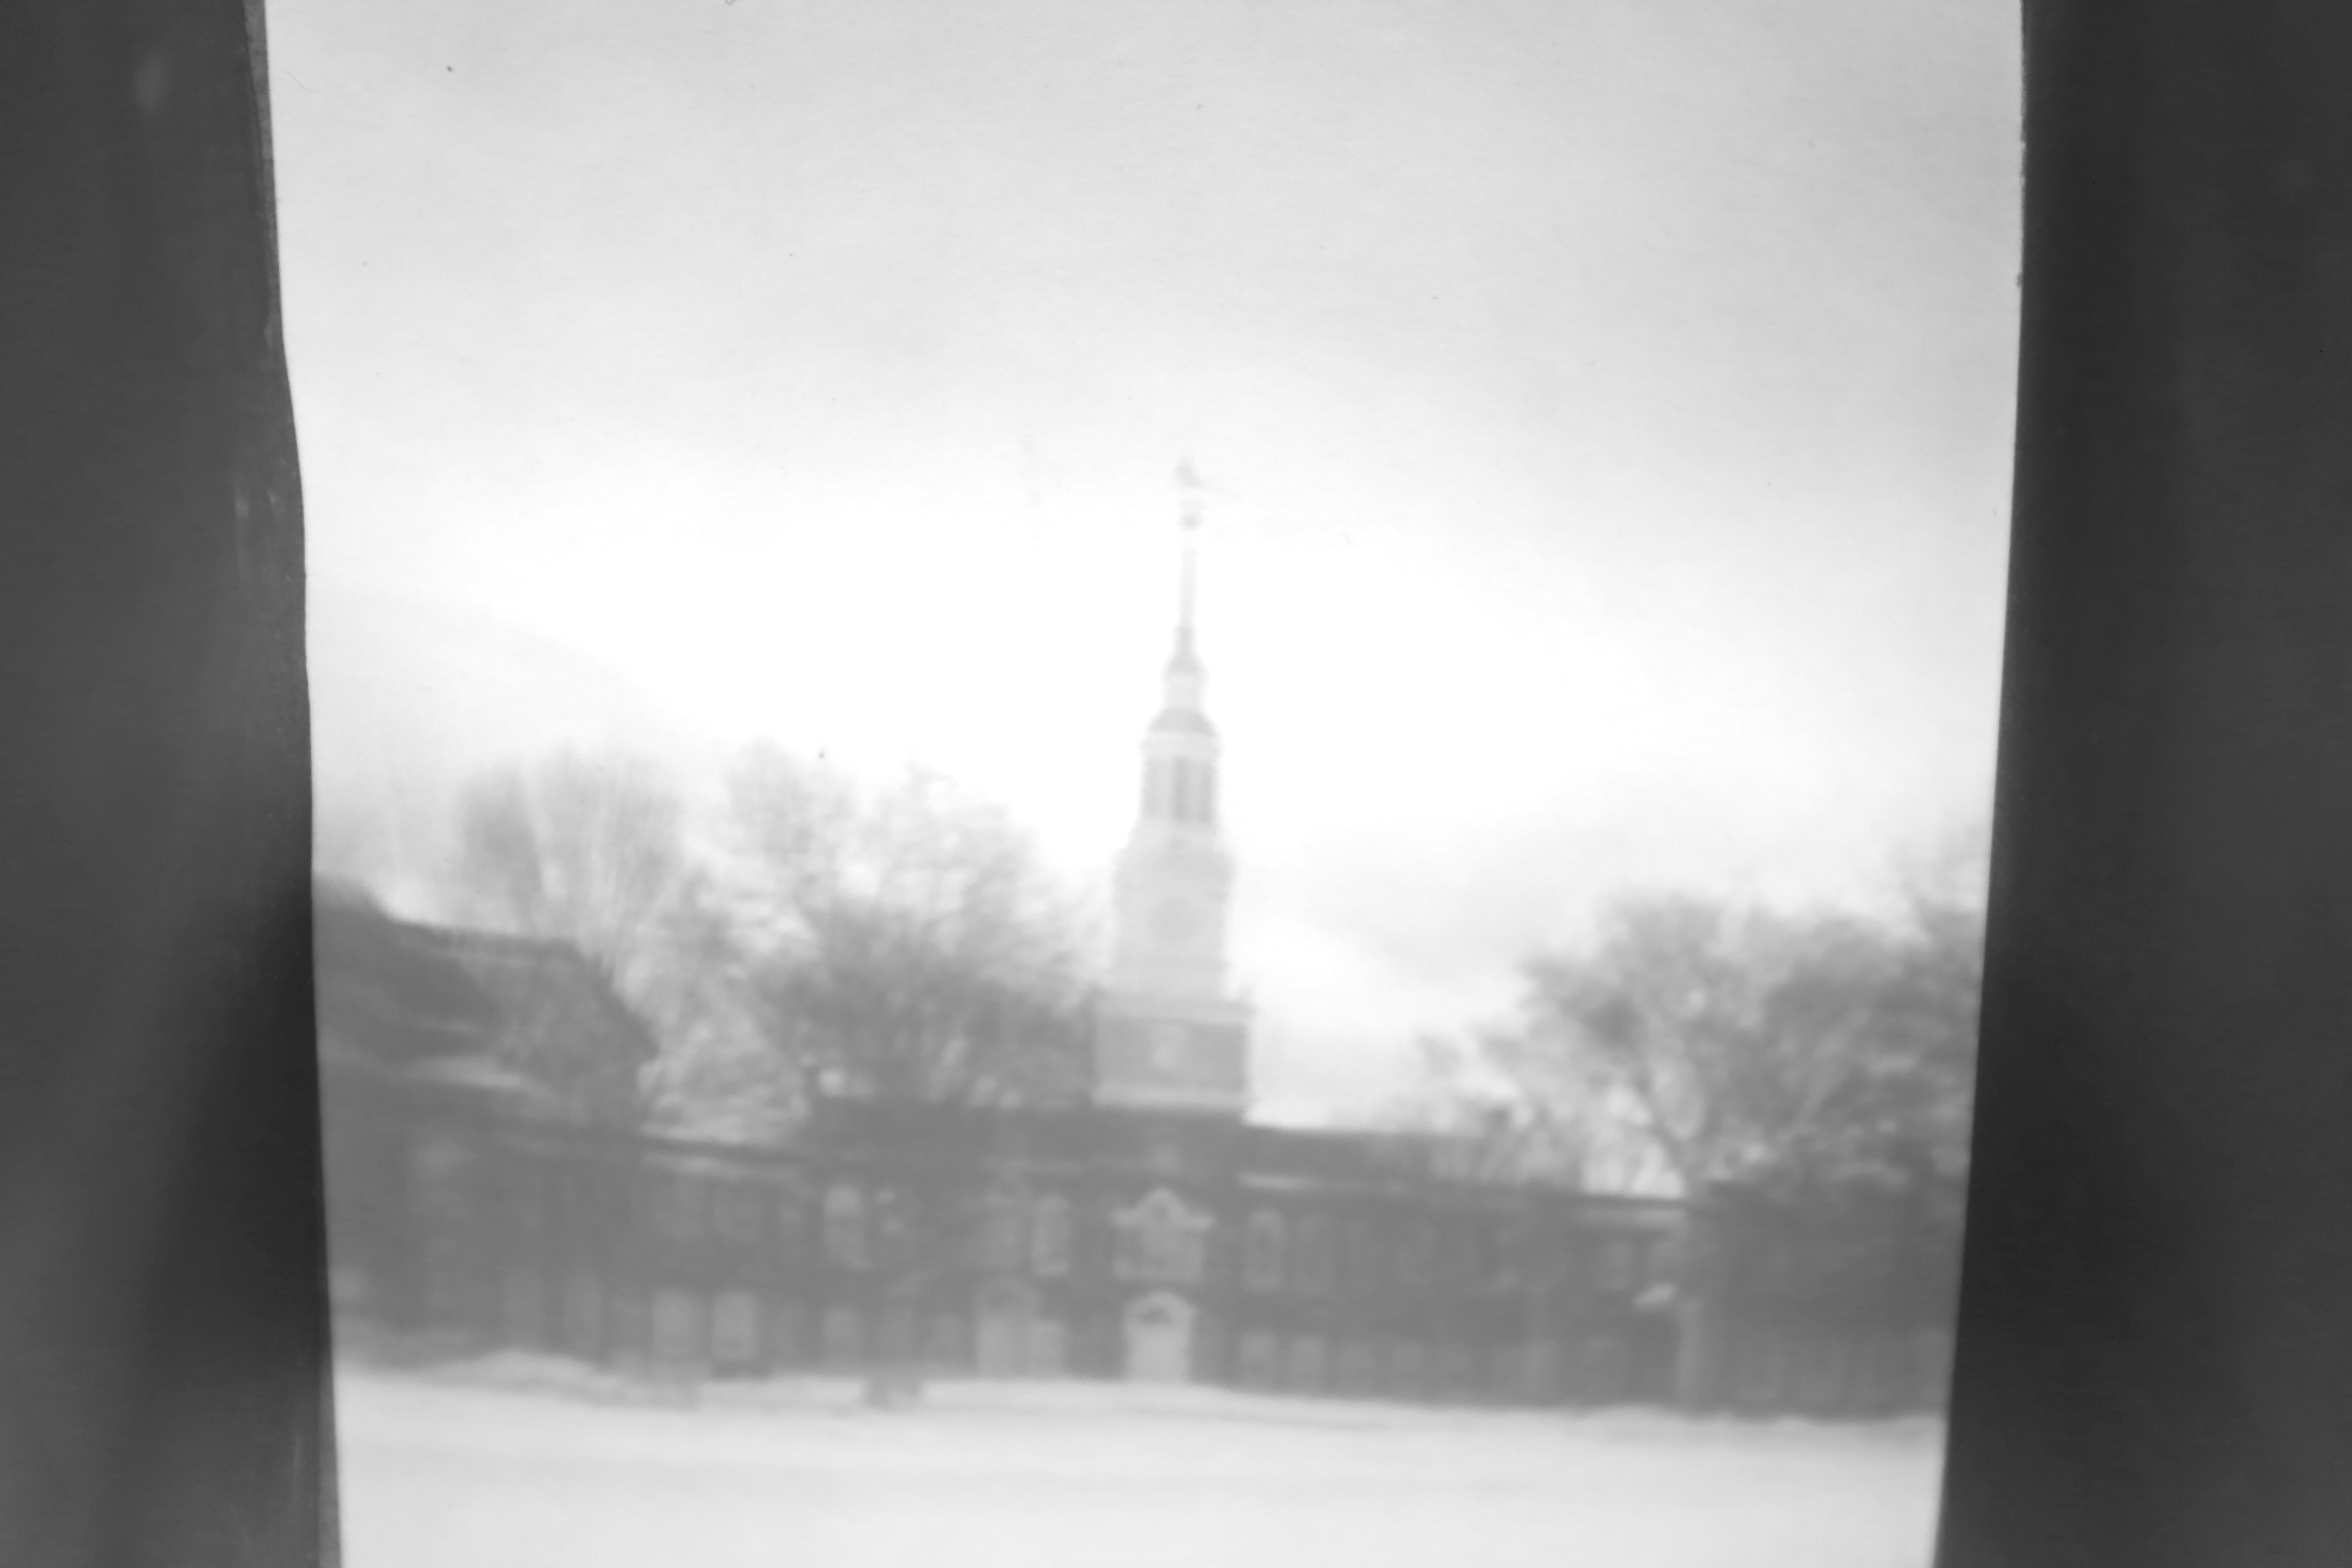
Scene 2: House View
Camera setting : f: 5.0, ISO: 400, Exposure time: 30s


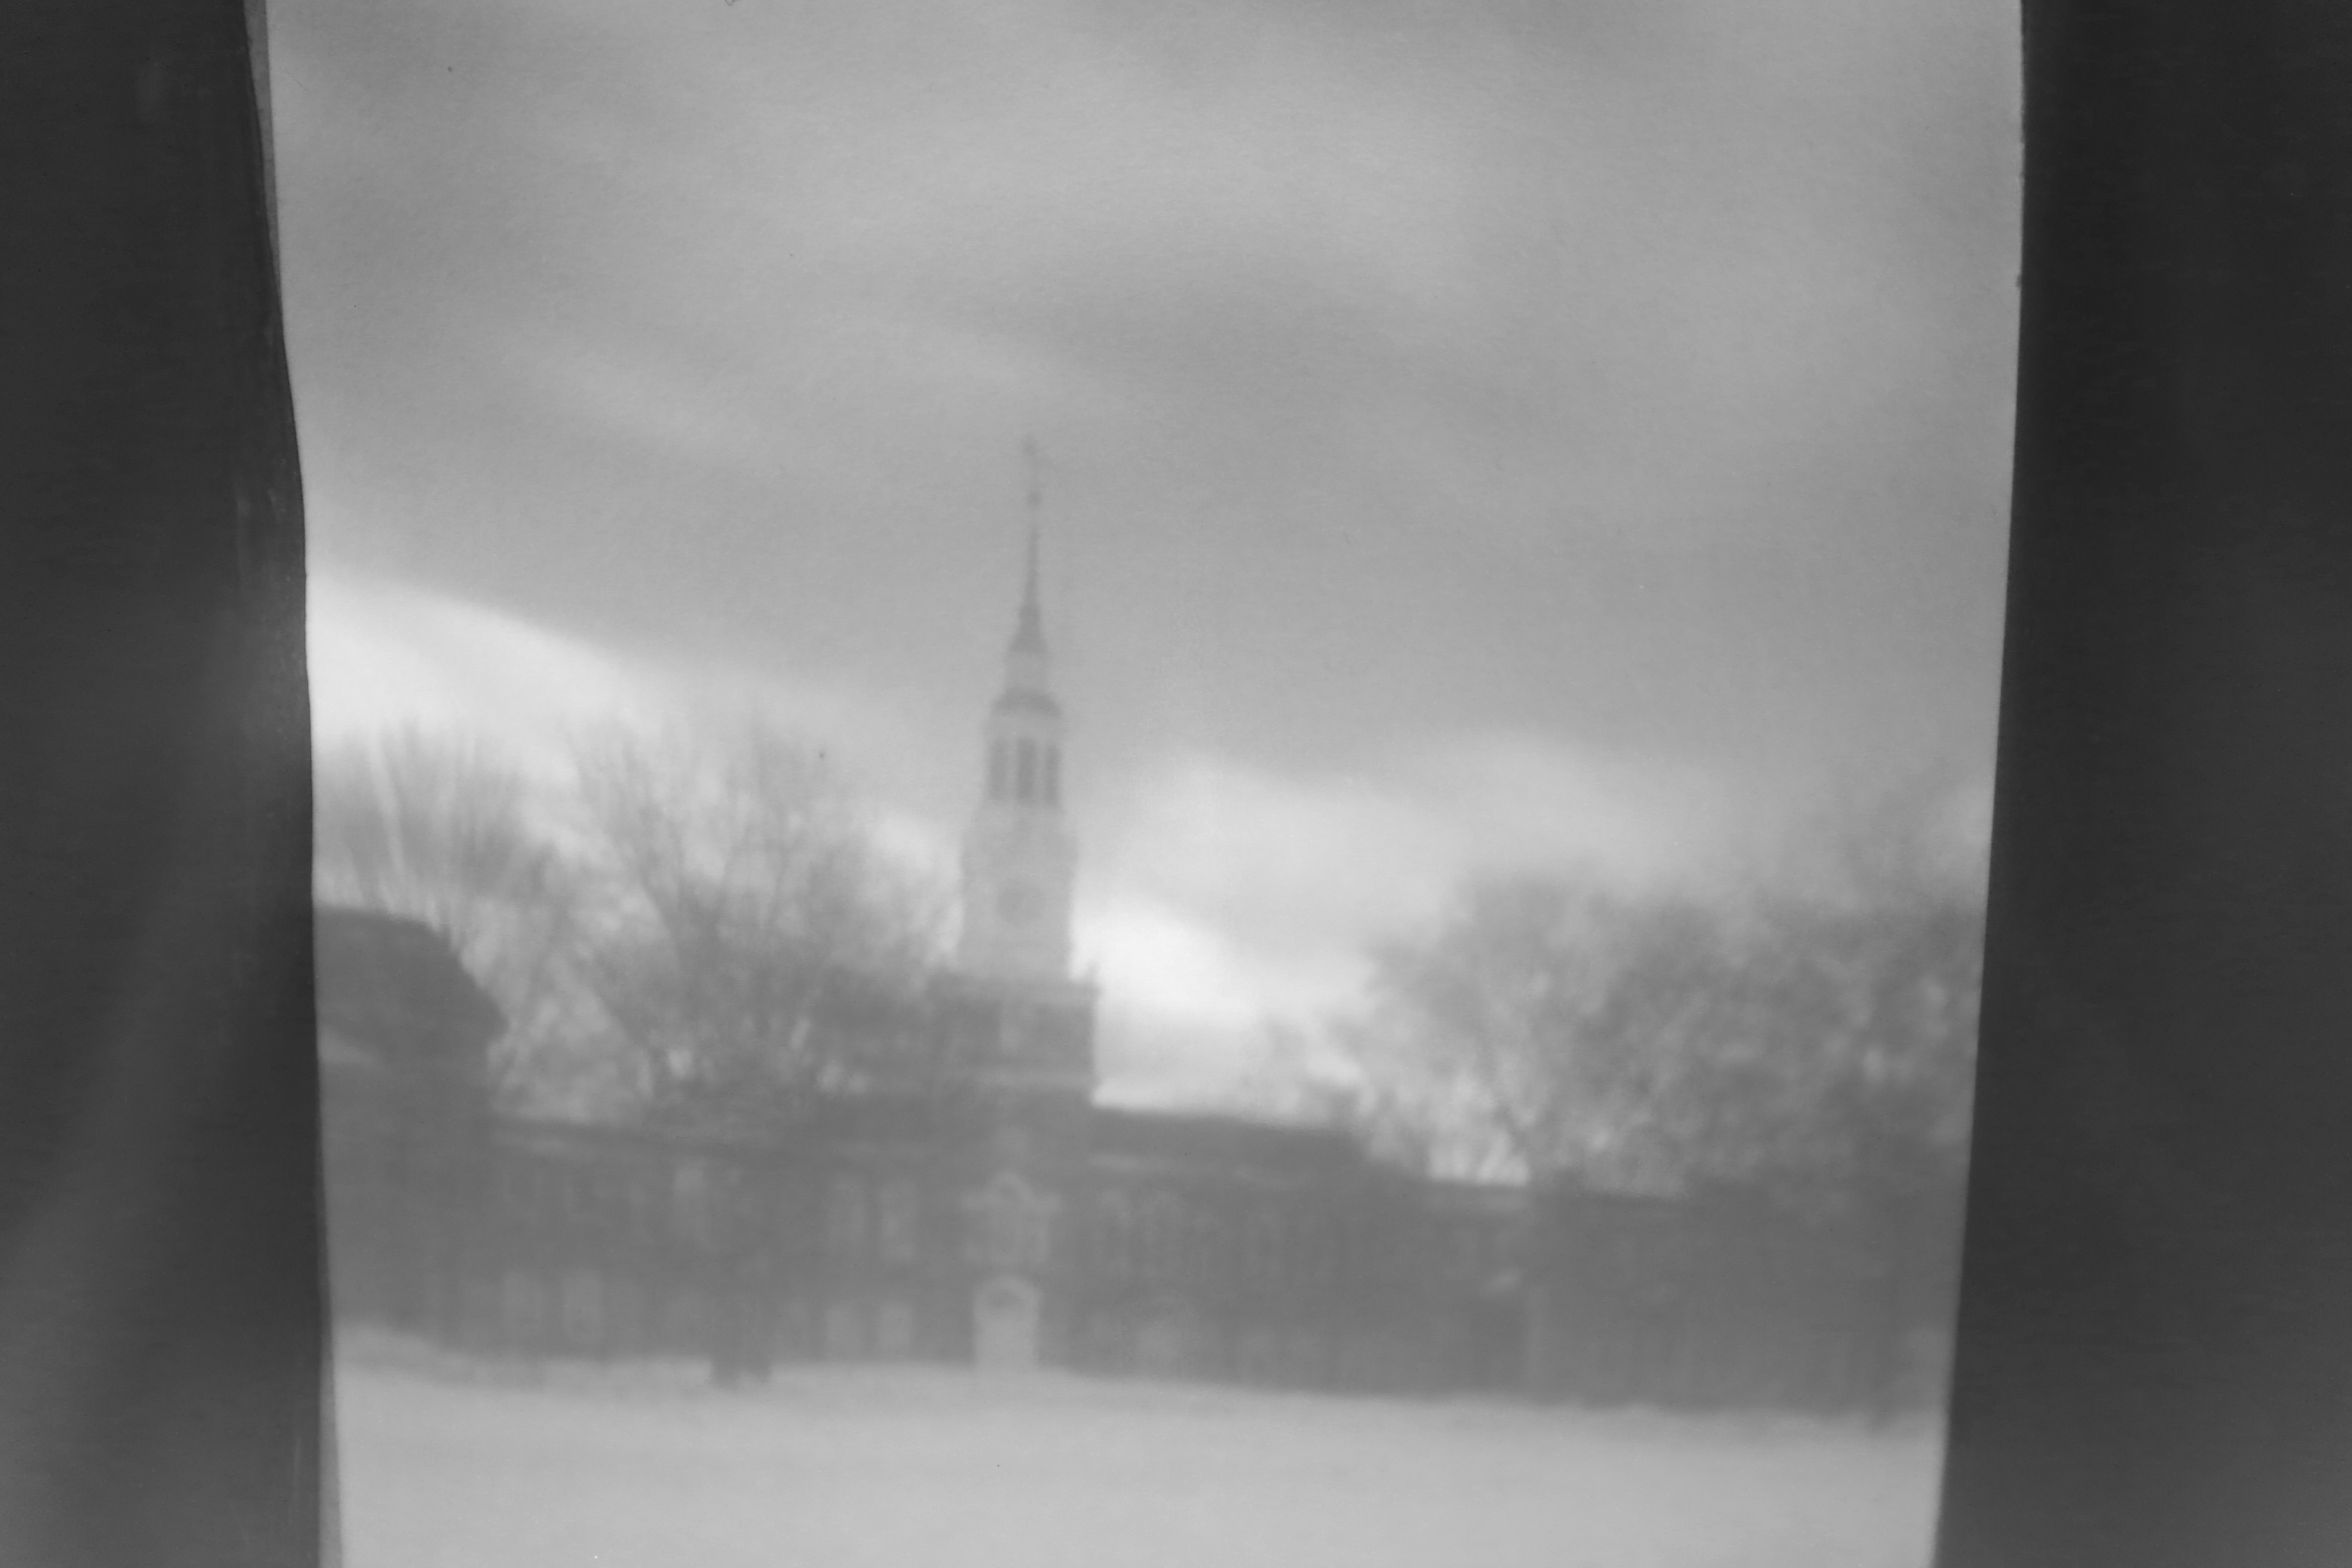
Best Diameter (Outdoor Views)
Both 1mm and 2mm work well. However 1mm works best only in sunny days, while 2mm is capable for some indoor scenes.
2mm pinhole
Camera setting : f: 2.8, ISO: 500, Exposure time: 30s


1mm pinhole
Camera setting : f: 2.8, ISO: 800, Exposure time: 30s


Part 2: Extras
Subtask1: Light Painting
Photos
We choosed large size pinhole (3mm, 5mm), high ISO, big aperture and long exposure time (10~30s) to take these photos.
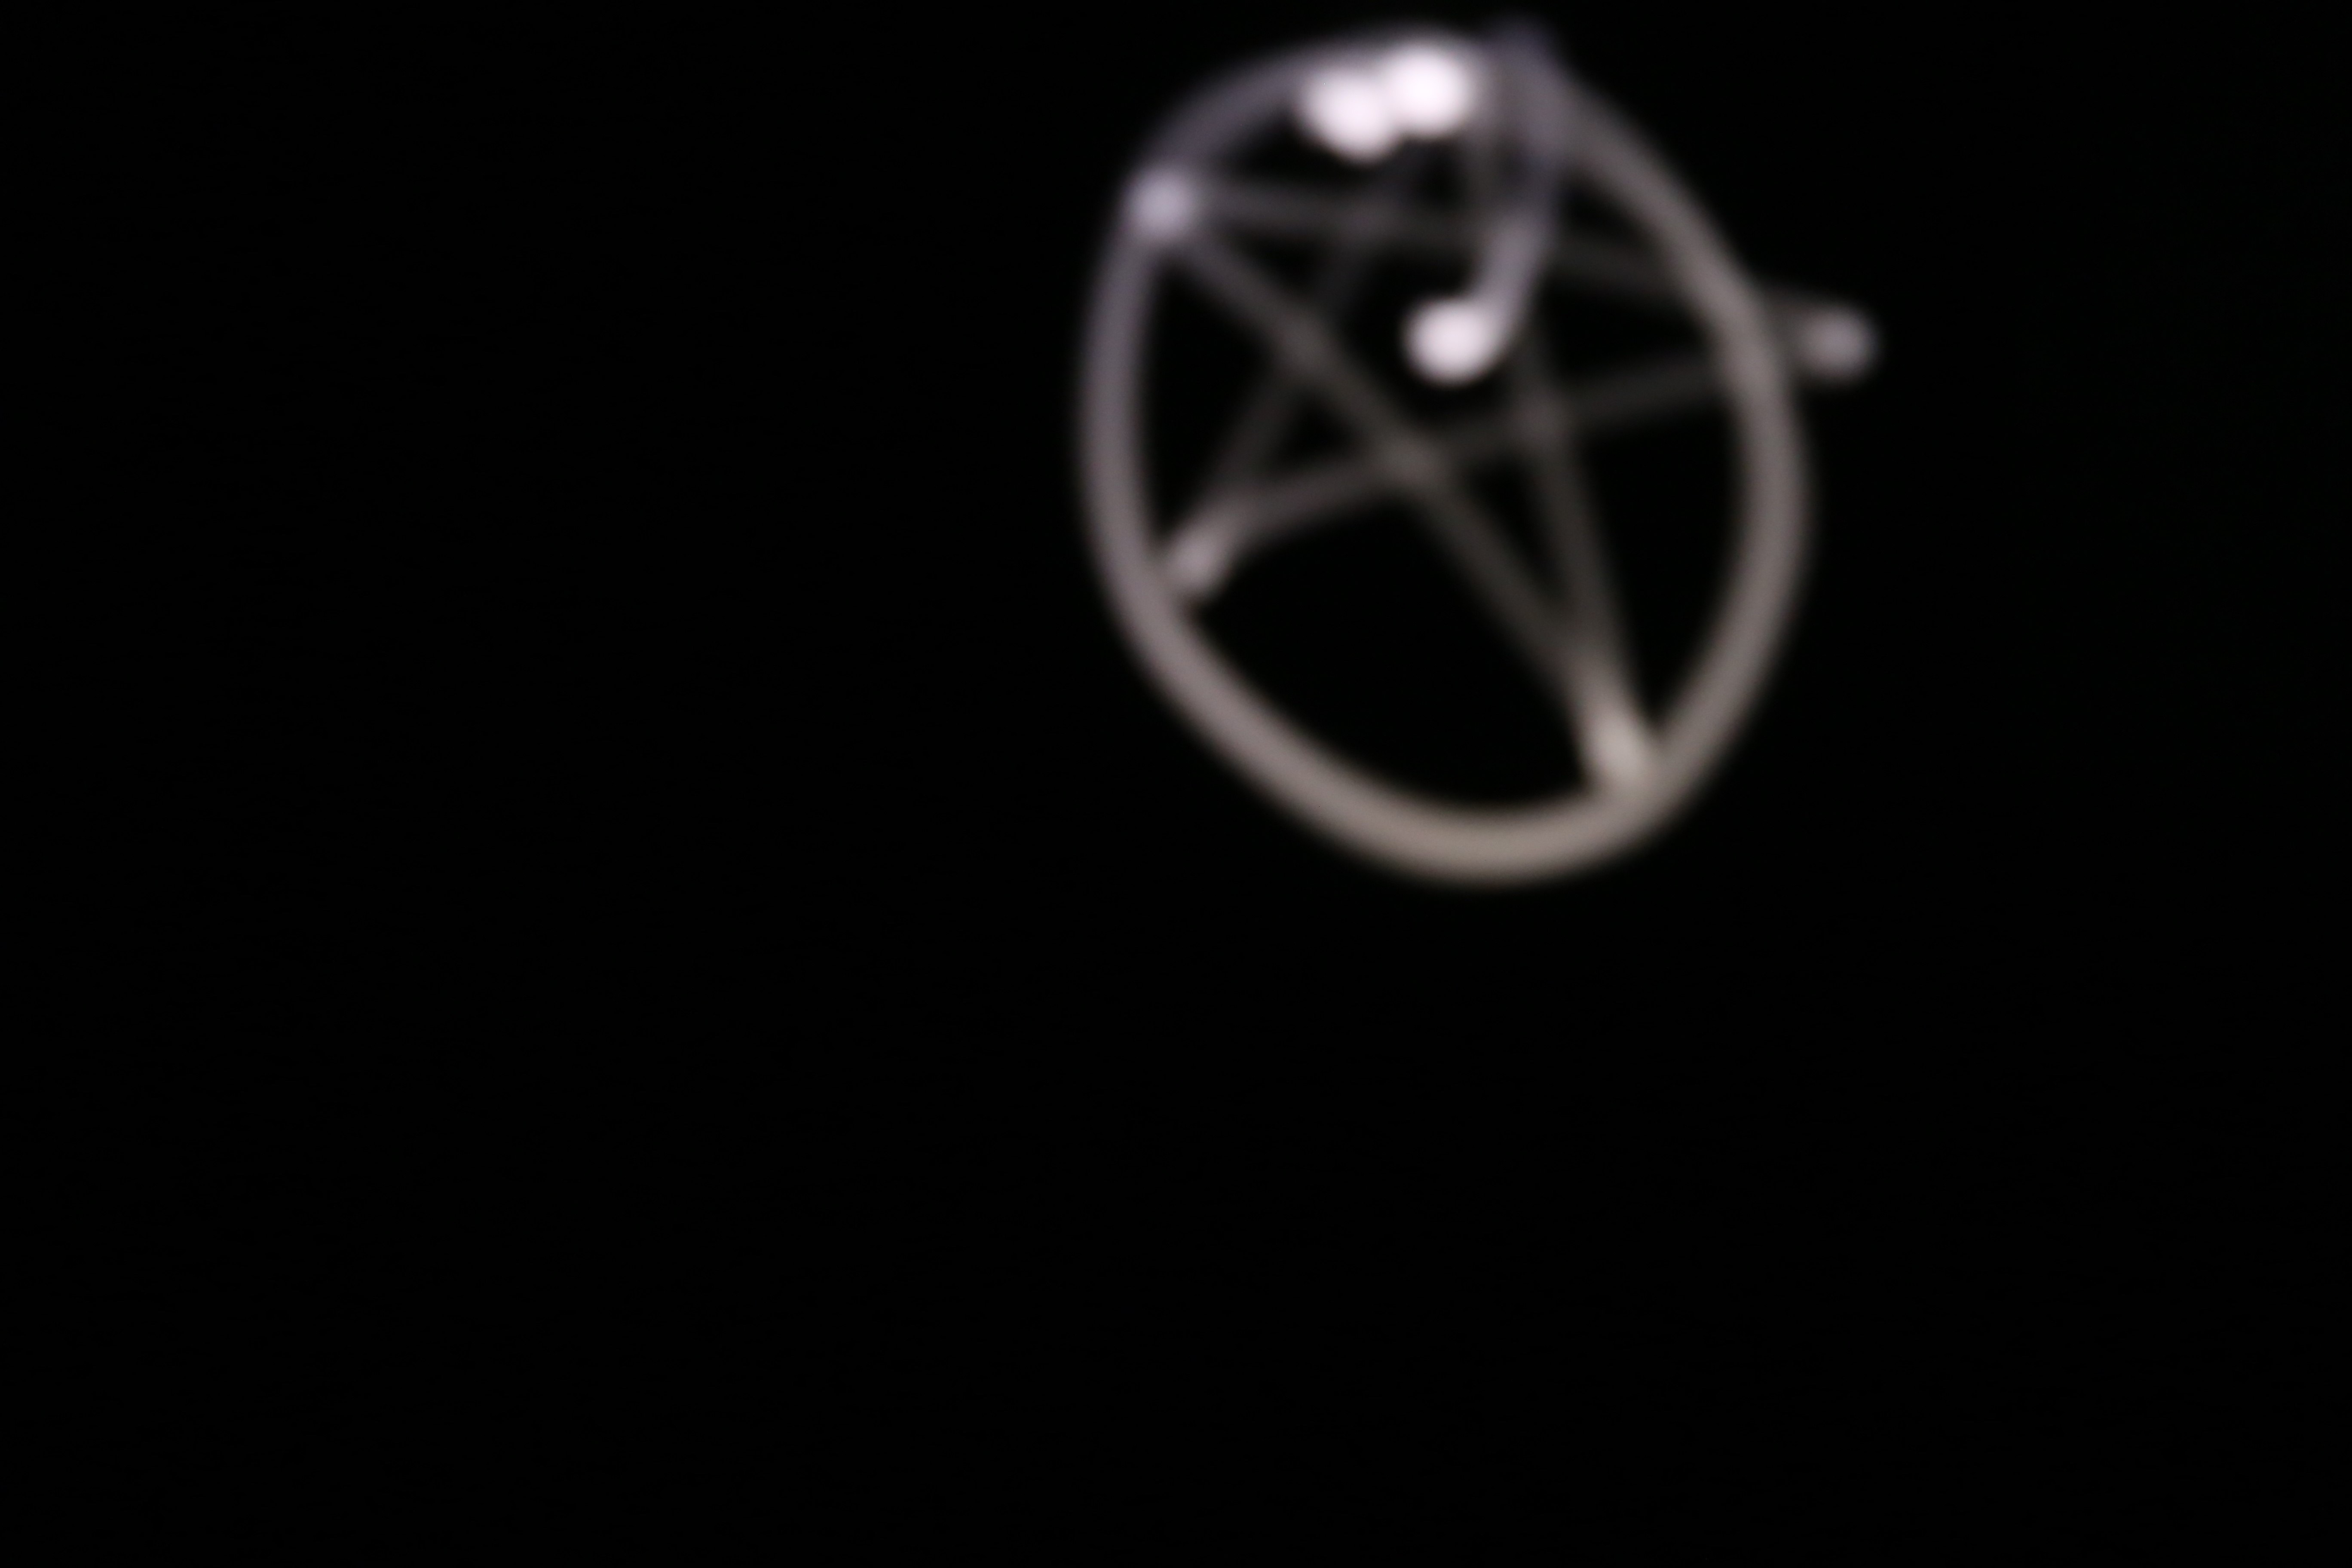
Light painting 1: Stars |
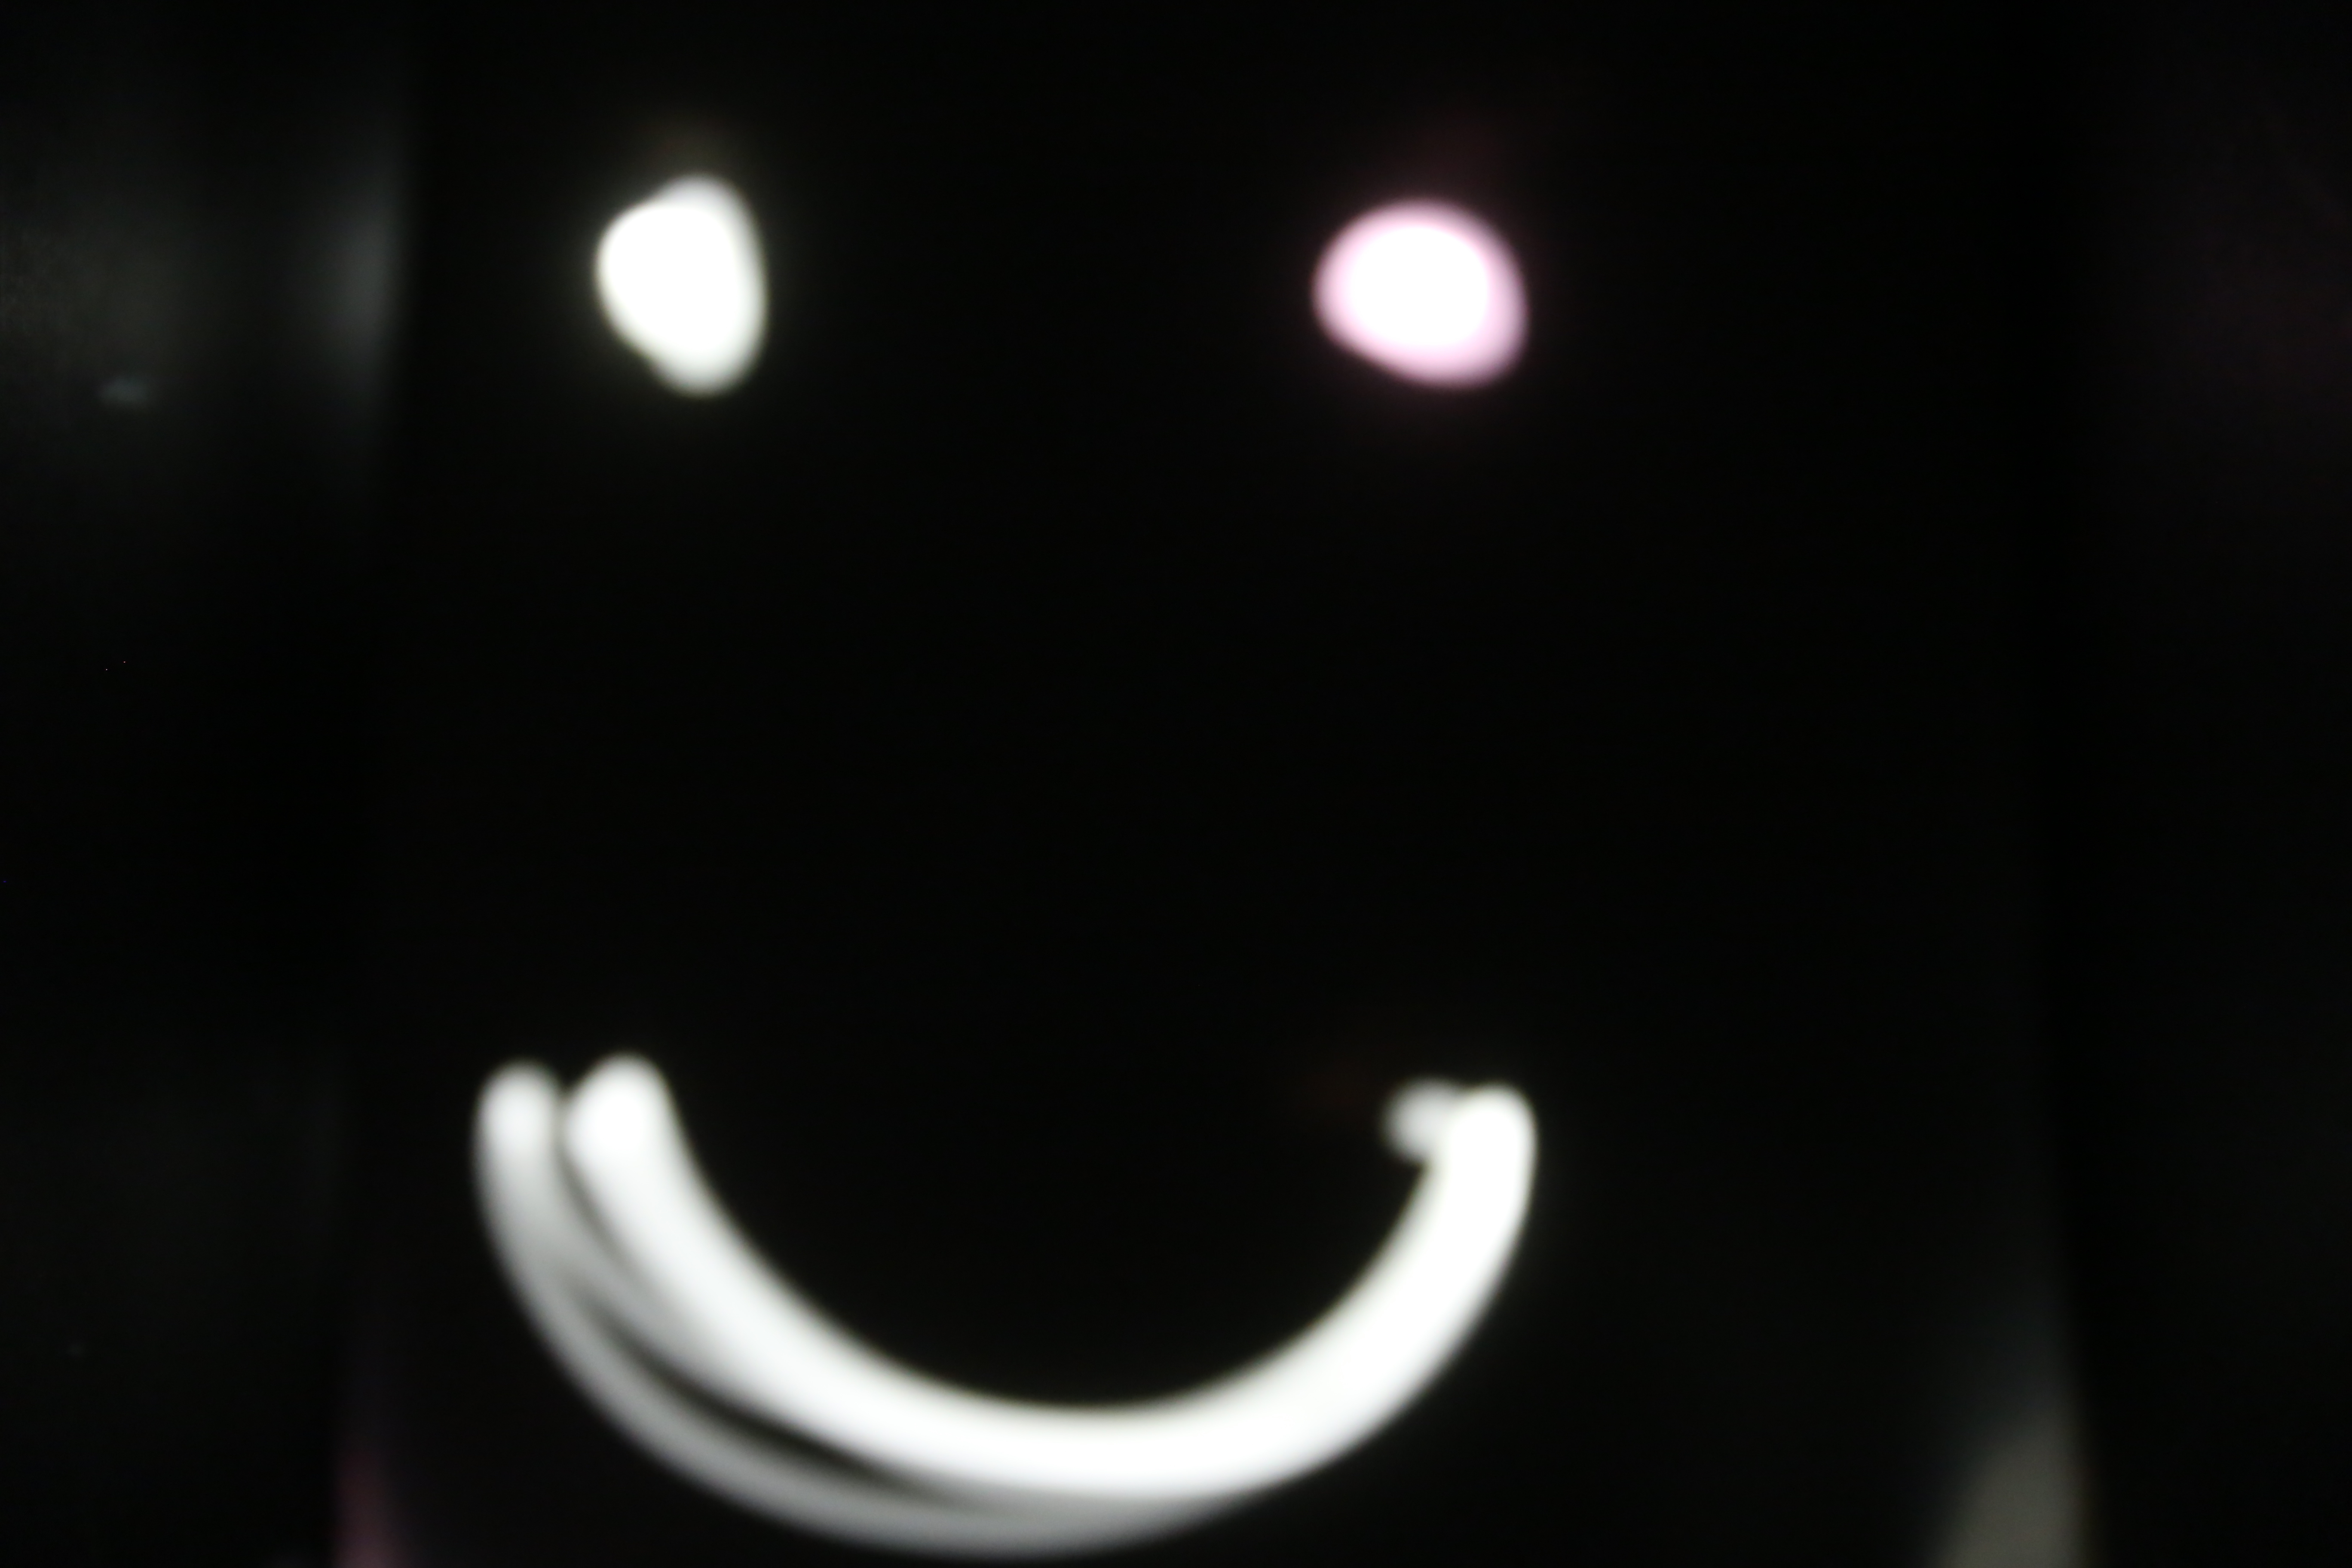
Light painting 2: Smile |
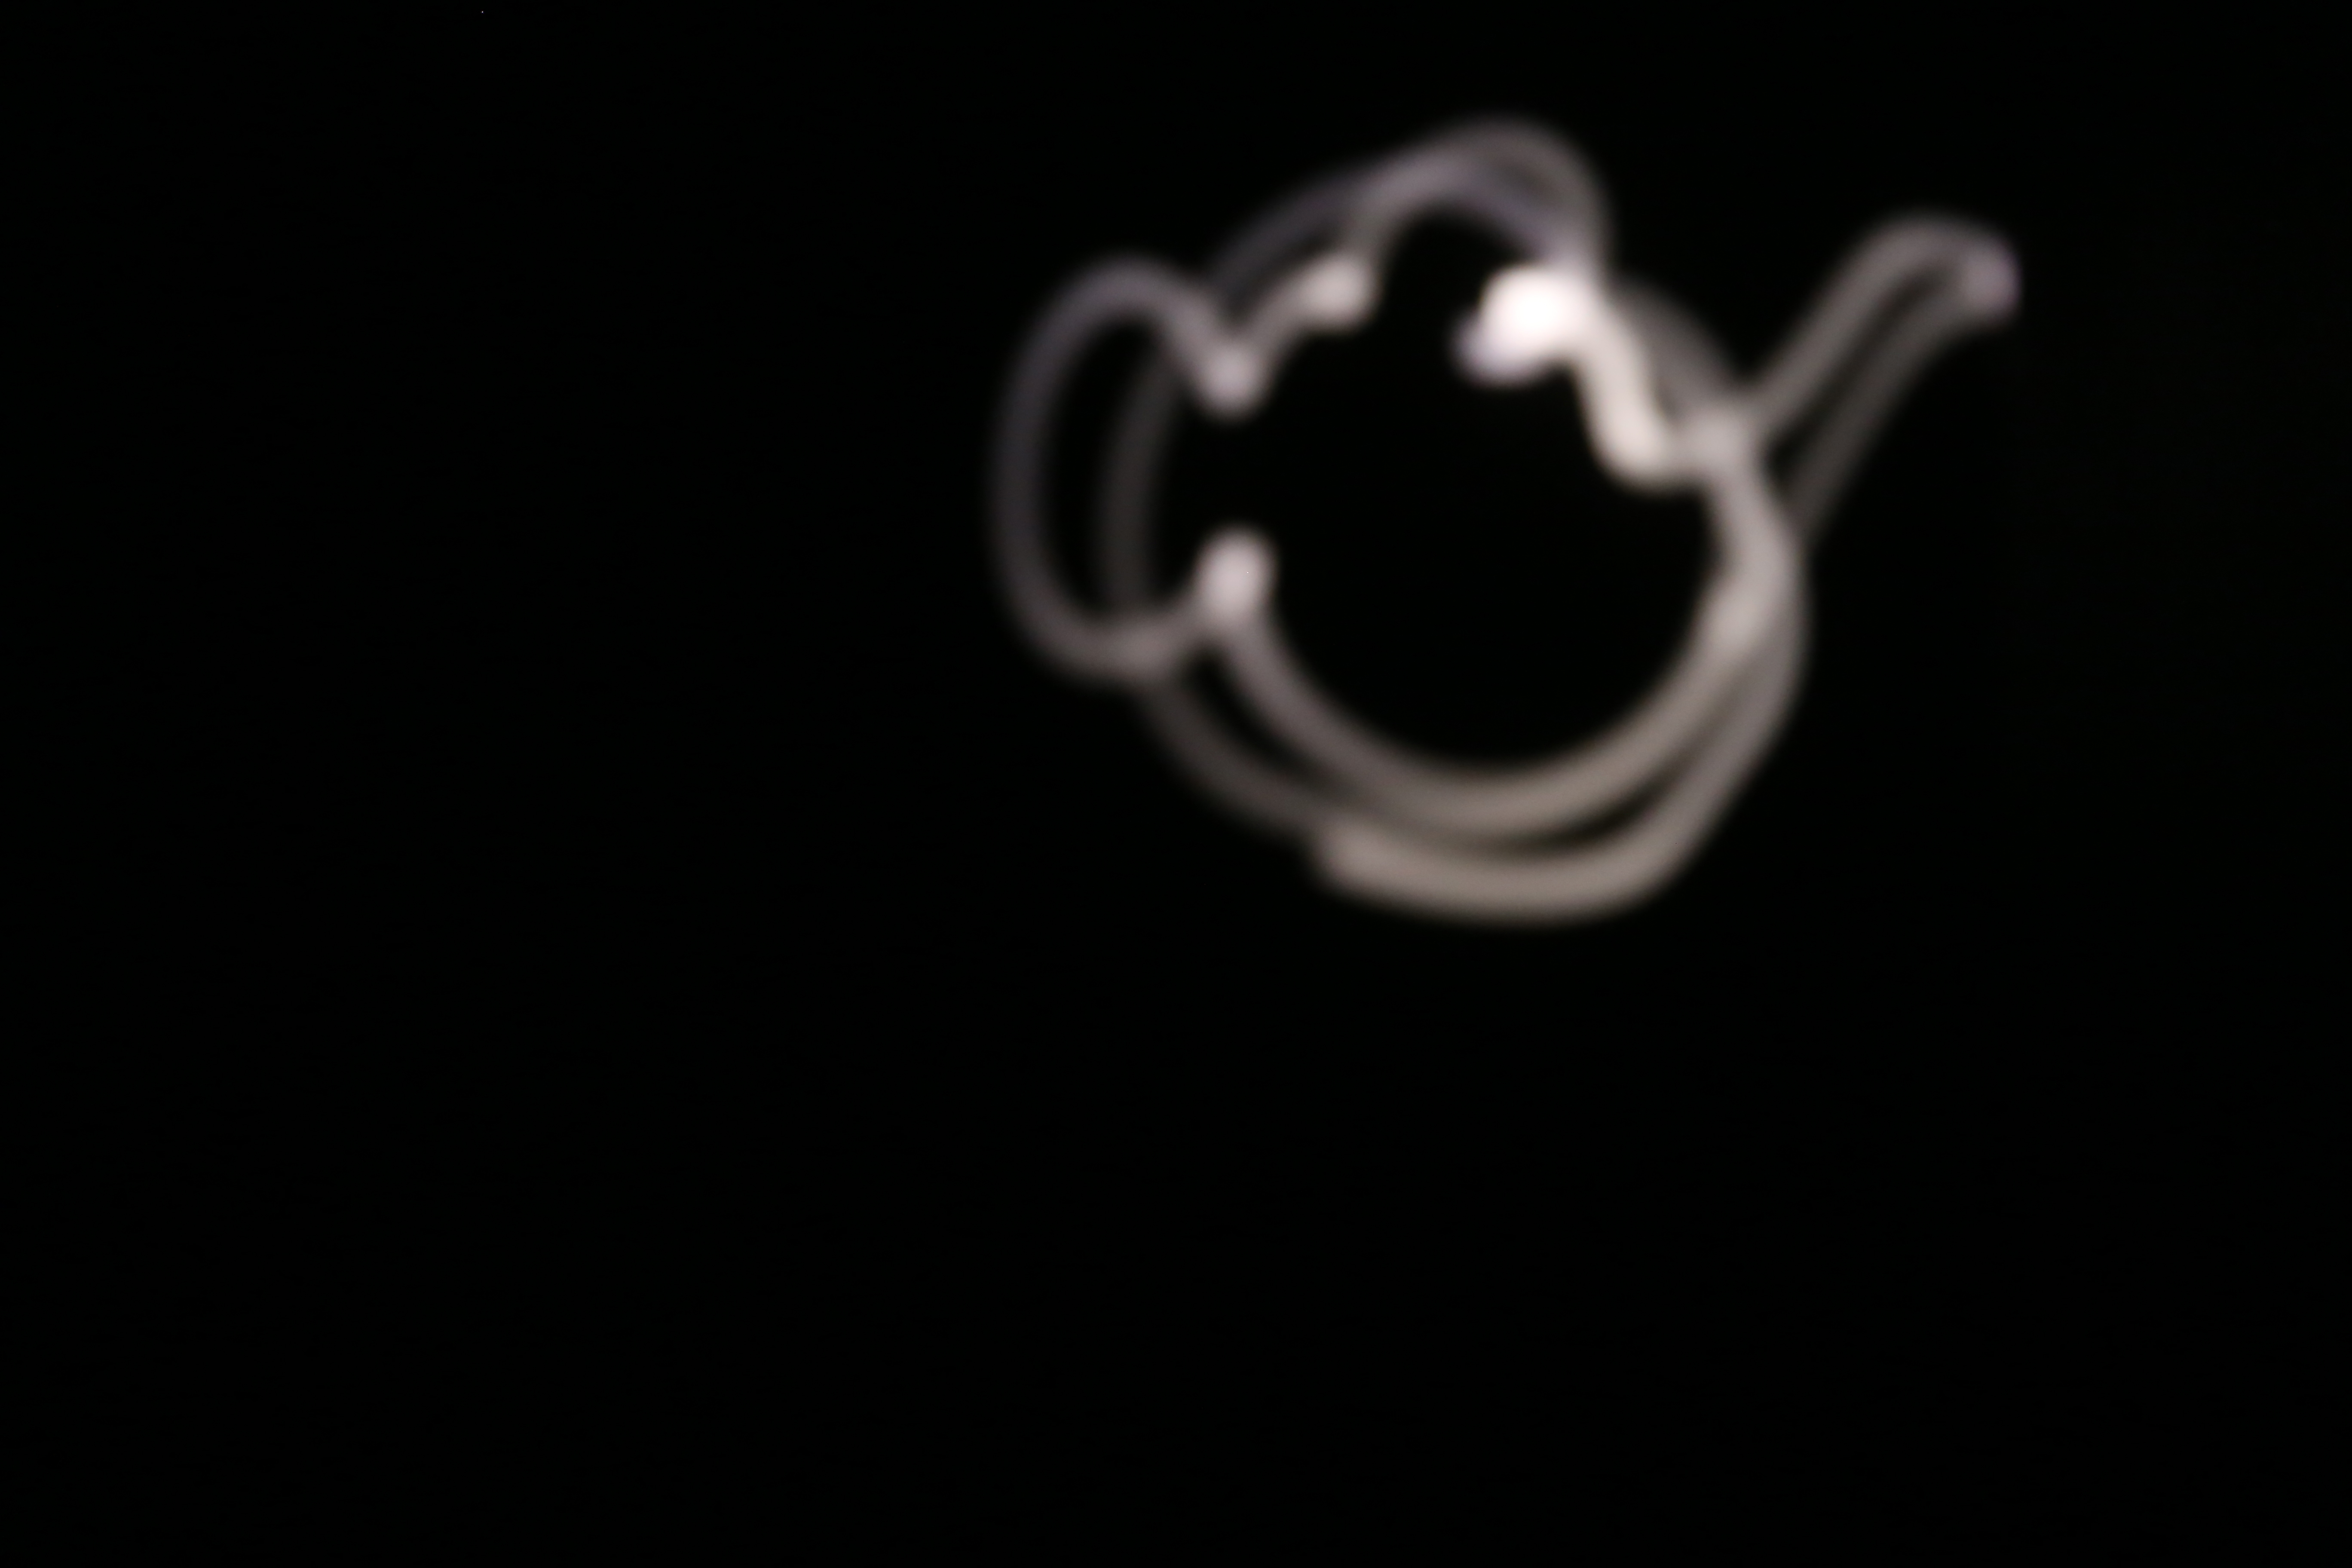
Light painting 3: Teapot |
Subtask2: Stereo Camera
Initially, we used color filters for instant print camera as red and blue filters. However the results are not quite satisfactory. The shape of them also limited the distance between red and blue pinholes.
For better results, we managed to borrow the red and cyan light filter, and adjusted the distance between the pinholes.
Photos
Images obtained using instant print camera filters |
Blue channel only |
Red channel only |
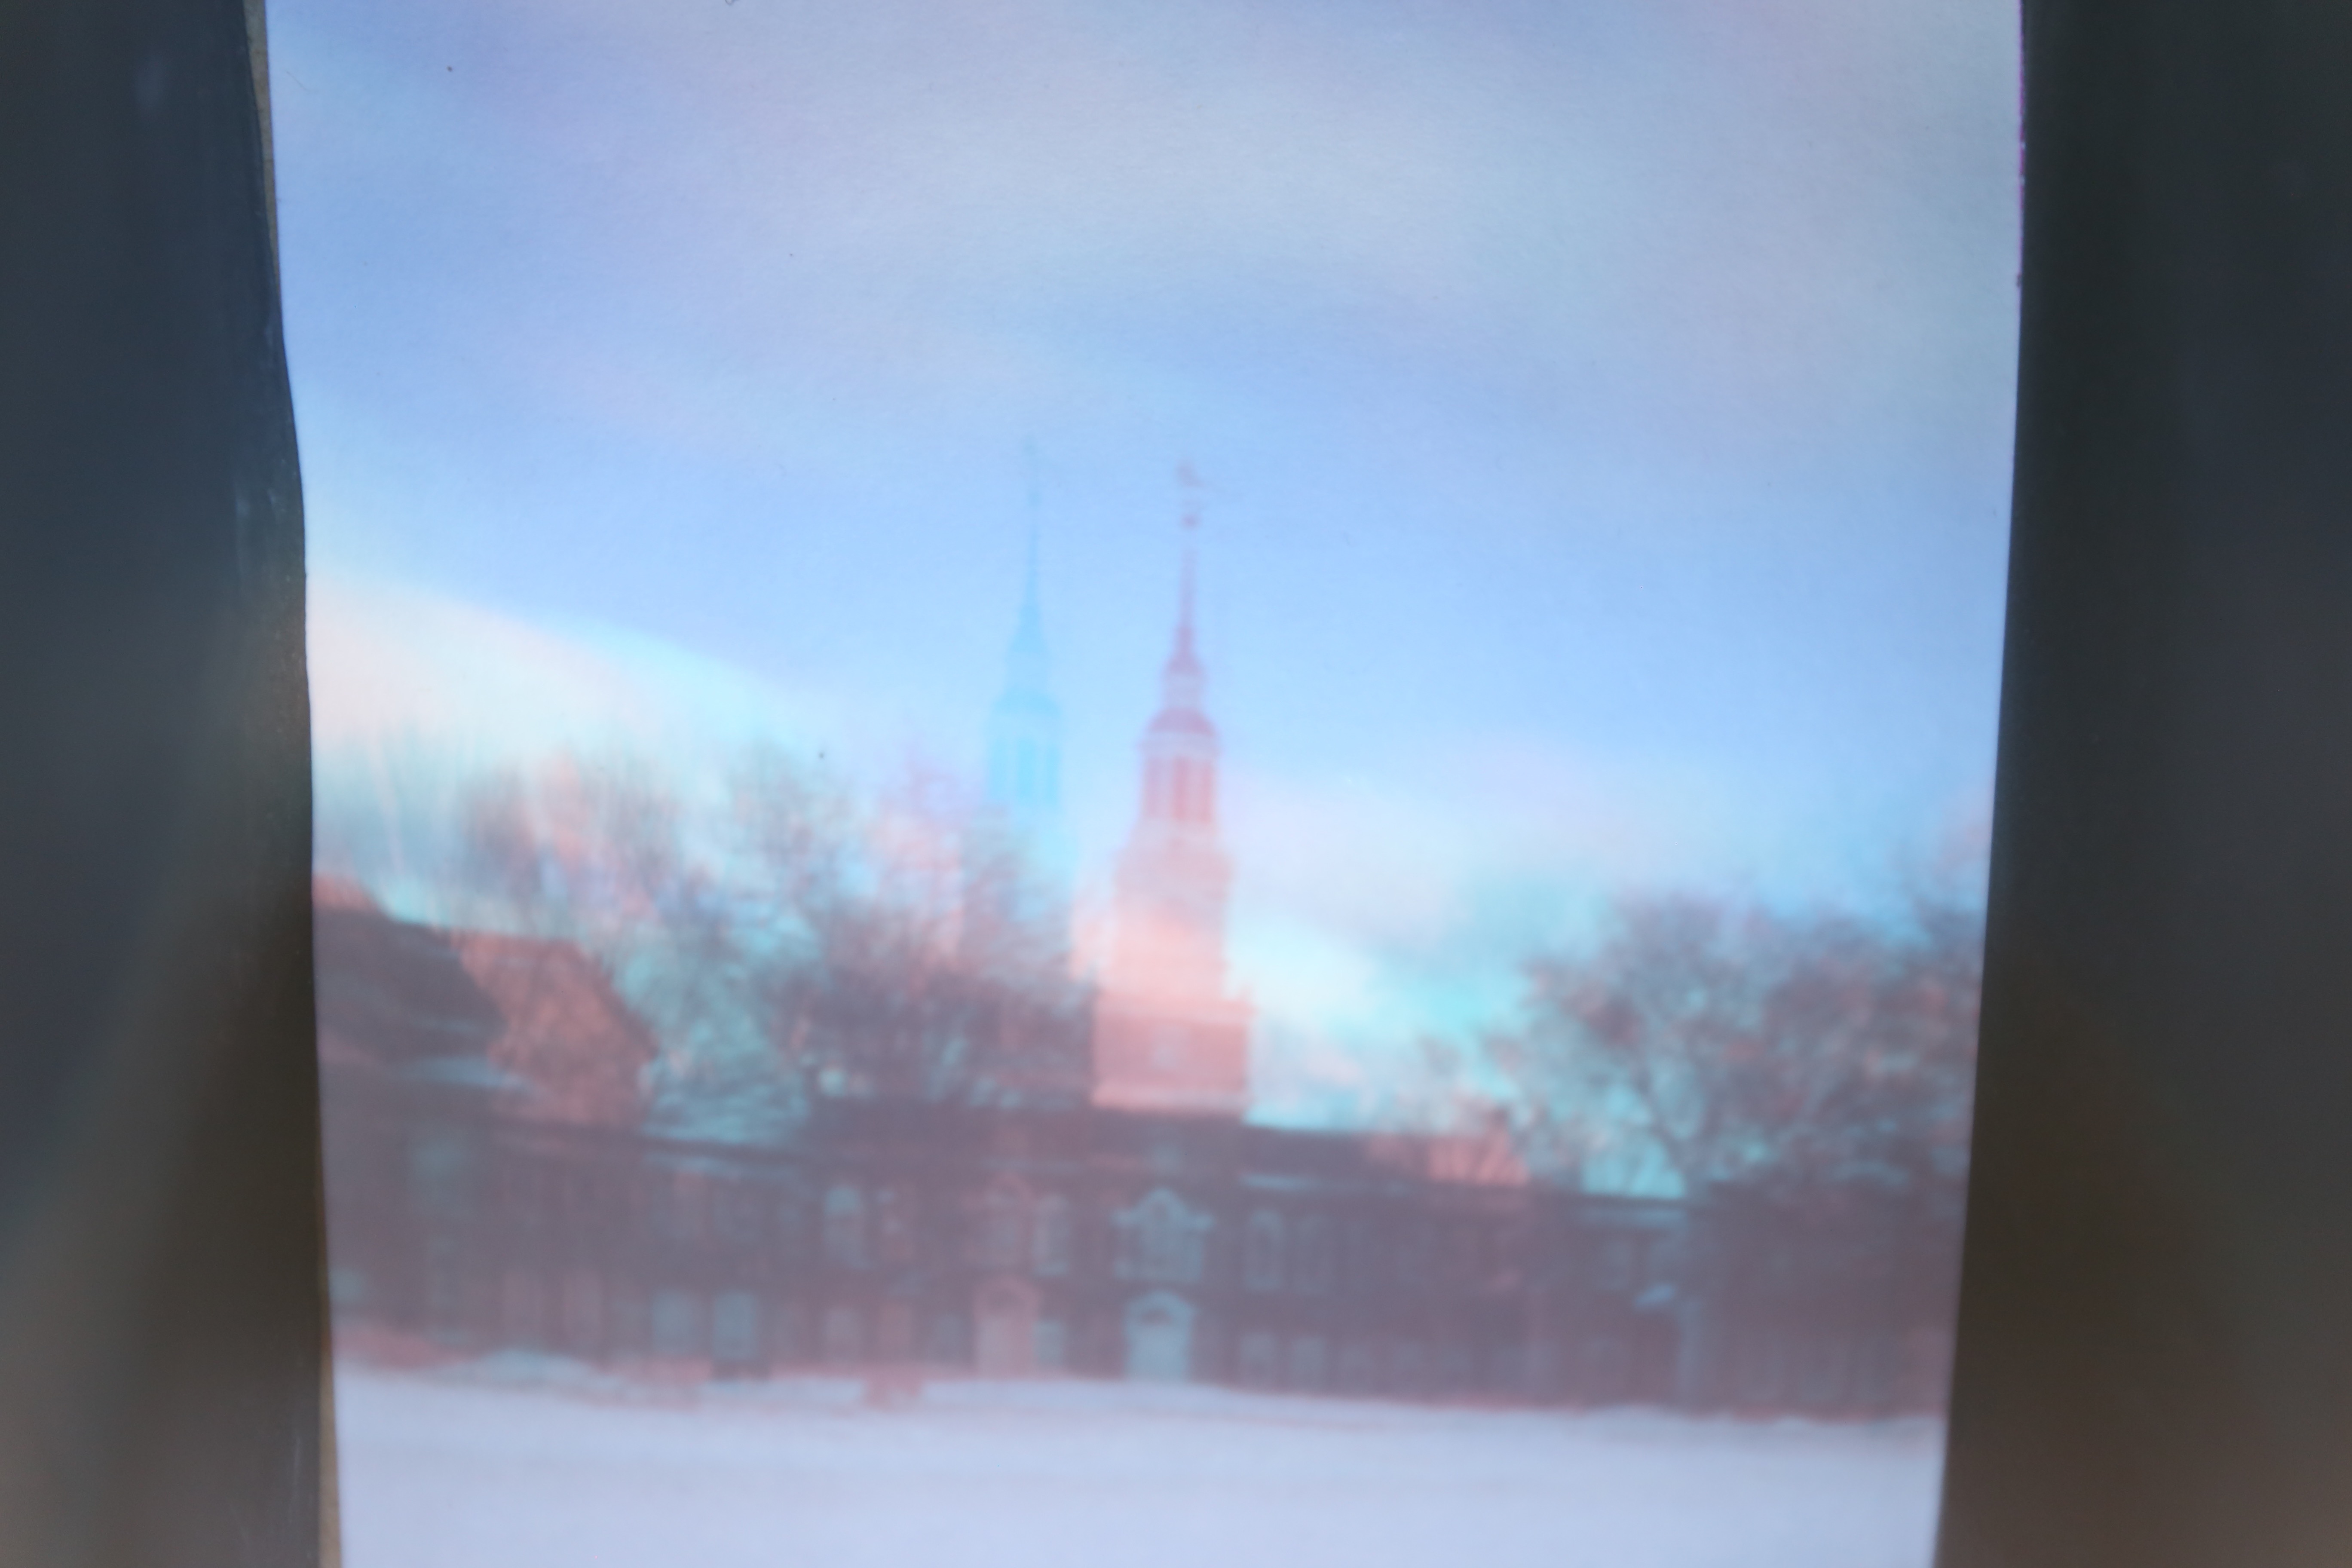
Pinhole camera with red and cyan filters
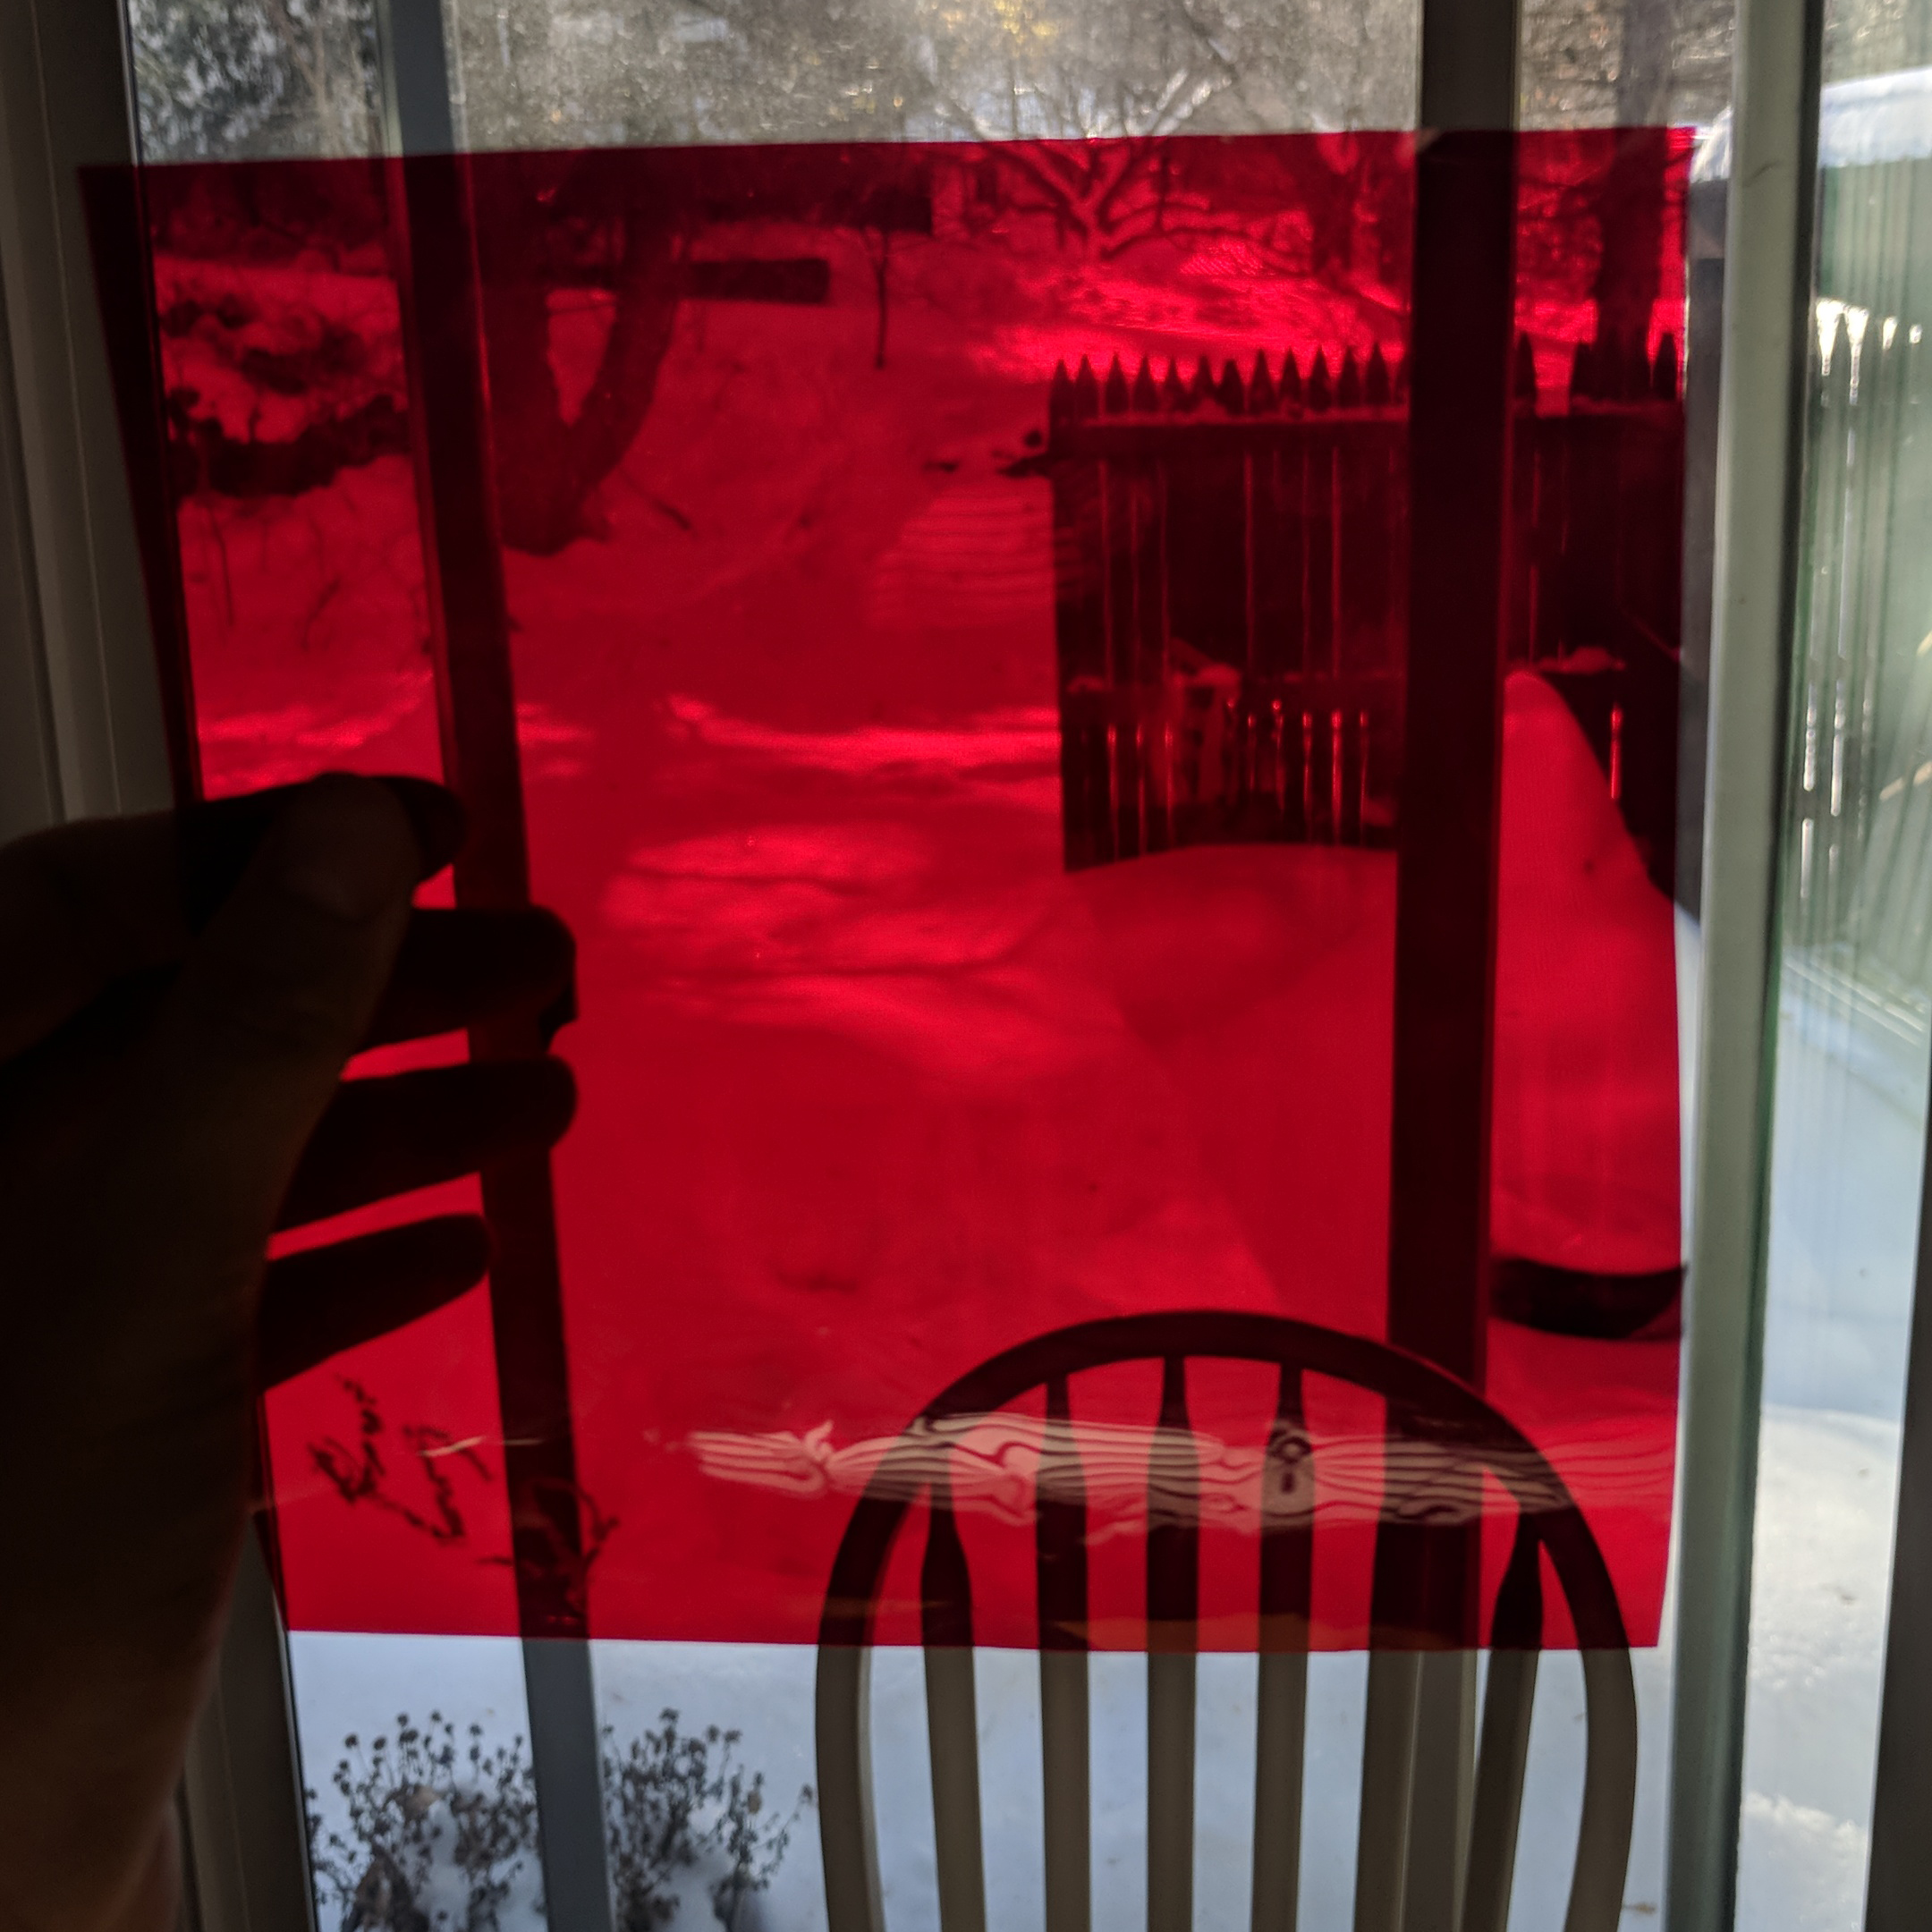
Cyan |
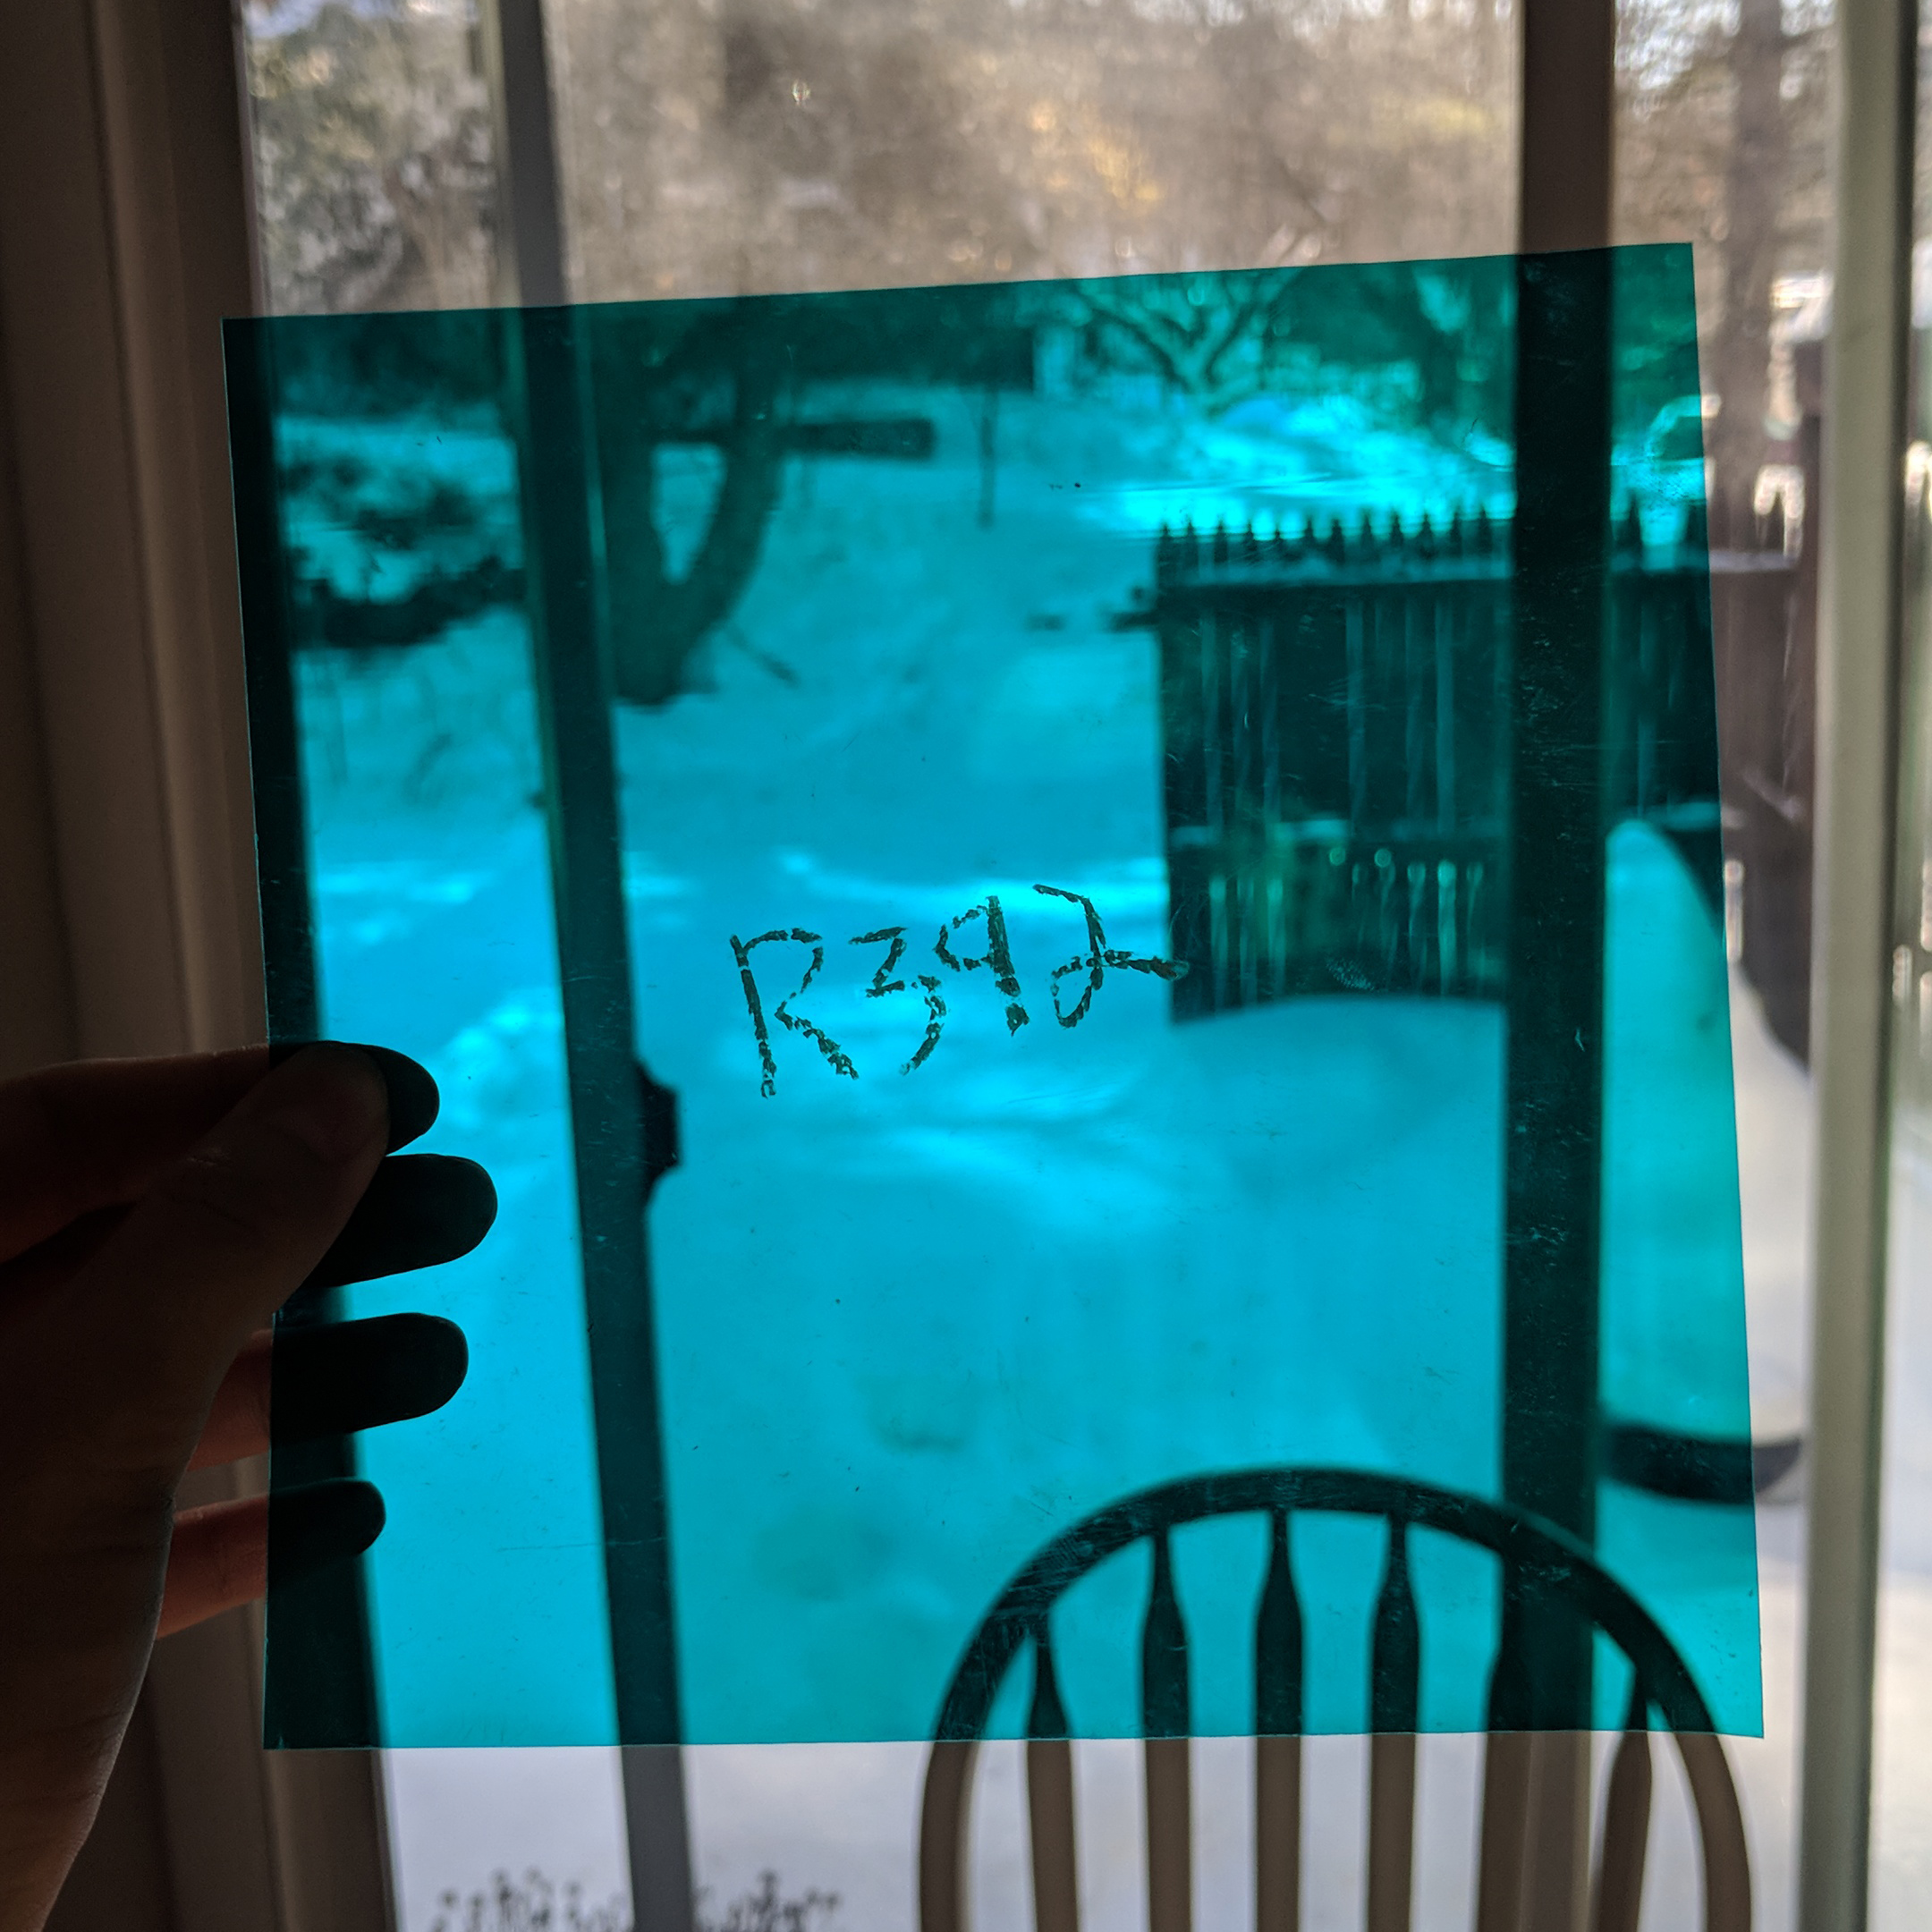
Red |
Images obtained using red and cyan light filters

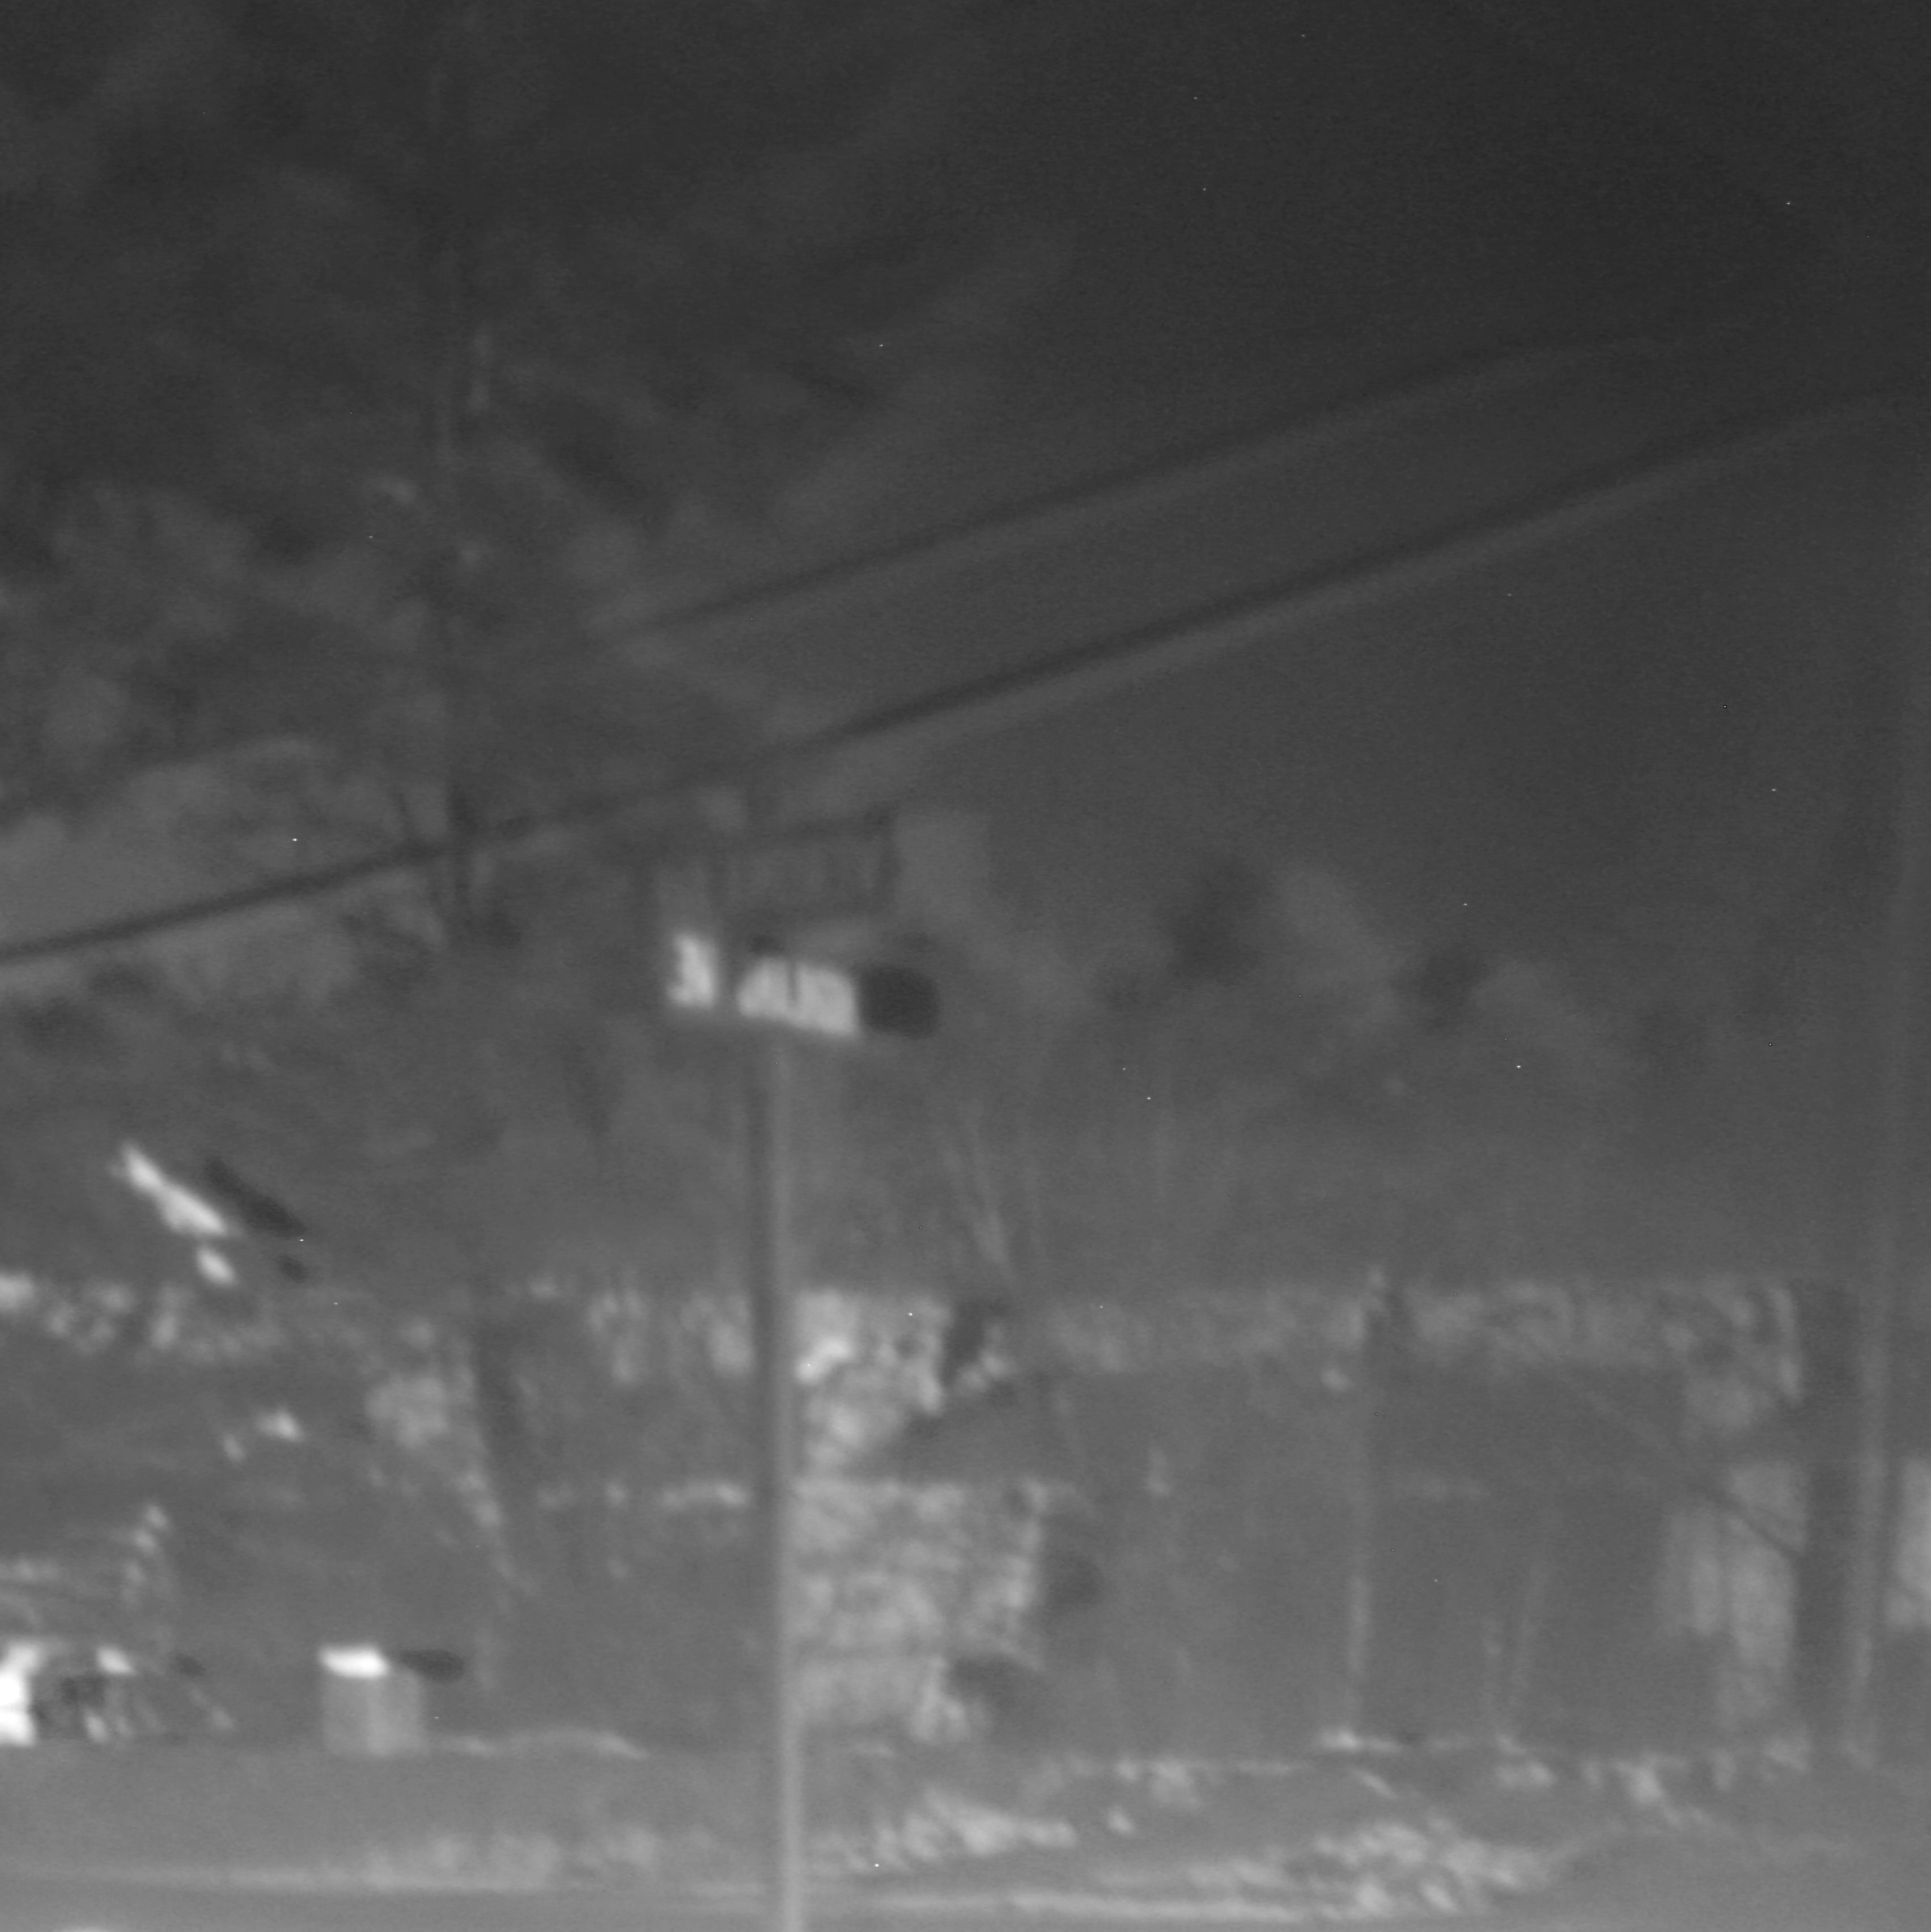

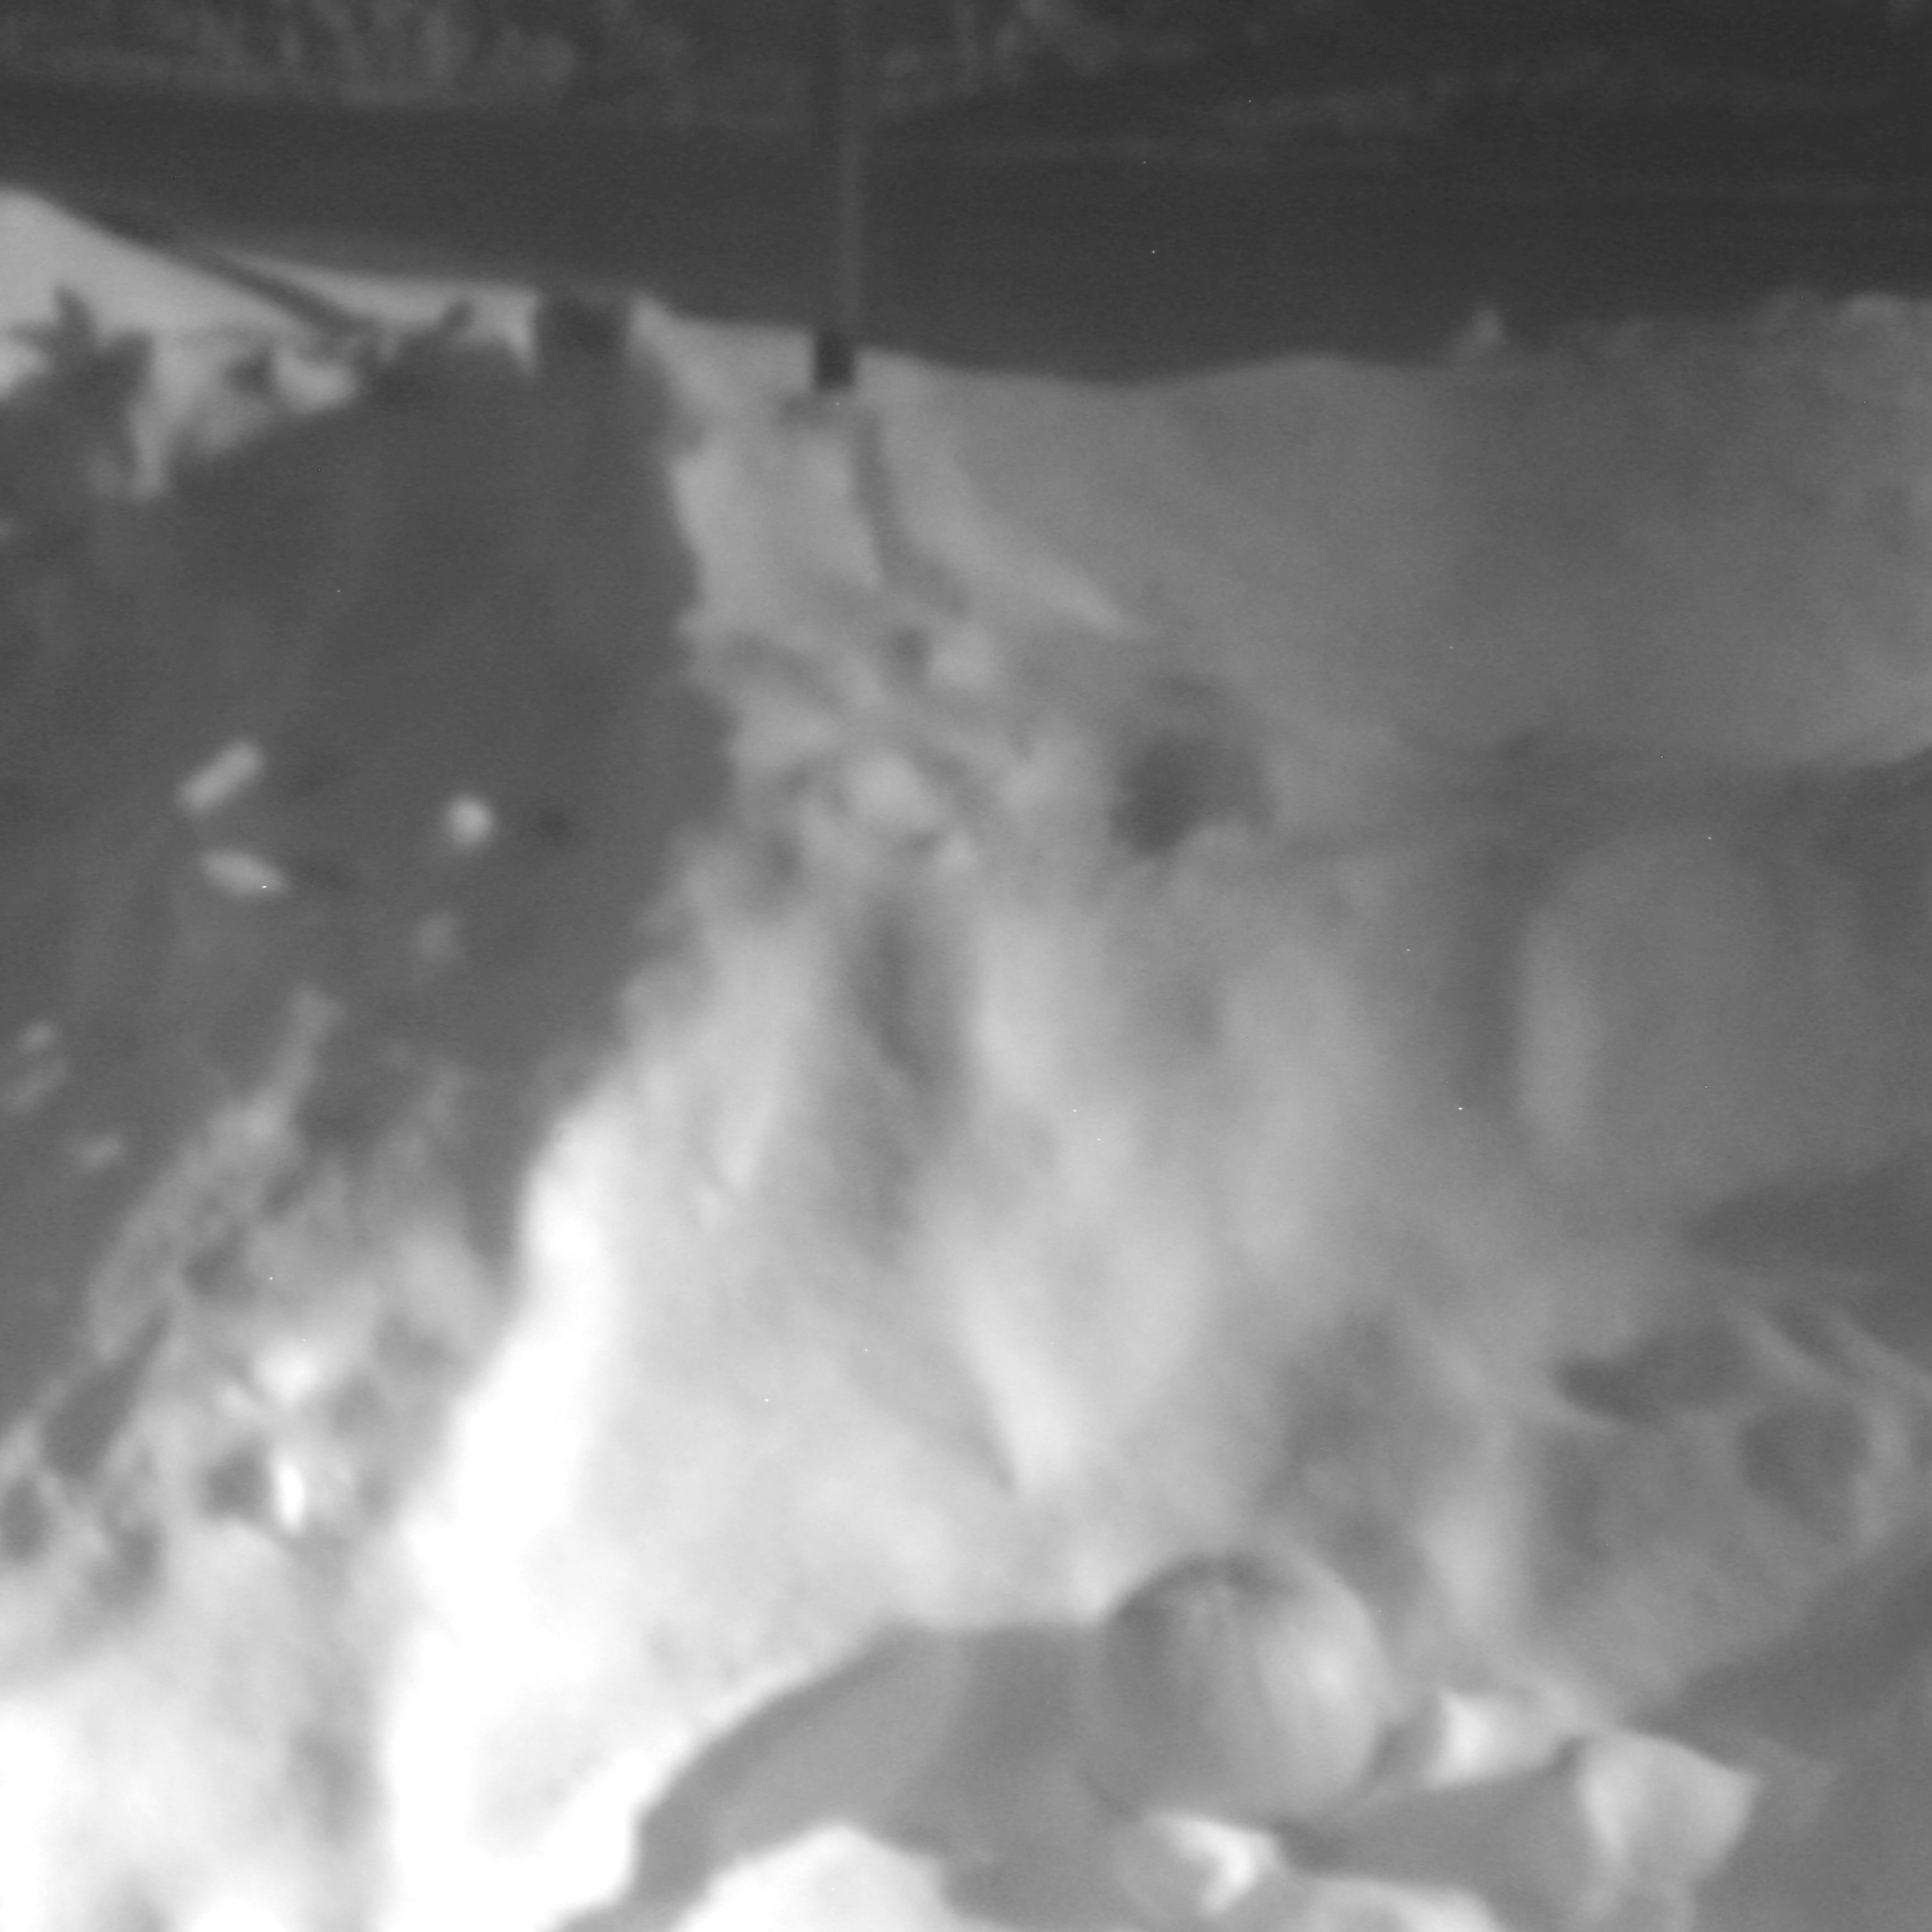
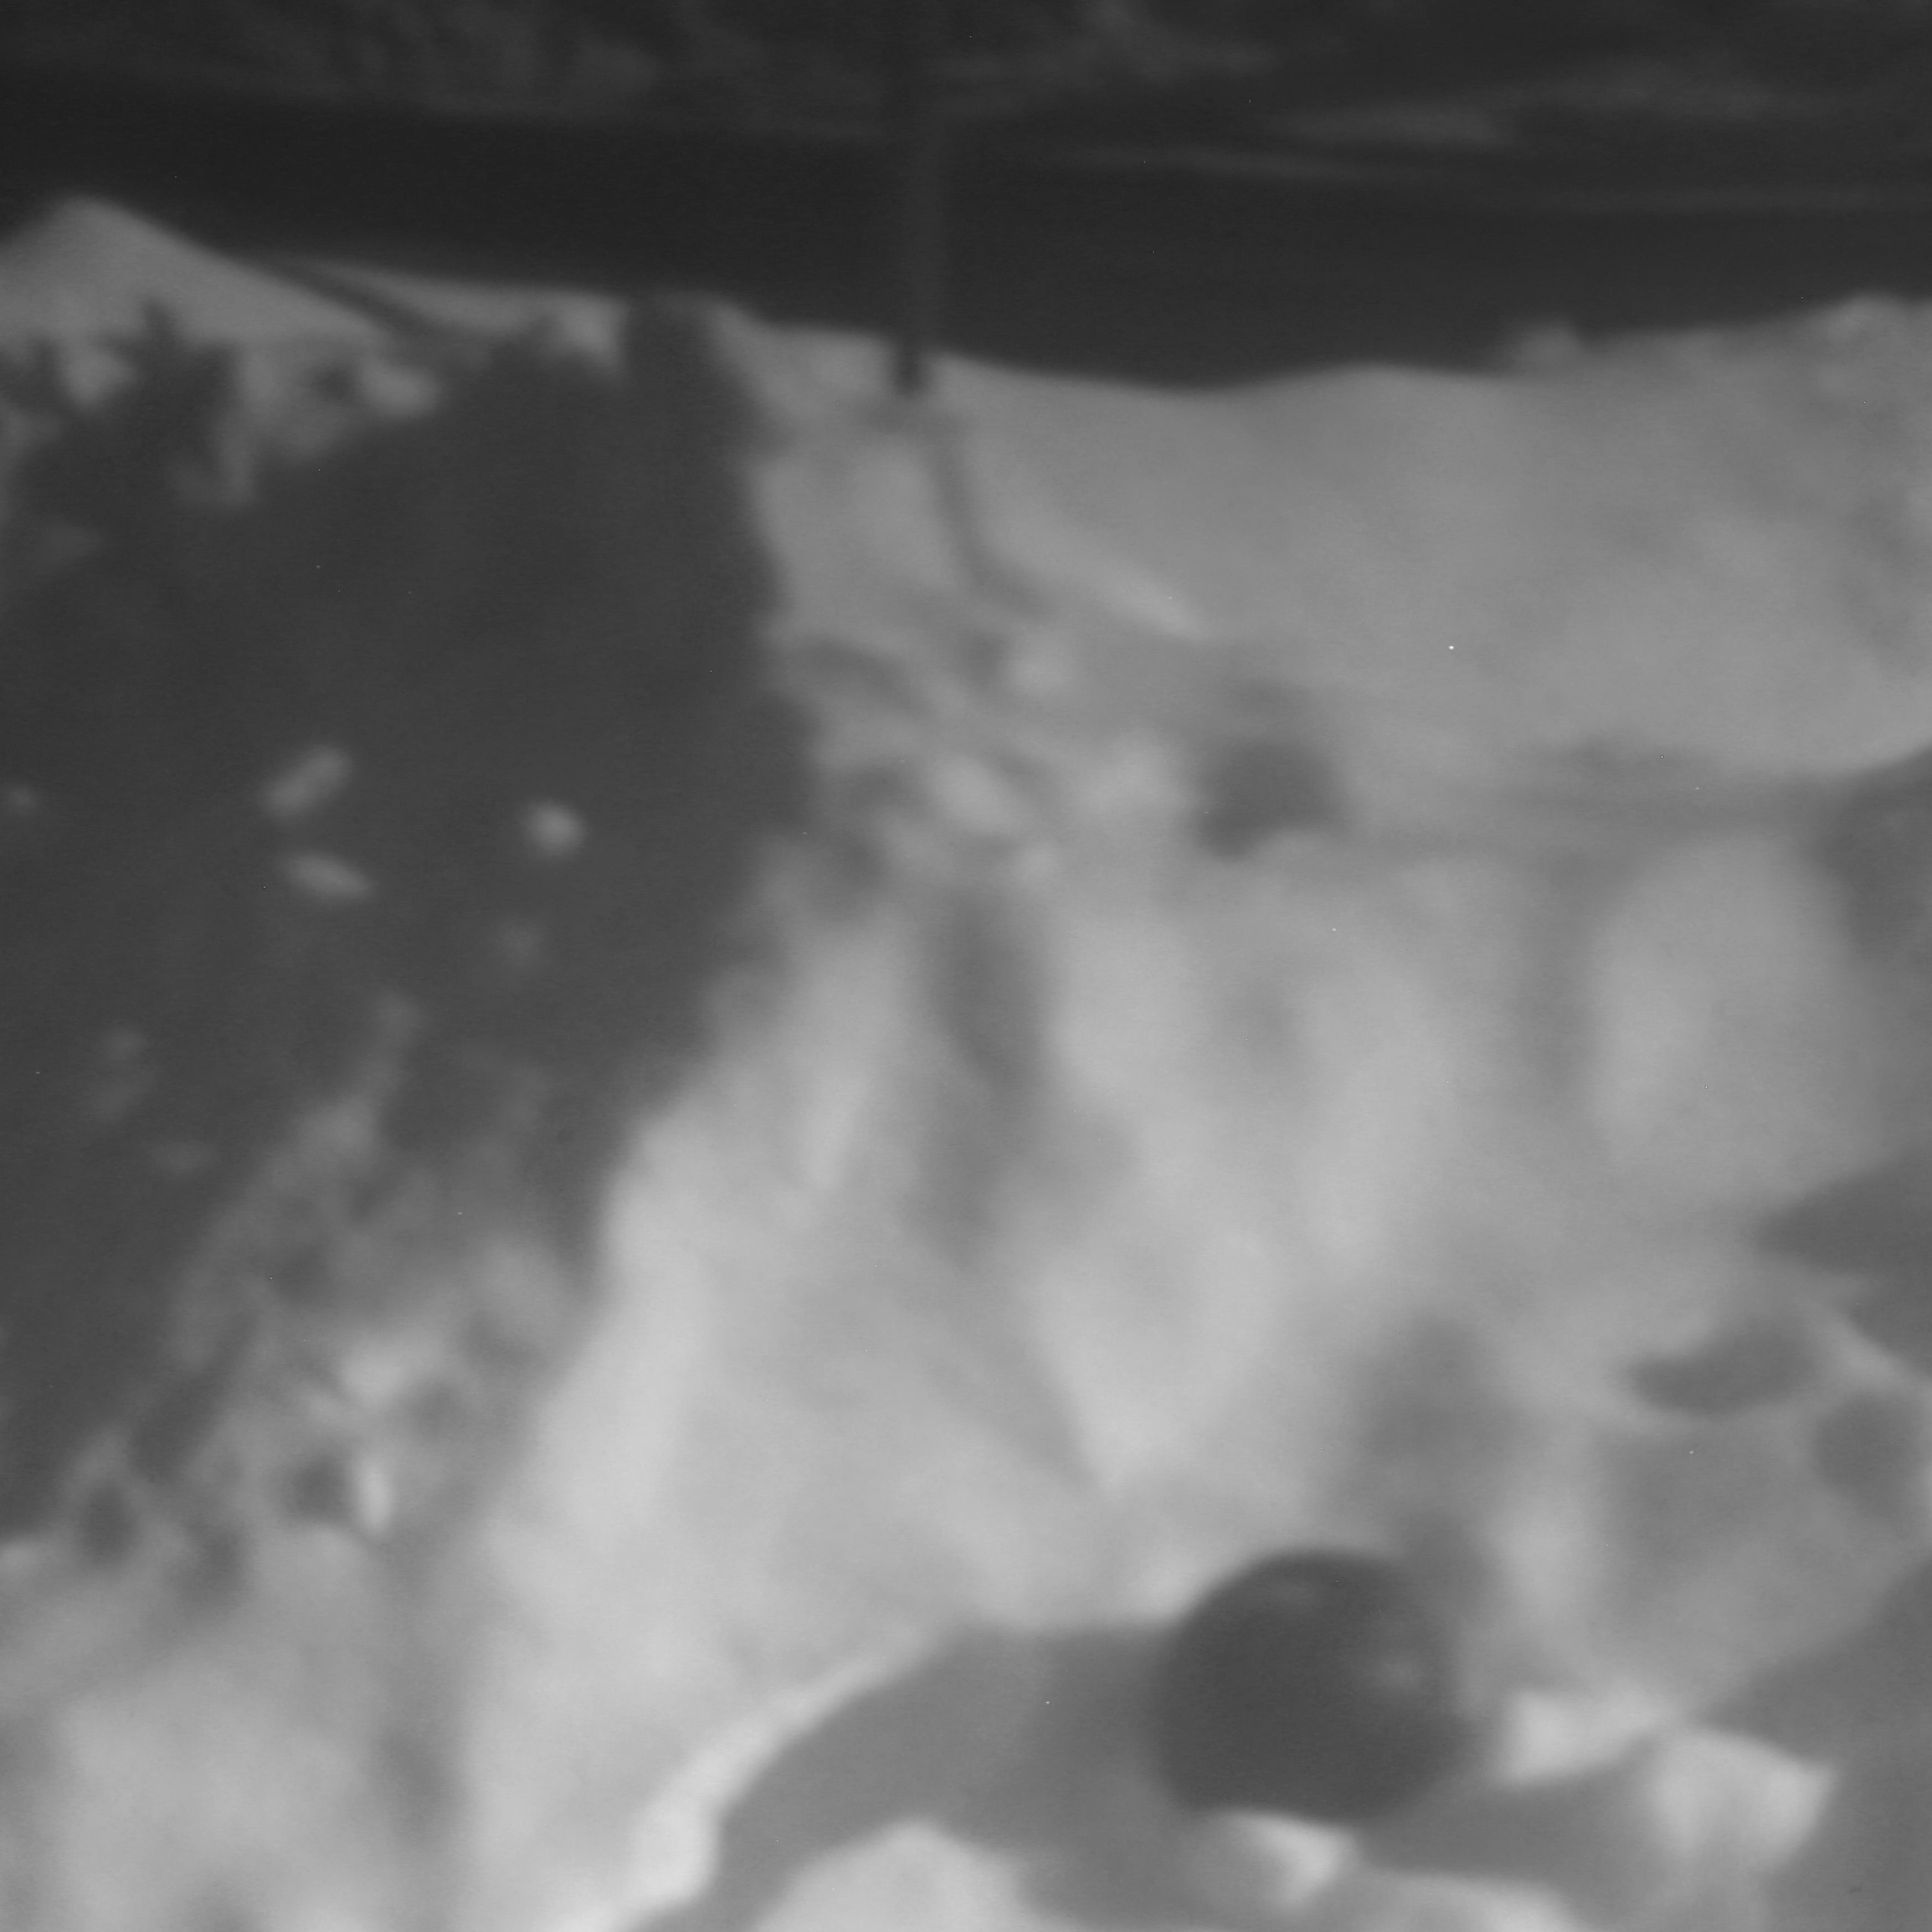
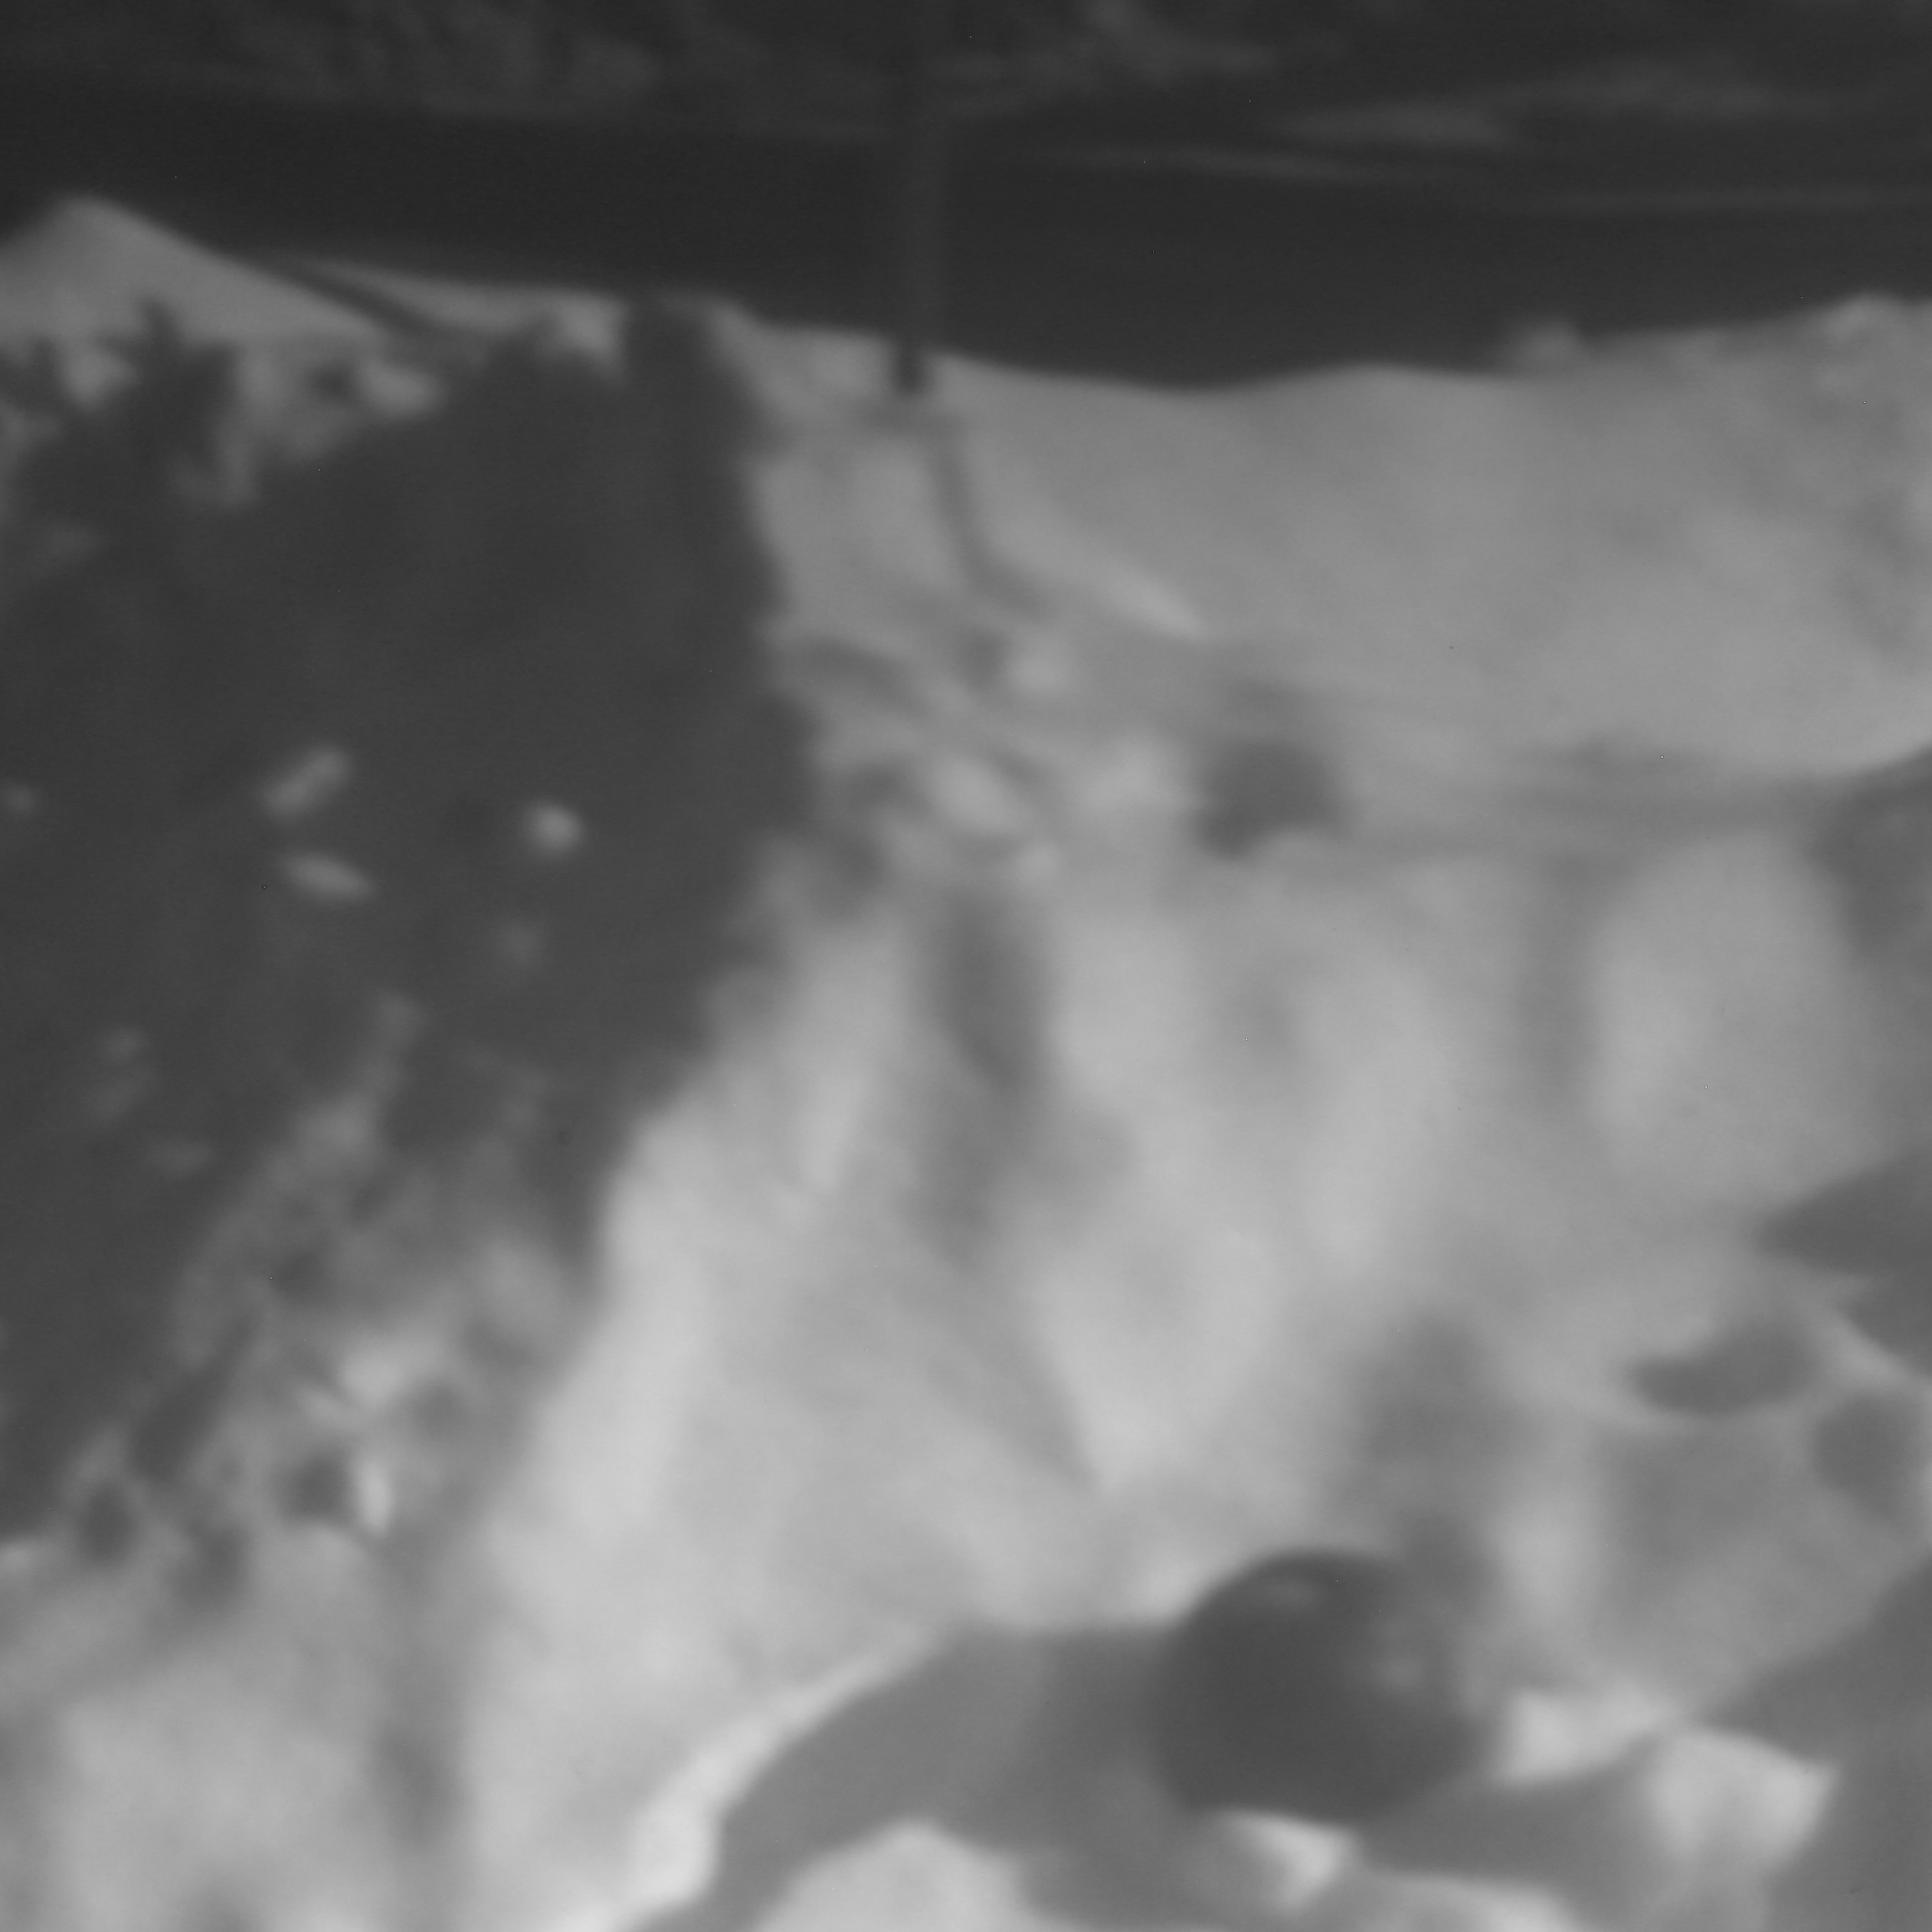
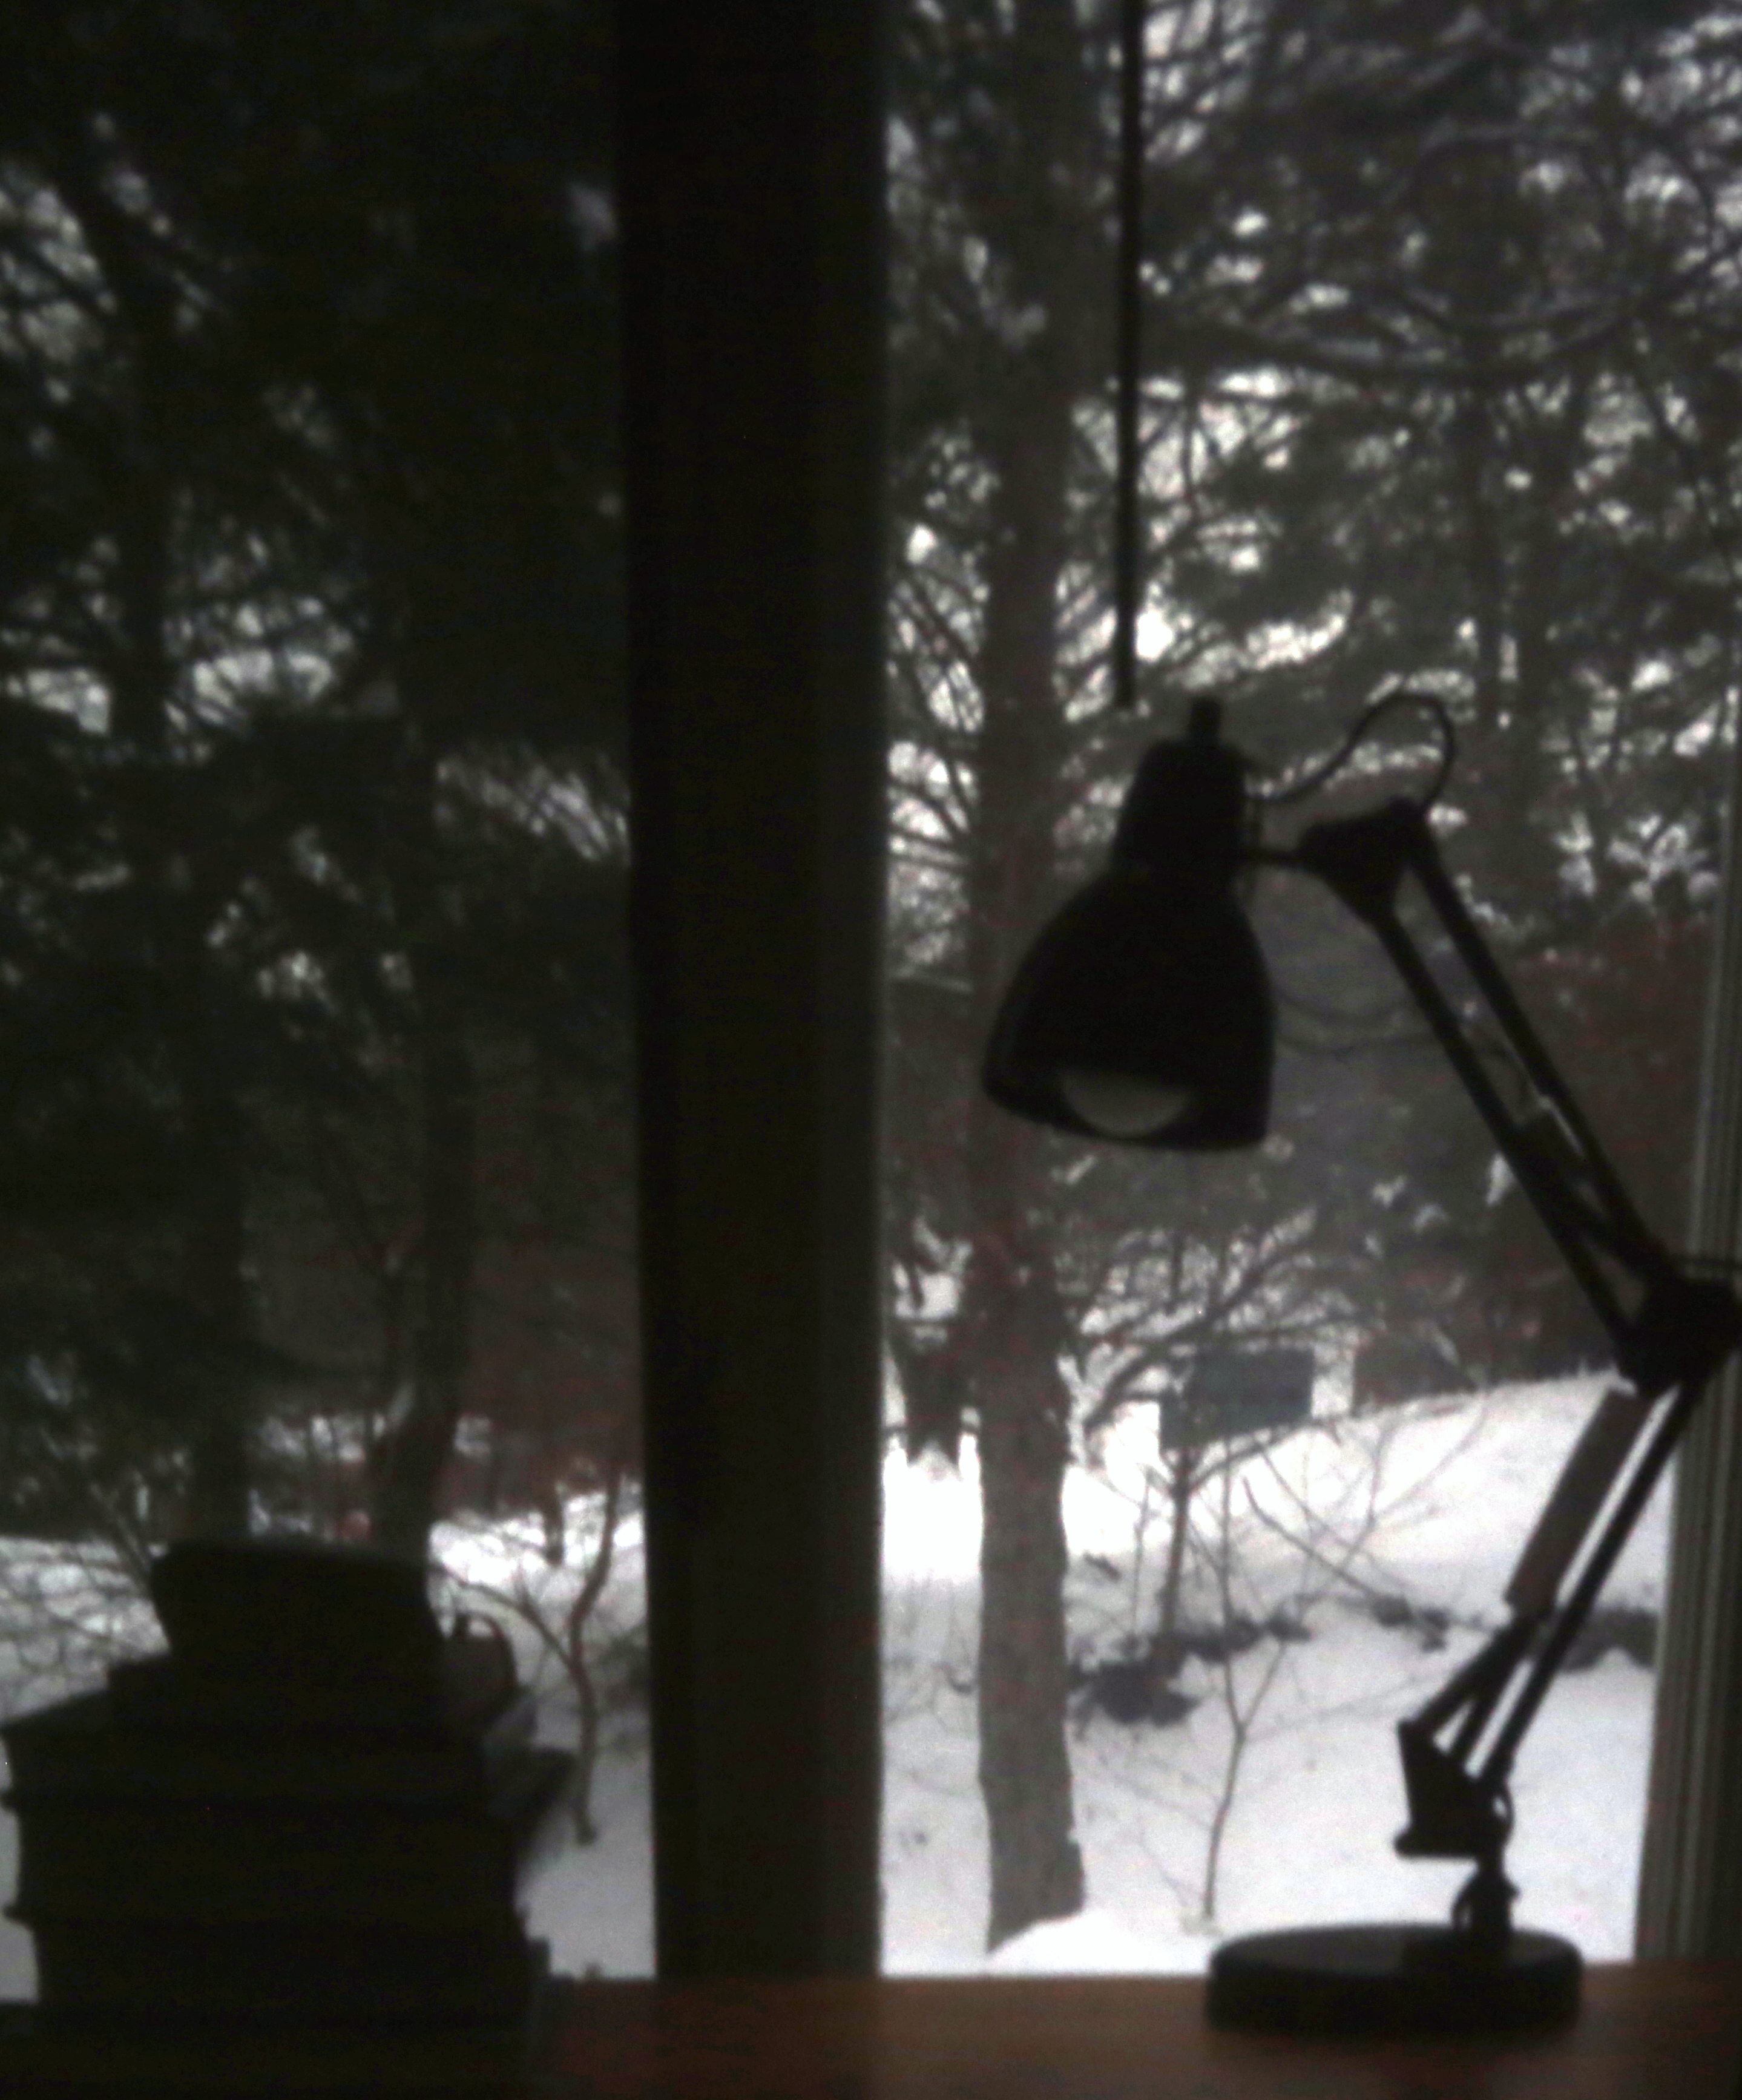
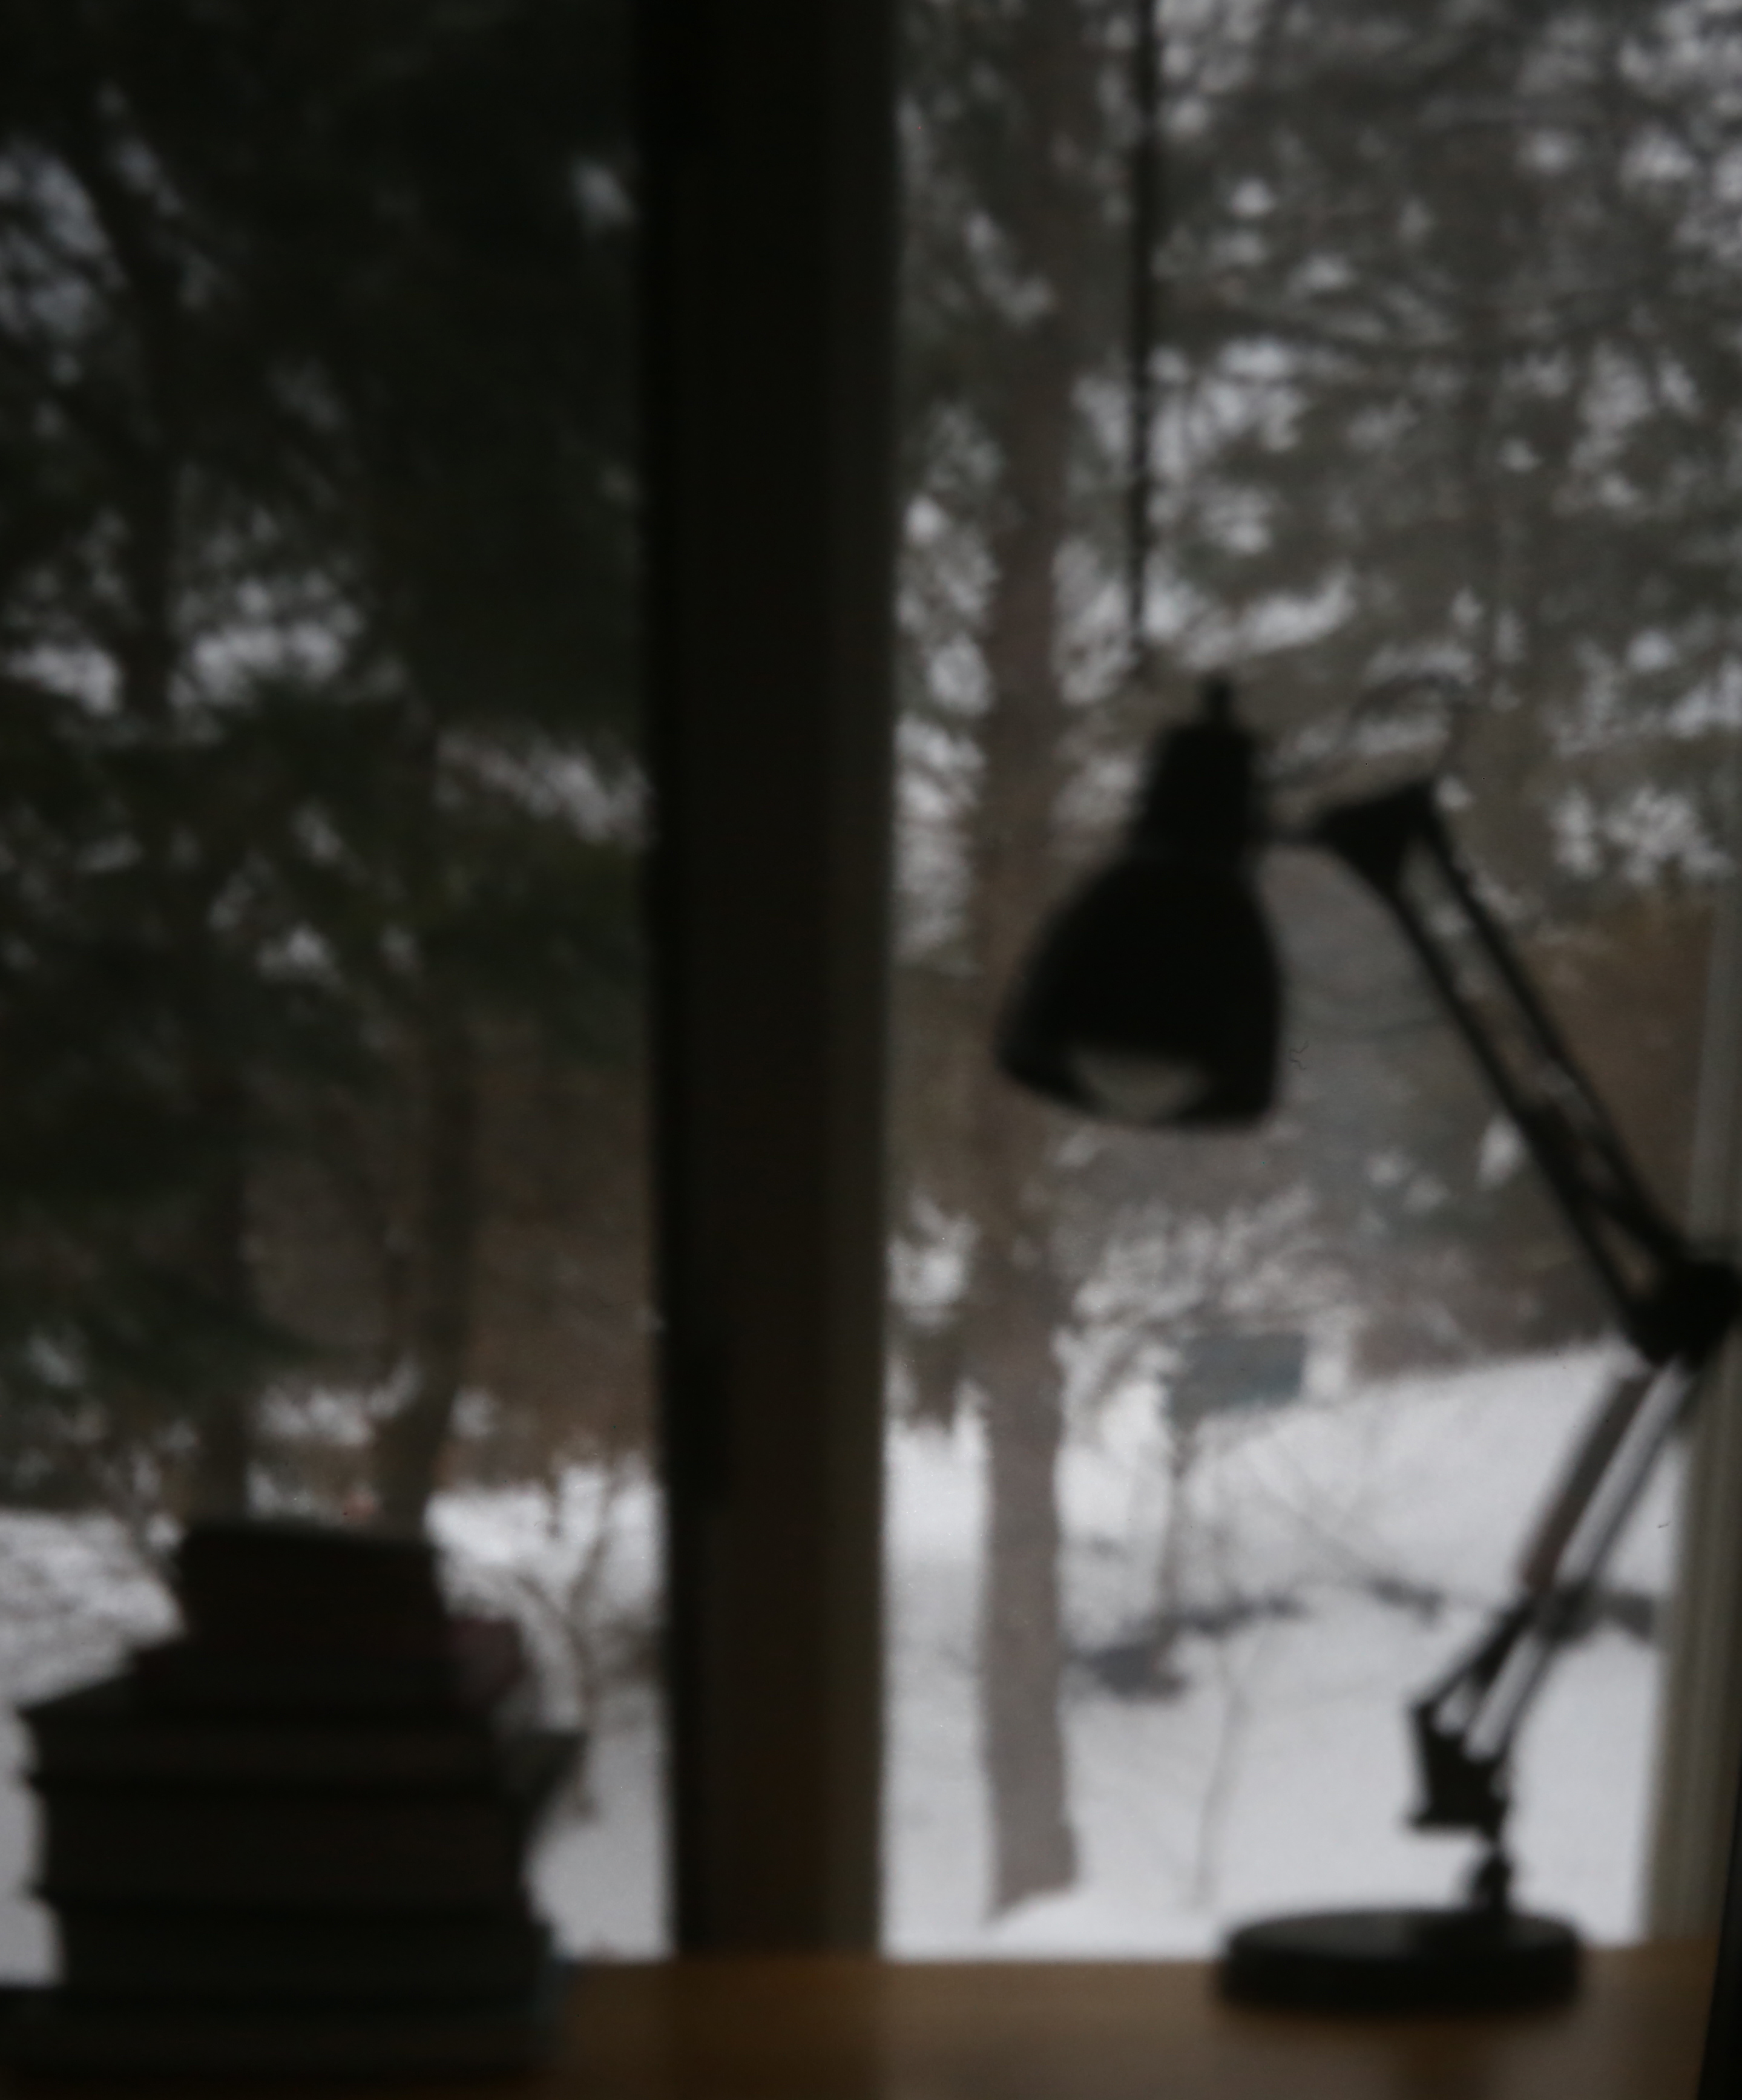
Subtask3: Turning Our Room into Pinhole Camera
We covered all the windows in our room by aluminum foil to make it a dark room.
Photos

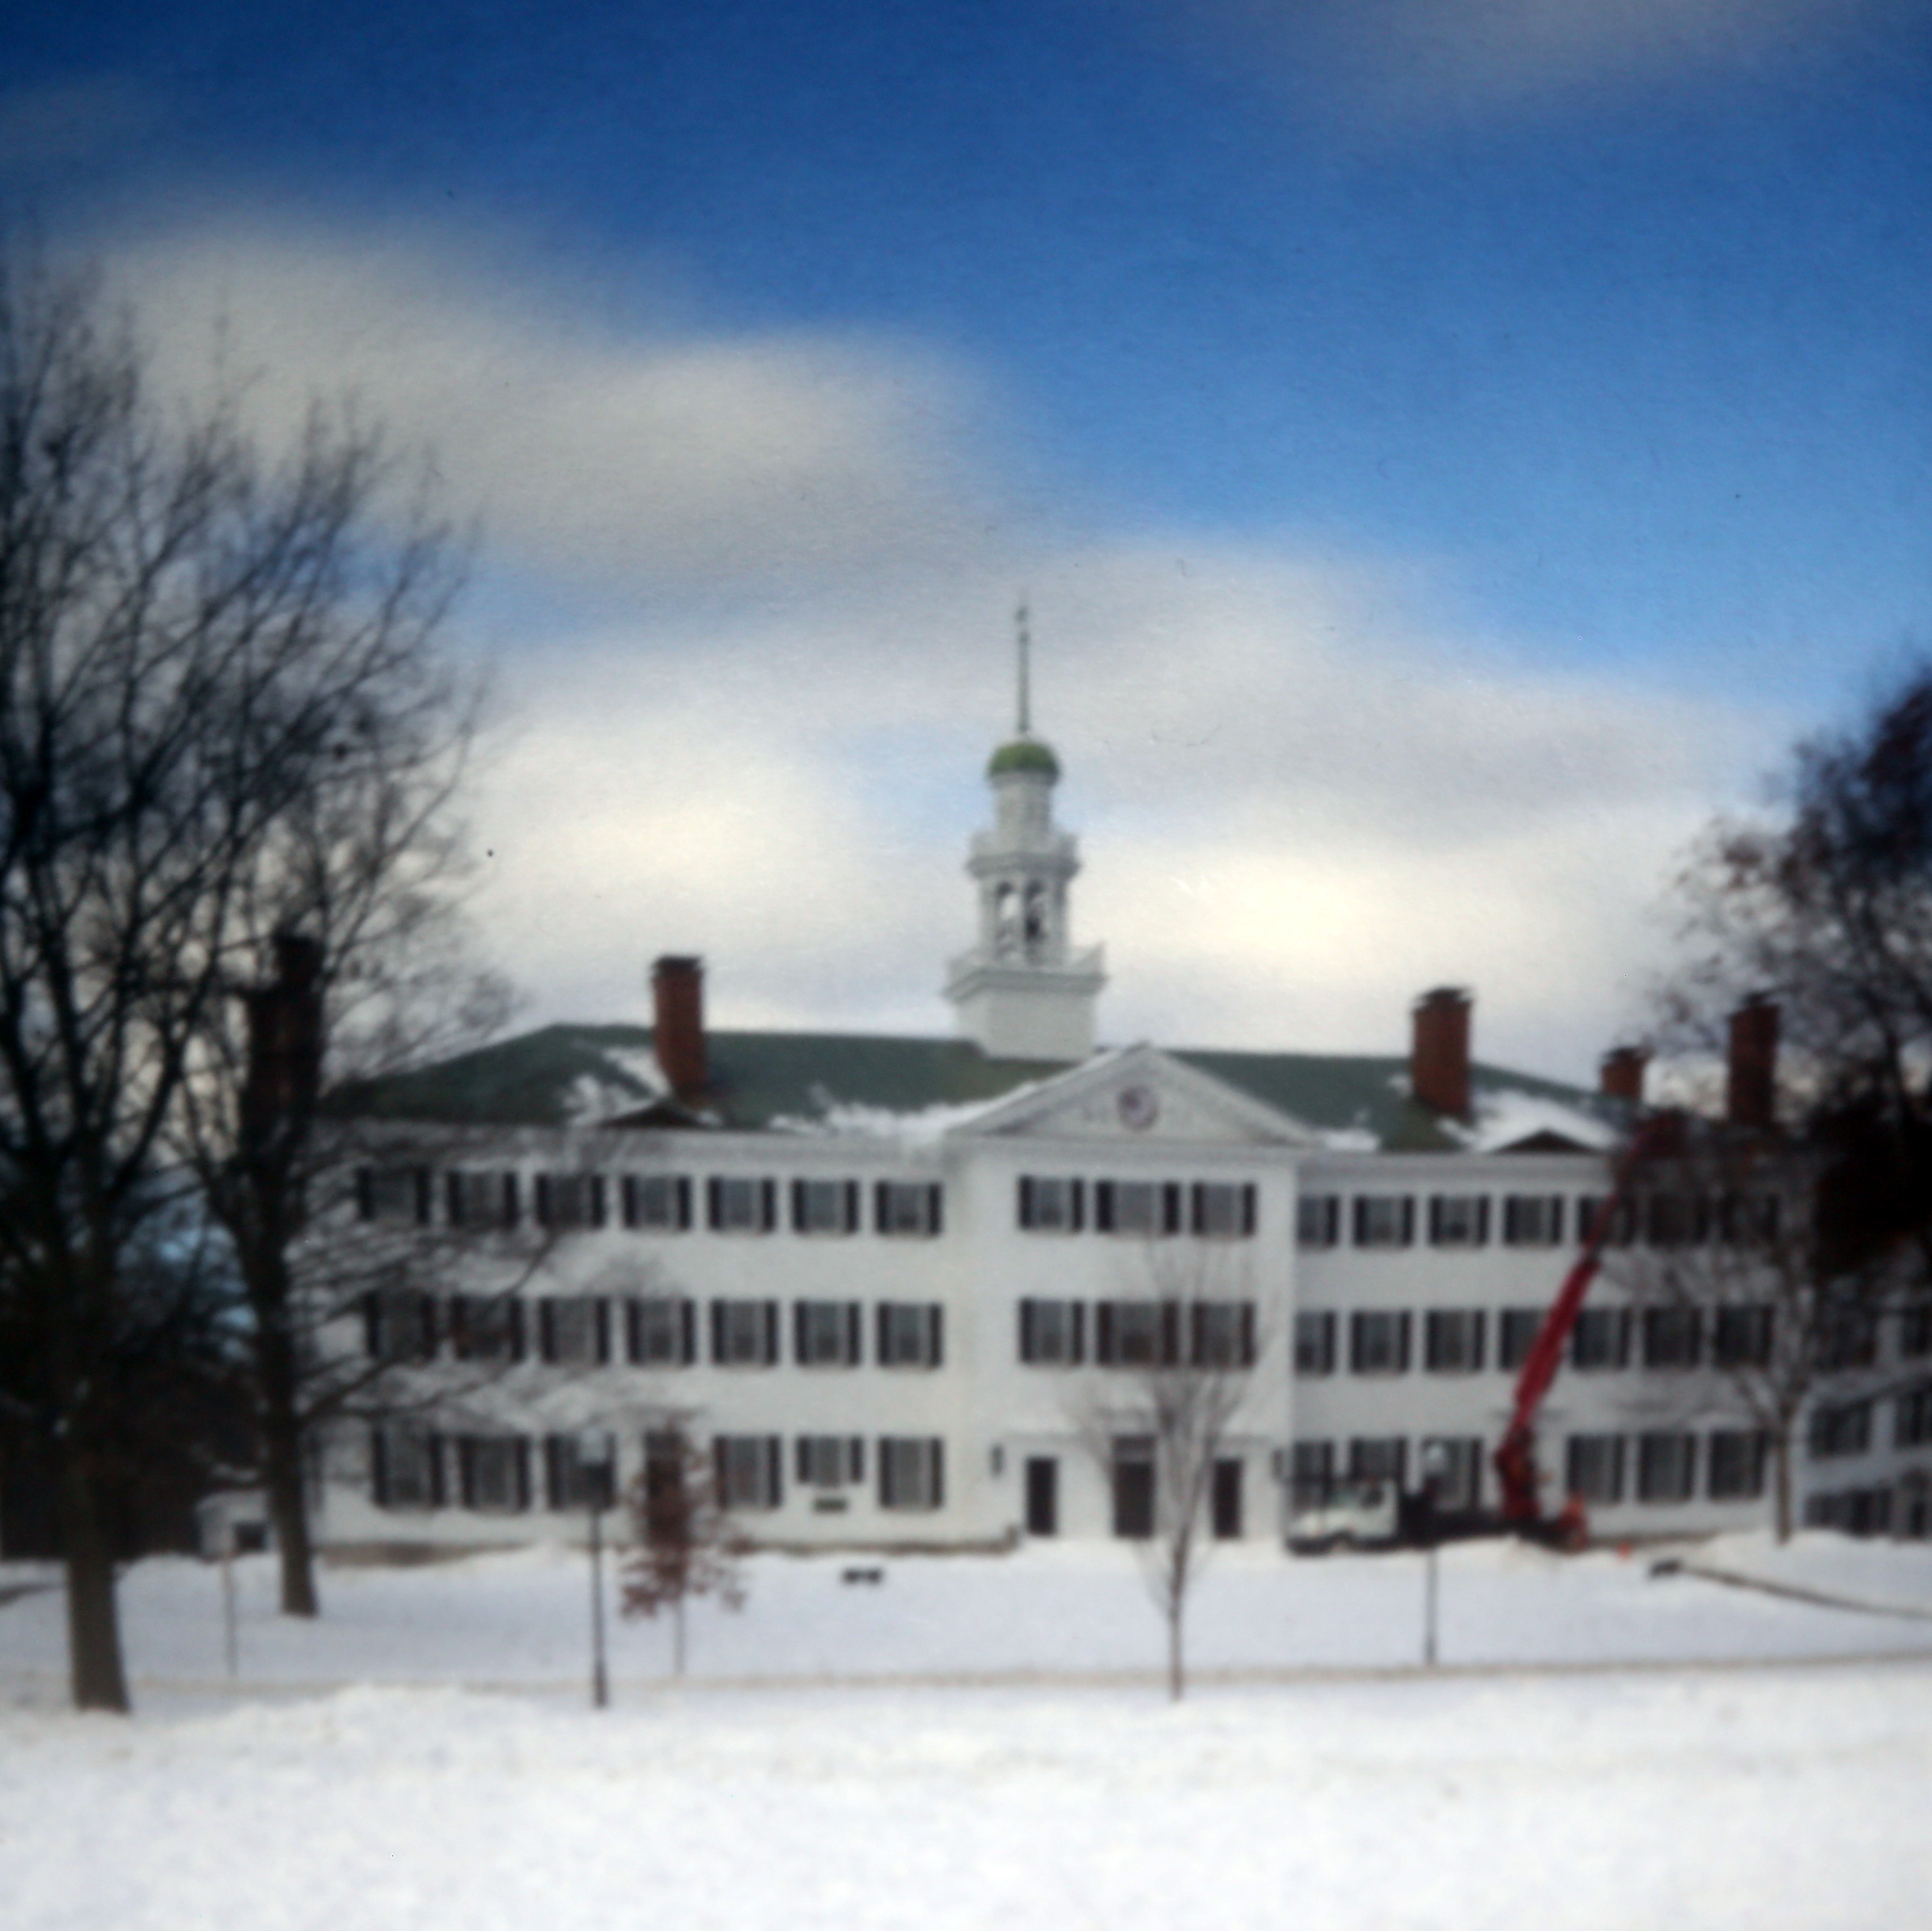
Camera Obscura in my room
View on the wall
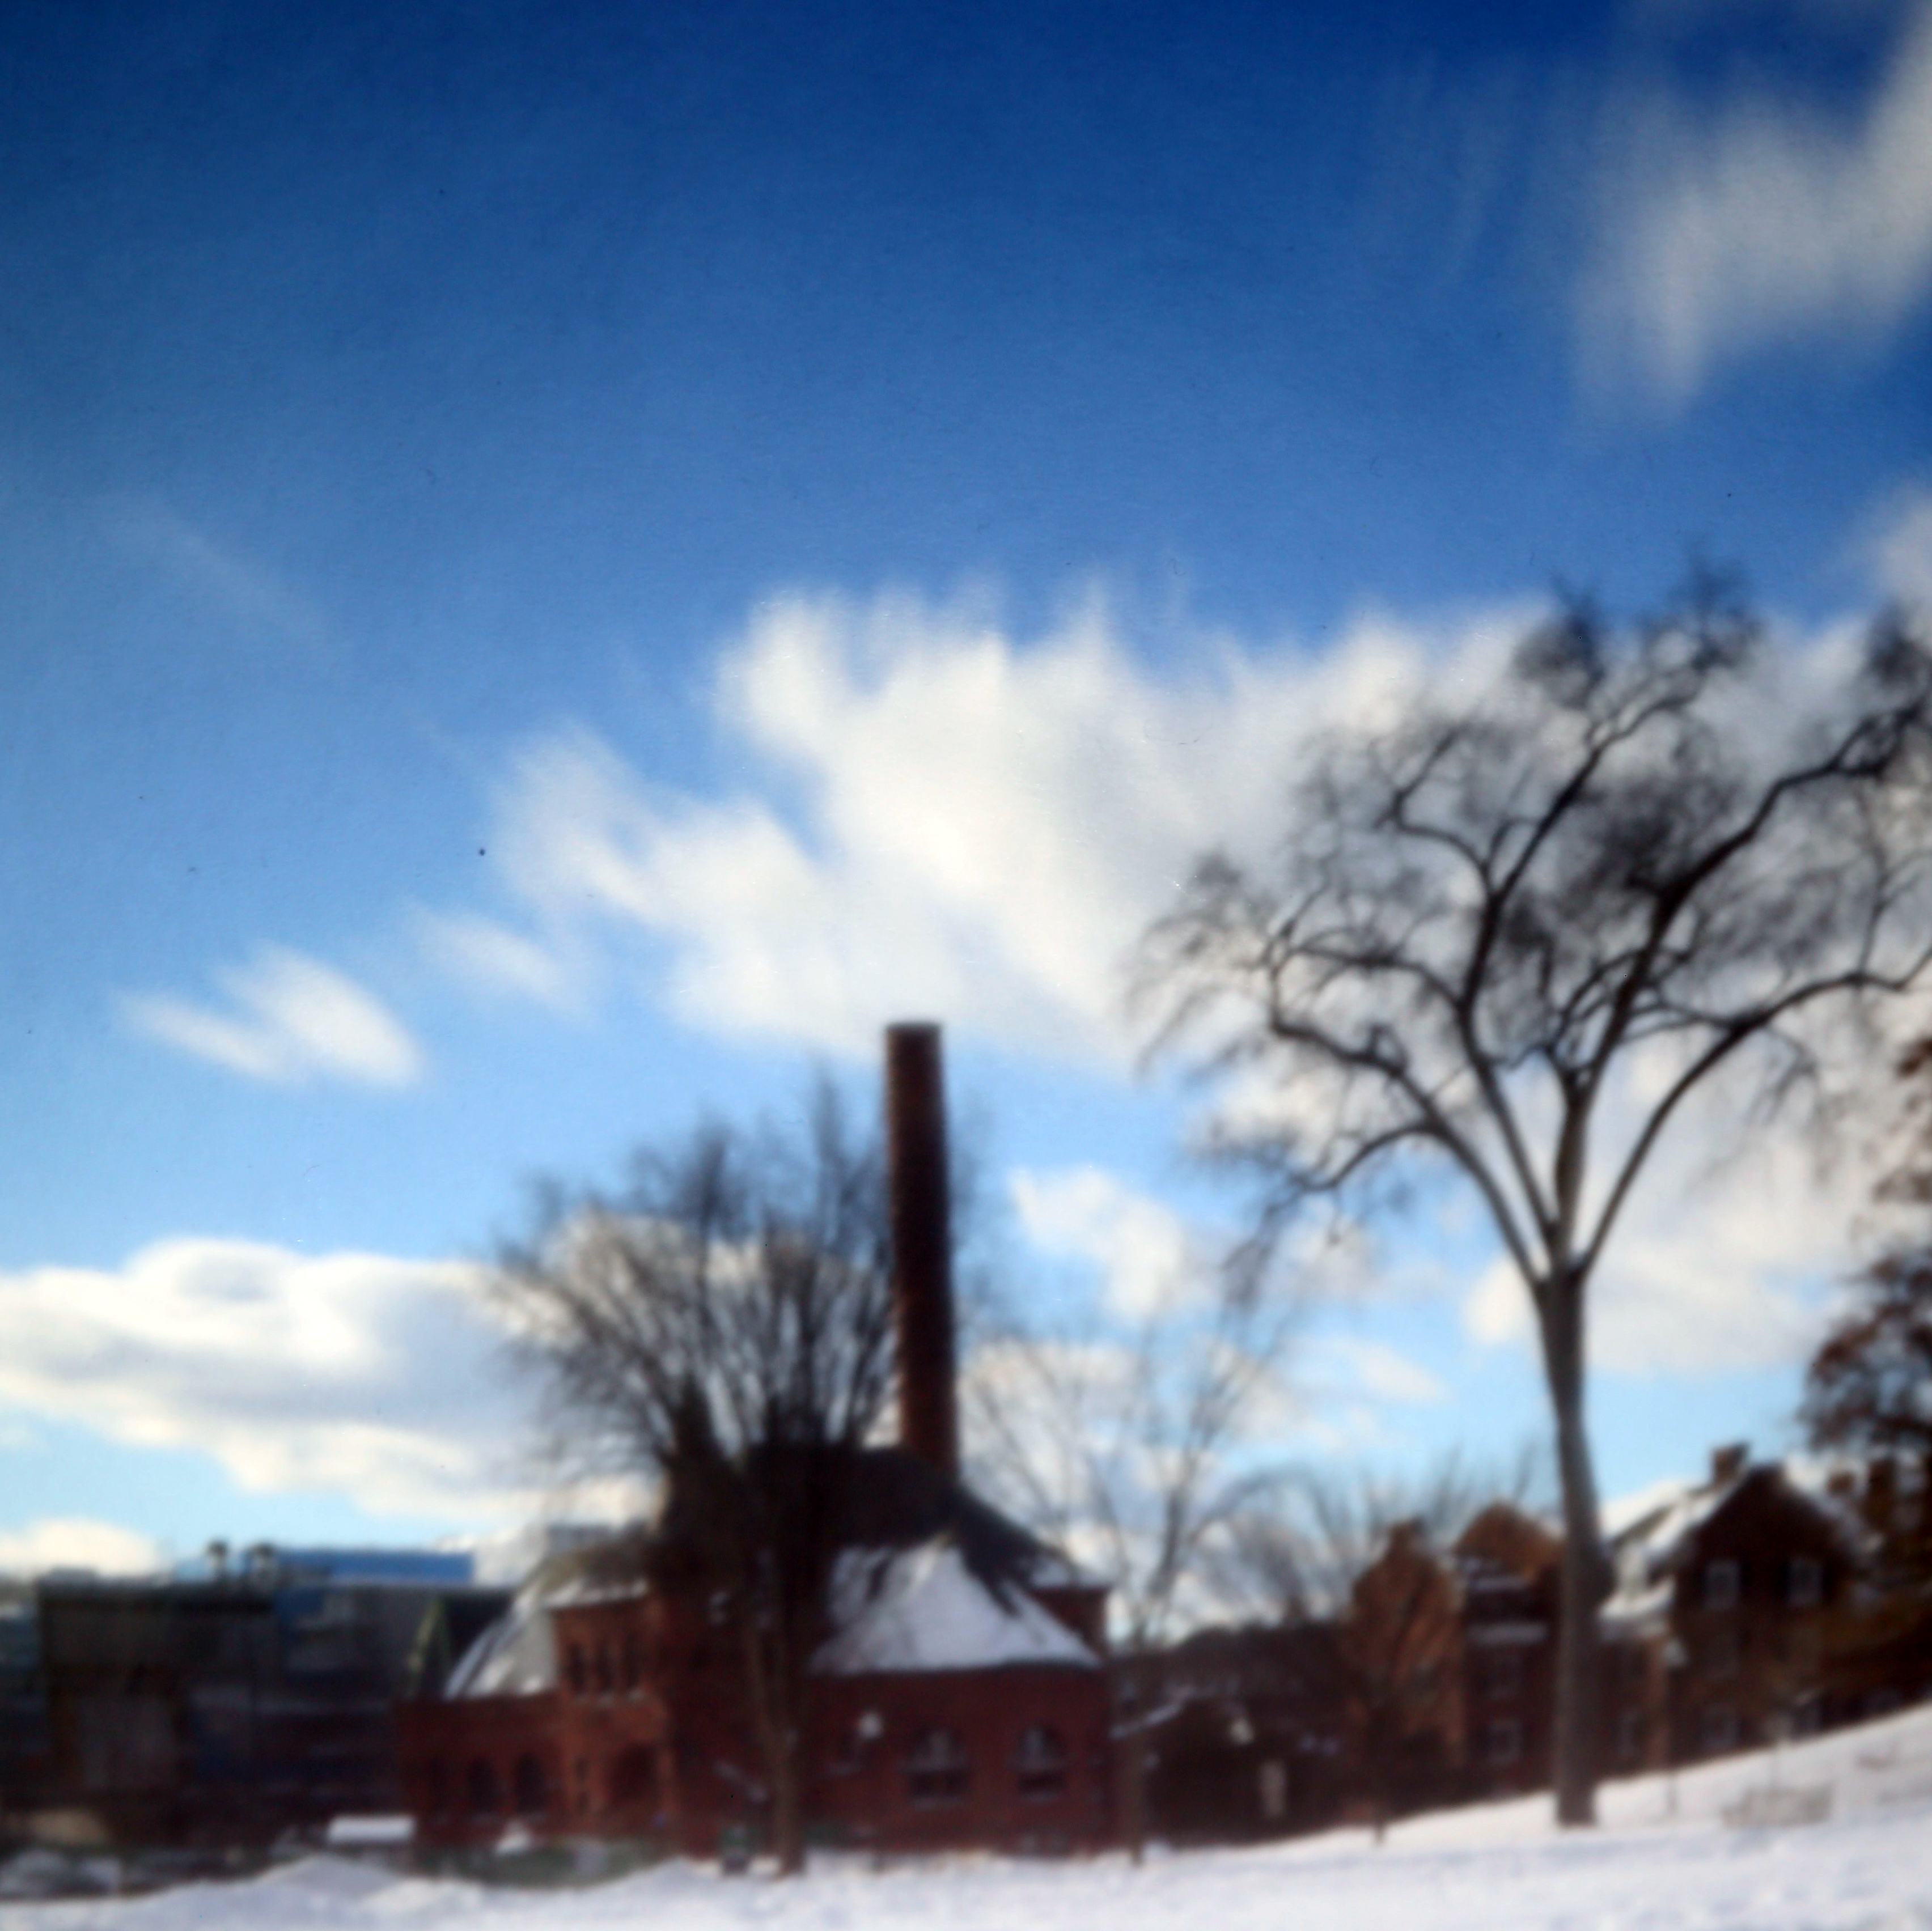
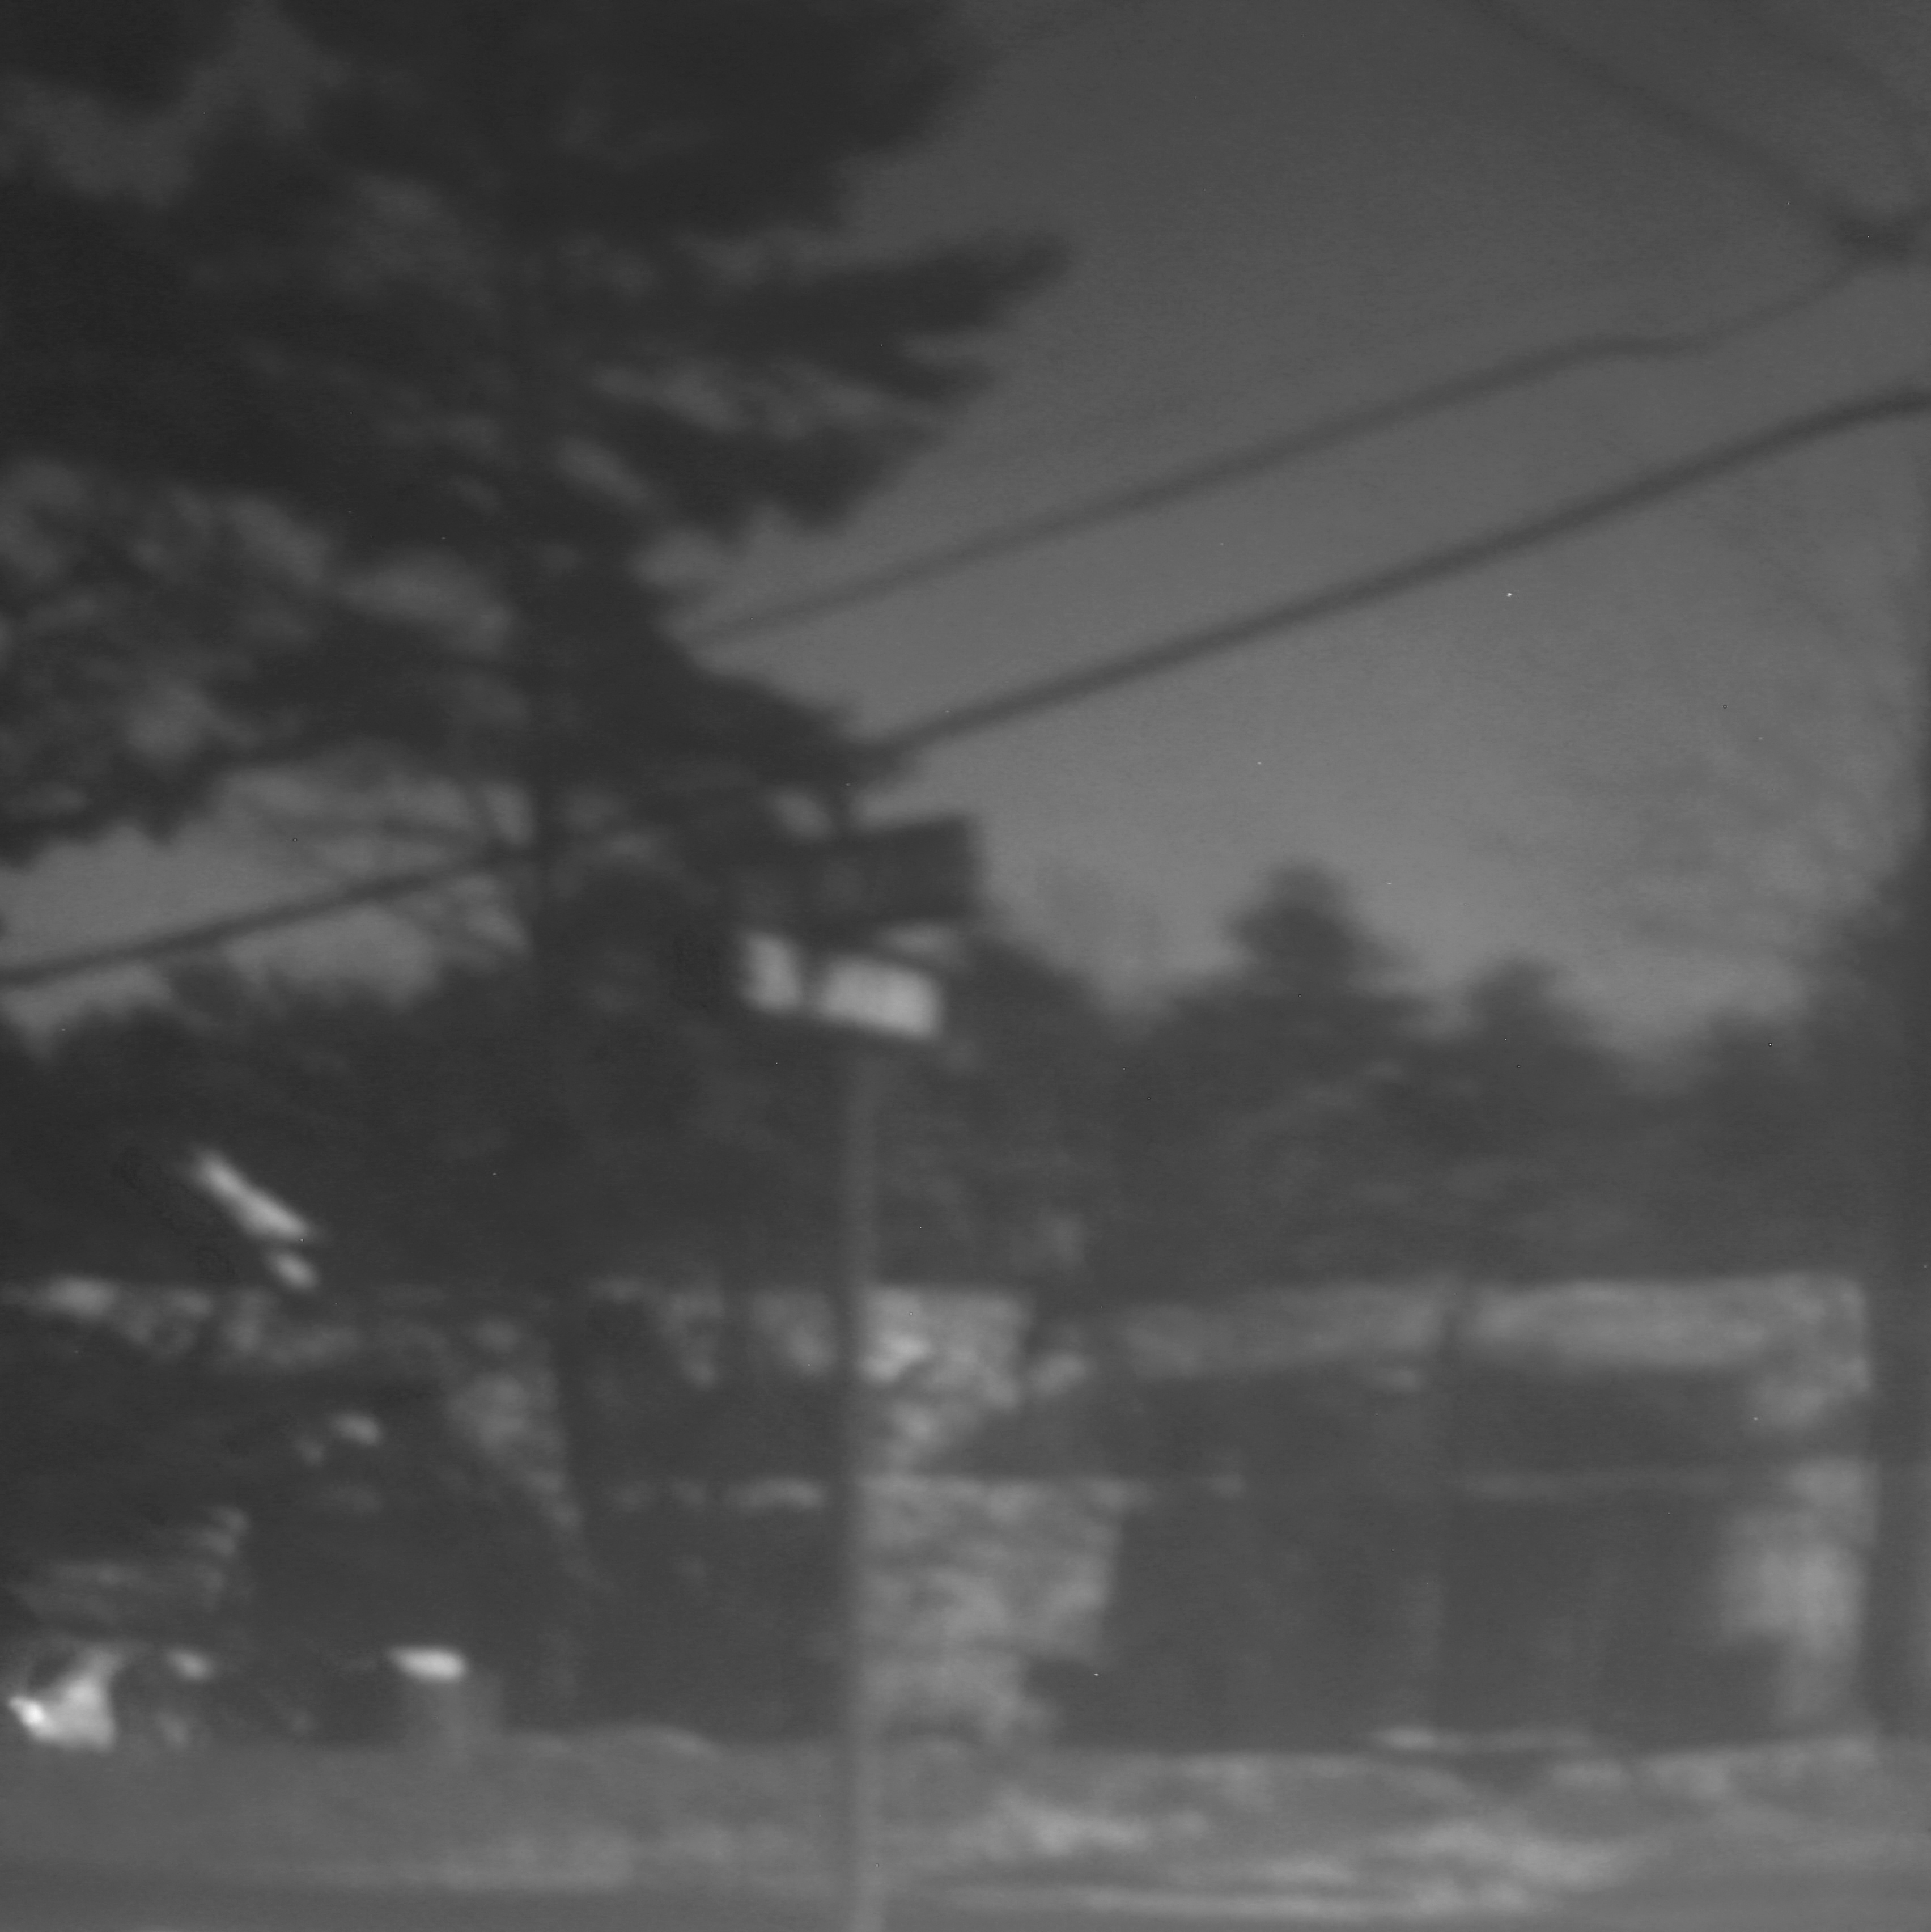
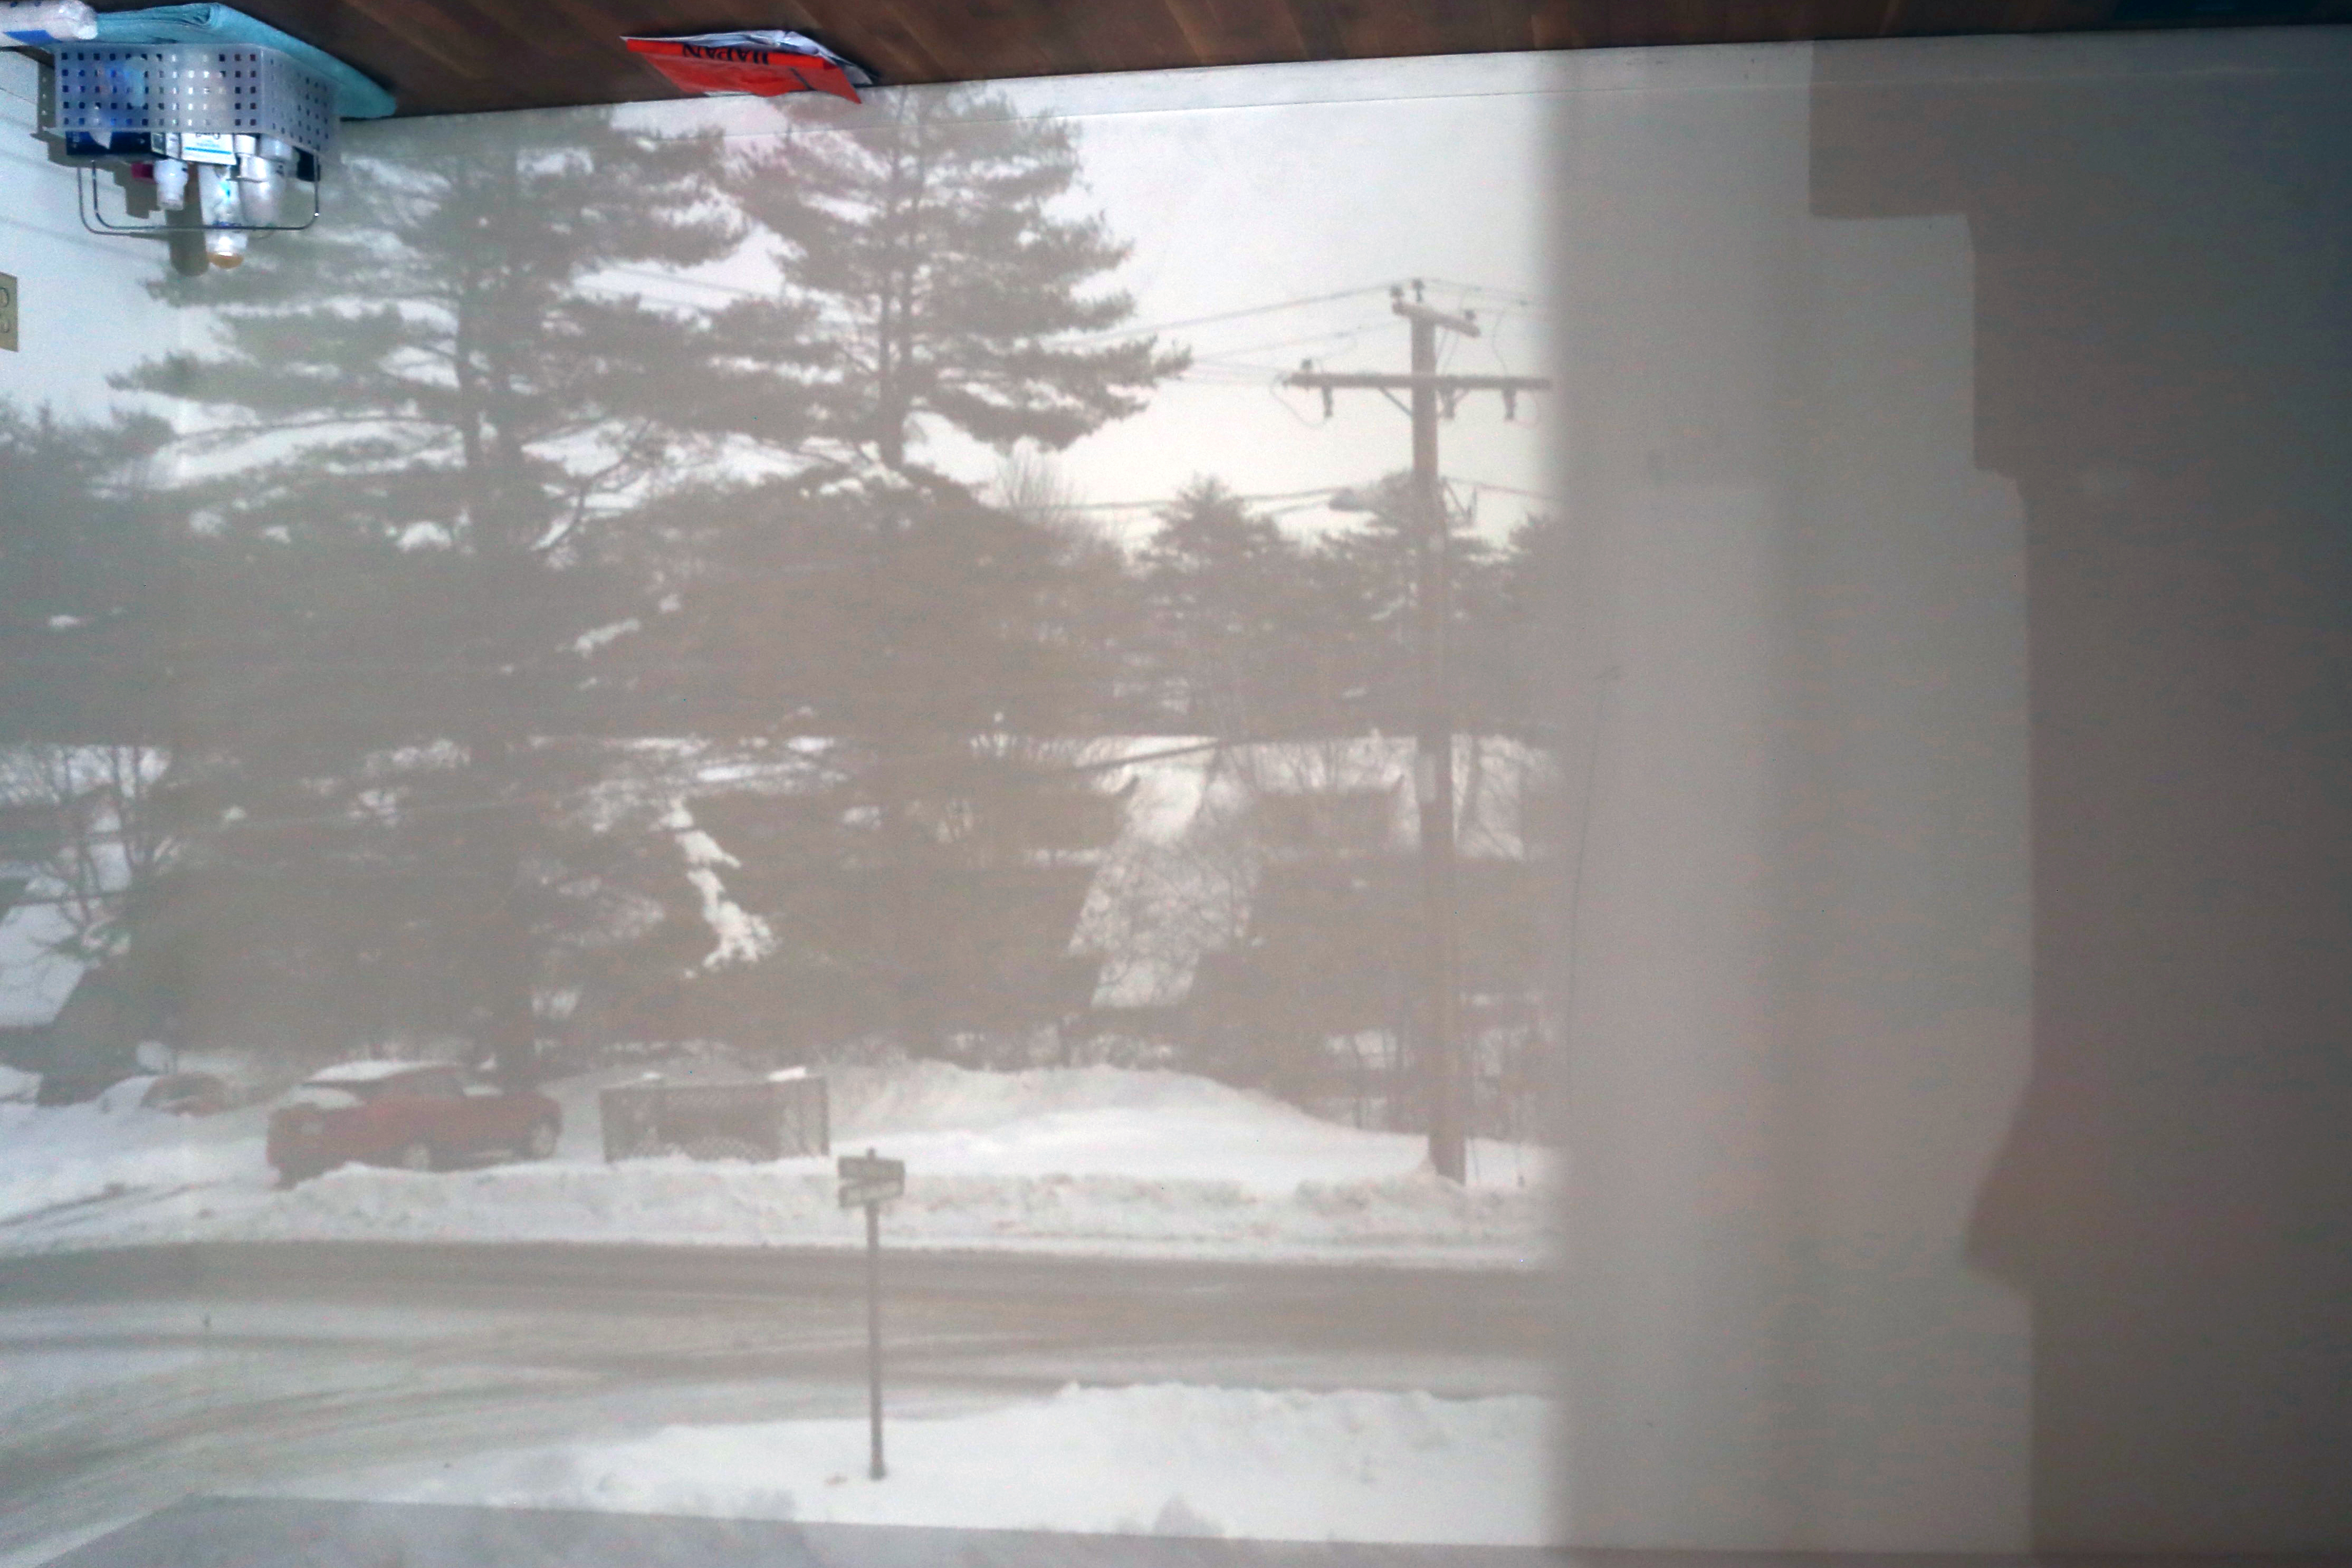
Subtask4: Tracing Paper
Based on the dark room we created in task 3, we were able to make a box with tracing paper and see the views outside.
Photo

The box with tracing paper

View on the tracing paper