CS5625 PA6 Deferred Shading
Out: Saturday March 19, 2016
Due: Friday March 25, 2016 at 11:59pm
Work in groups of 2.
Overview
In this programming assignment, you will implement a new shading technique: "deferred" shading. To go with it, you'll also implement a post-processing filter to provide bloom around bright light sources.
Running the program pa6.PA6, you should see the following window:
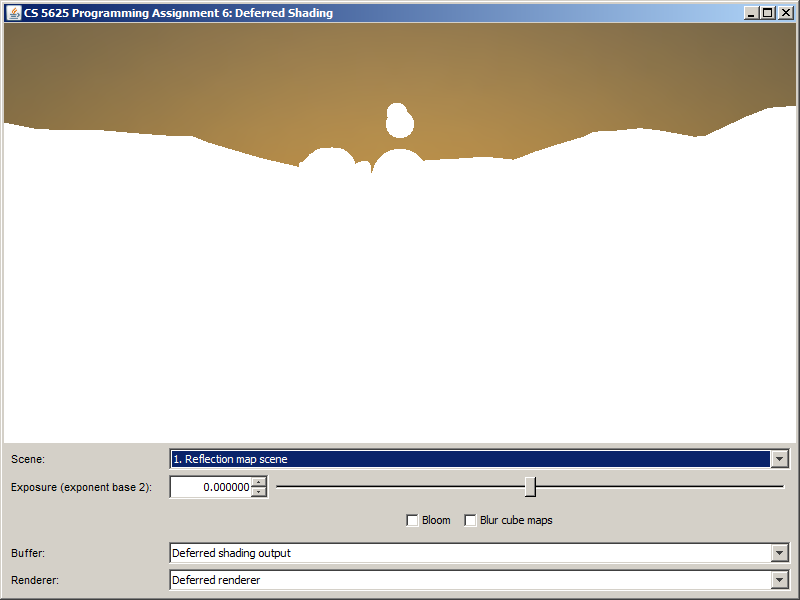
You can use the combo boxes at the bottom of the window to change the scenes and the renderers. For the "deferred" renderer, you have the option of selecting which buffer among five to display on the screen. We hope this feature will be useful for you when debugging your shaders.
Task 1: Deferred Shading
We implemented forward shading for several shading models in PA1. Forward shading has one main drawback: if the scene has many overlapping objects, expensive lighting calculations are performed for all fragments, even those that will be overwritten by an object closer to the viewer. Deferred shading addresses the shortcoming as follows:
- Instead of lighting each fragment as it is generated, the scene is first rendered into an off- screen buffer (the “g-buffer”) using simple shaders which just output material properties. Since no lighting or other computation has been done yet, overlapping objects are handled efficiently.
- Run an “übershader” on the g-buffer to compute shading. This shader is usually called an "übershader" ("supershader") since it contains lighting code for all types of lights and materials.
The class pa6.renderer.deferred.DeferredRenderer and pa6.renderer.deferred.DeferredMeshRenderer implements the deferred shading technique. It makes uses of the shaders located in the student/src/shaders/deferred directory. You will see that the directory contains vertex and fragment shaders for the five materials we have implemented for the forward renderer. However, only the "single color" material has been implemented, and it's your job to port the rest of the materials to the deferred shading world. This also involves editing the übershader so that it knows how to deal with other types of materials.
As mentioned earlier, the shaders for each material will not compute the final fragment color, but will fill the g-buffers with information useful for computing it later. Depending on the material, this information includes the normal vector, the tangent vector, the diffuse and specular color, the ID of the material, and other material-specific parameters. DeferredRenderer uses 4 g-buffers each of whose pixels can store 4 floating points numbers, totalling 16 floating point numbers. The provided implementation of the single color material also requires that the first floating point number of the first g-buffer stores the material ID. As a result, you have 15 floating points numbers to encode all other information. We leave this encoding up to you, but it should be plenty of space. Note: You do not have to encode the eye-space position of the fragement. It is available in the position variable in the übershader.
The übershader should figure out the material being shaded from the material ID and then compute the final fragment color accordingly. Since you have implemented all the materials in the forward renderer, implementing the übershader should be as simple as copying and pasting the relevant code from the forward shaders (with appropriate modifications, of course).
You should check the correctness of your deferred renderer by comparing its output to that of the forward renderer. All renderings they generate should be the same.
Task 2: Bloom Effect
Edit:
- the bloomBuffer method of the PA6Renderer
The bloom is a visual effect that aims to simulate the phenomenon in which imperfections in the optics of the eye (or of camera lenses) produces halos of light around bright objects. A nice model for this effect is described by Spencer et al.; essentially it causes the image you see to be convolved with a filter that is very sharp at the center but has long, very faint tails.
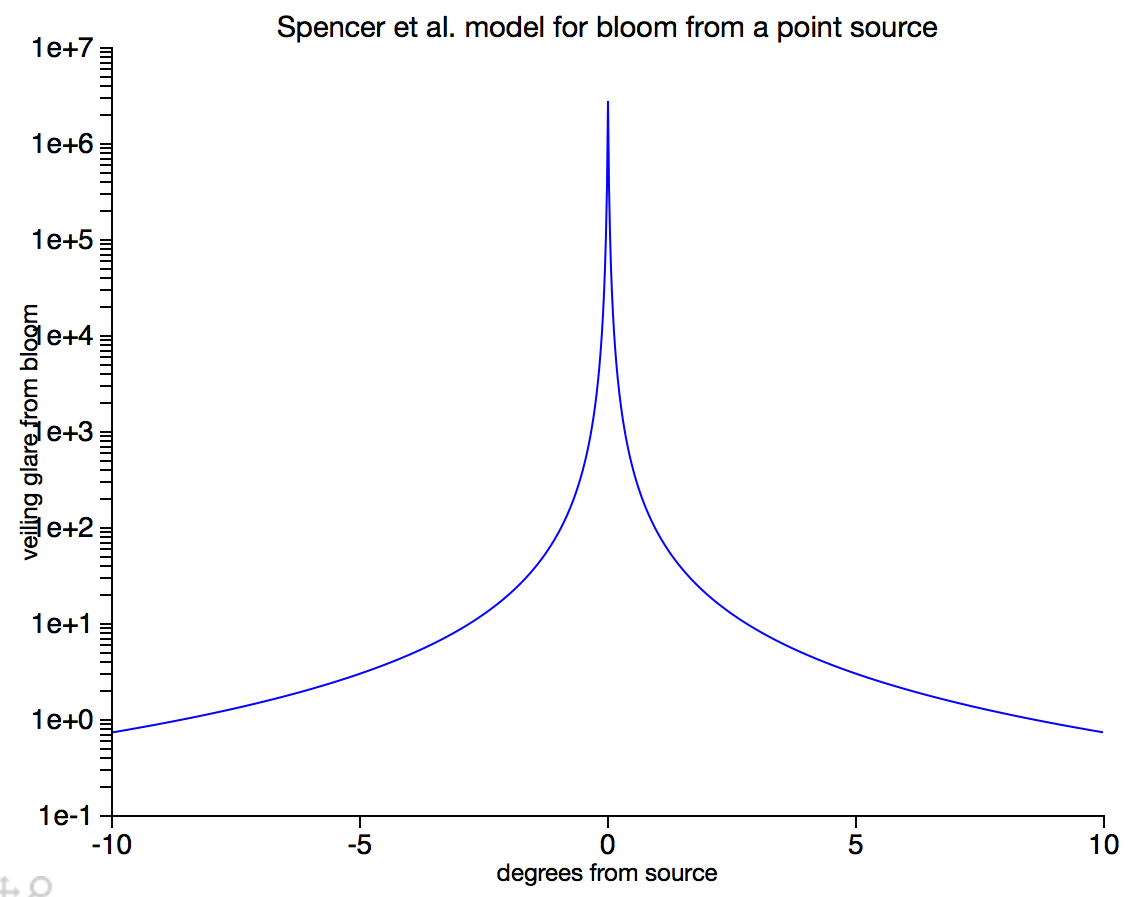 |
When filtering most parts of the image, it will have essentially no effect, since the tails of the filter are so faint, but when something like the sun comes into the frame, the pixel values are so high that the faint tails of the filter contribute significantly to other parts of the image.
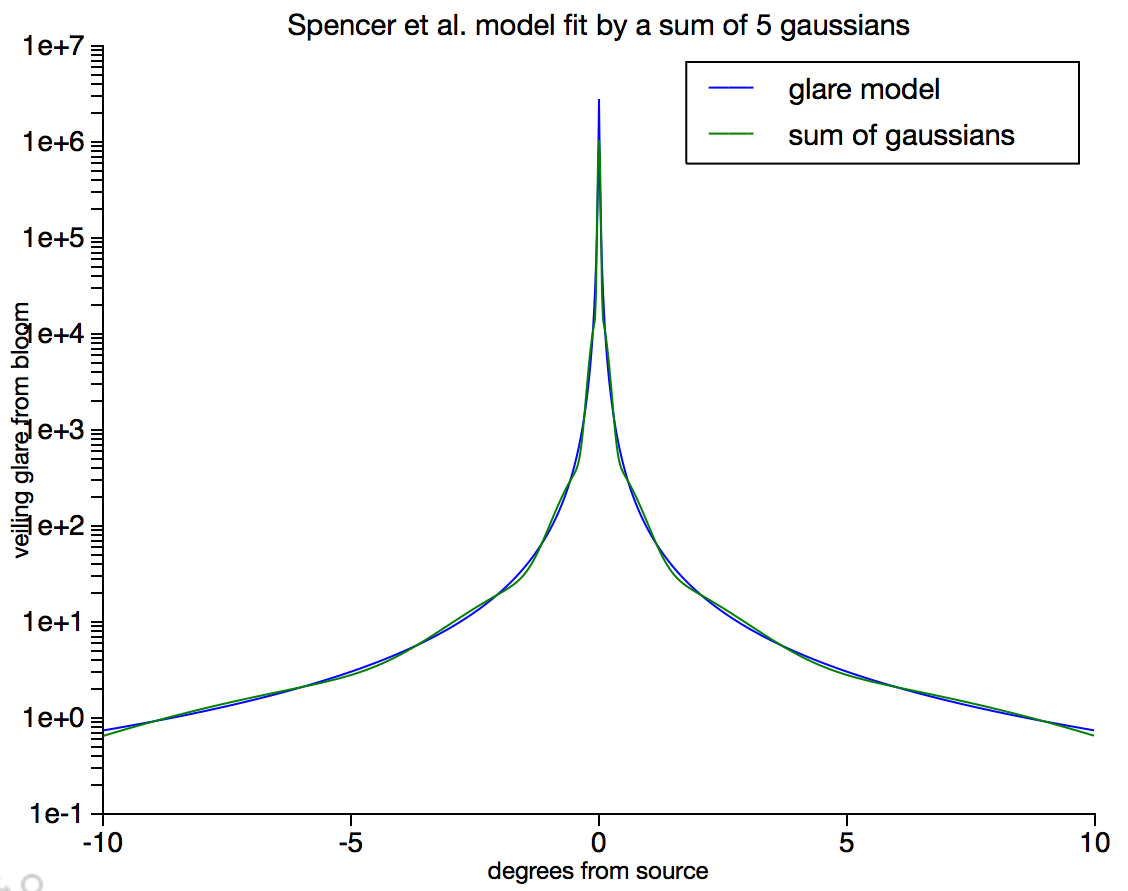
The problem is, this filter is too big to work with directly: the tails should extend a large fraction of the size of the image. And worse, it is not separable. So doing a straight-up space-domain convolution is hopeless.
Instead, we approximate this filter with the sum of an impulse and several Gaussian filters. Here is how we did it; the result is that the filter we will use is \[0.8843 \delta(x) + 0.1 g(6.2,x) + 0.012 g(24.9,x) + 0.0027 g(81.0,x) + 0.001 g(263,x)\] where \(g(\sigma, x)\) is a normalized gaussian with standard deviation \(\sigma\).
 |
You'll find these weights and the standard deviations for the kernels in the bloomFilterScales and the bloomFilterStdev fields, respectively. There is a parameter BLOOM_AMP_FACTOR that you can increase from 1.0 to make the bloom more dramatic, which is fun.
Then, we convolve the rendered images with 4 Gaussian kernels, each with different width, to blur it. The results of the convolutions are as follows:
 |
 |
 |
 |
| Blur #1 | Blur #2 | Blur #3 | Blur #4 |
We scale each image by the constants stored in bloomFilterScales array and add the scaled images to the original image to produce the final image.
$k_0$ |
$+$ | $k_1$ |
$+$ | $k_2$ |
$+$ | $k_3$ |
$+$ | $k_4$ |
$=$ |  |
| Original | Blur #1 | Blur #2 | Blur #3 | Blur #4 | Final |
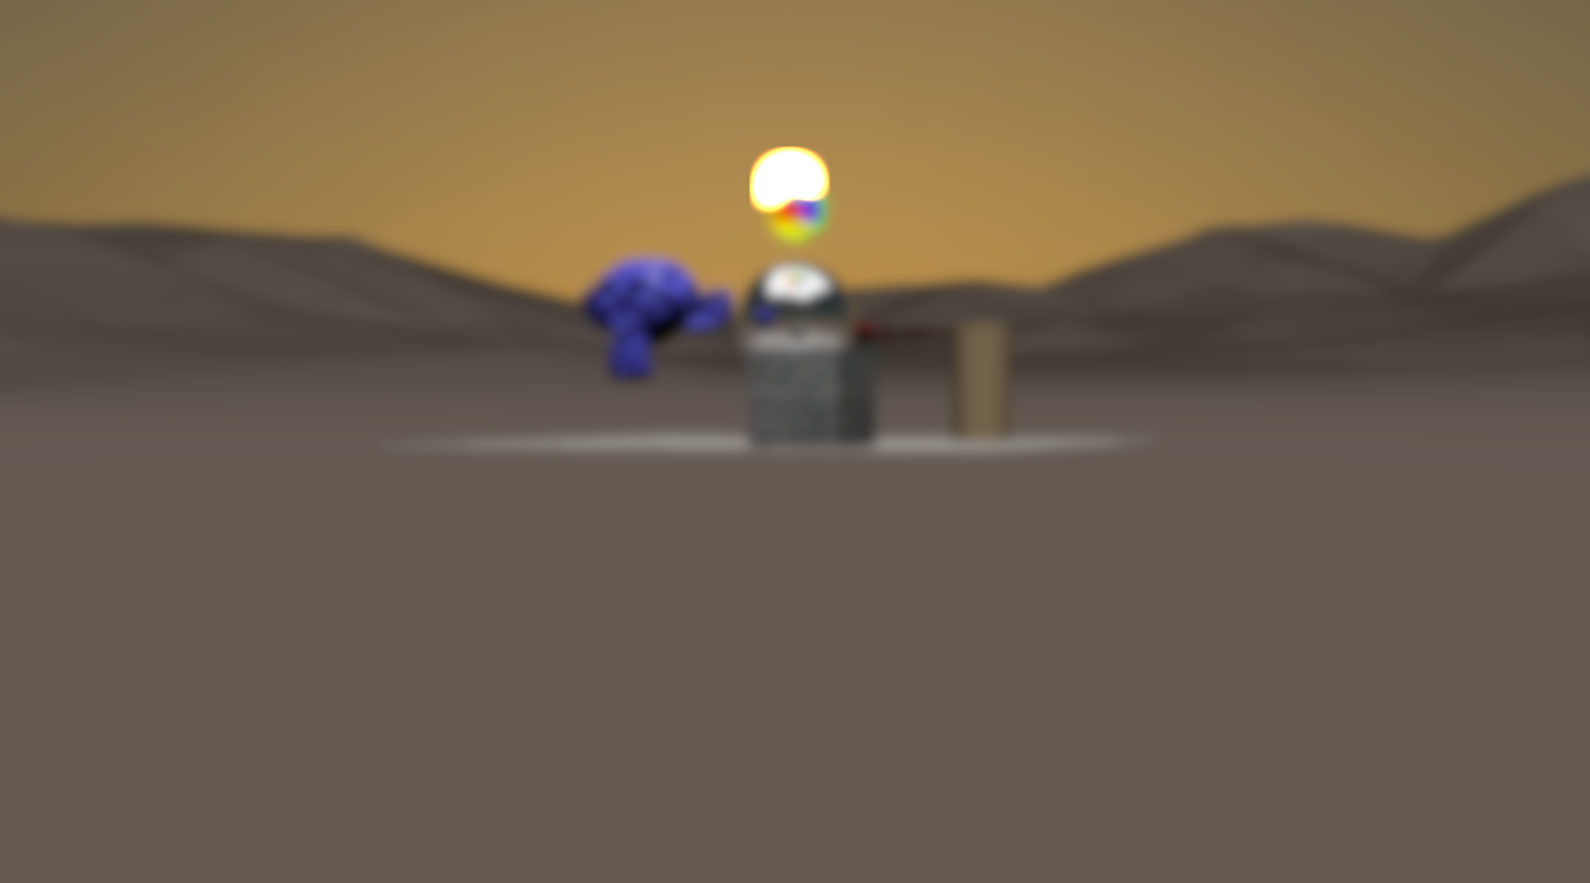
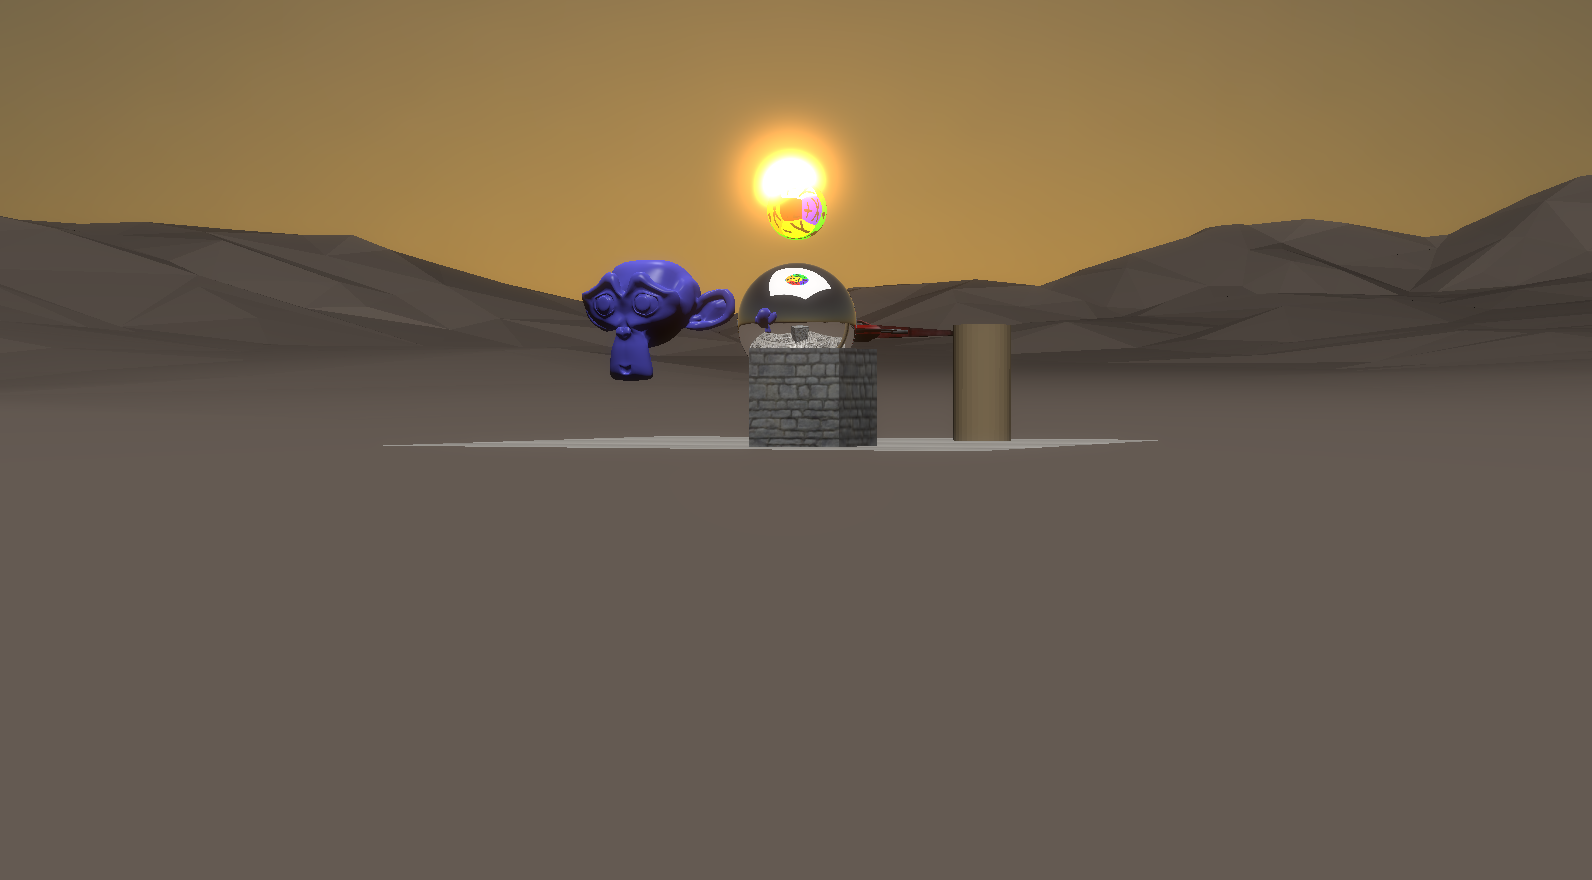
The images below show the differences between the original and the final image with the bloom effect fully applied:
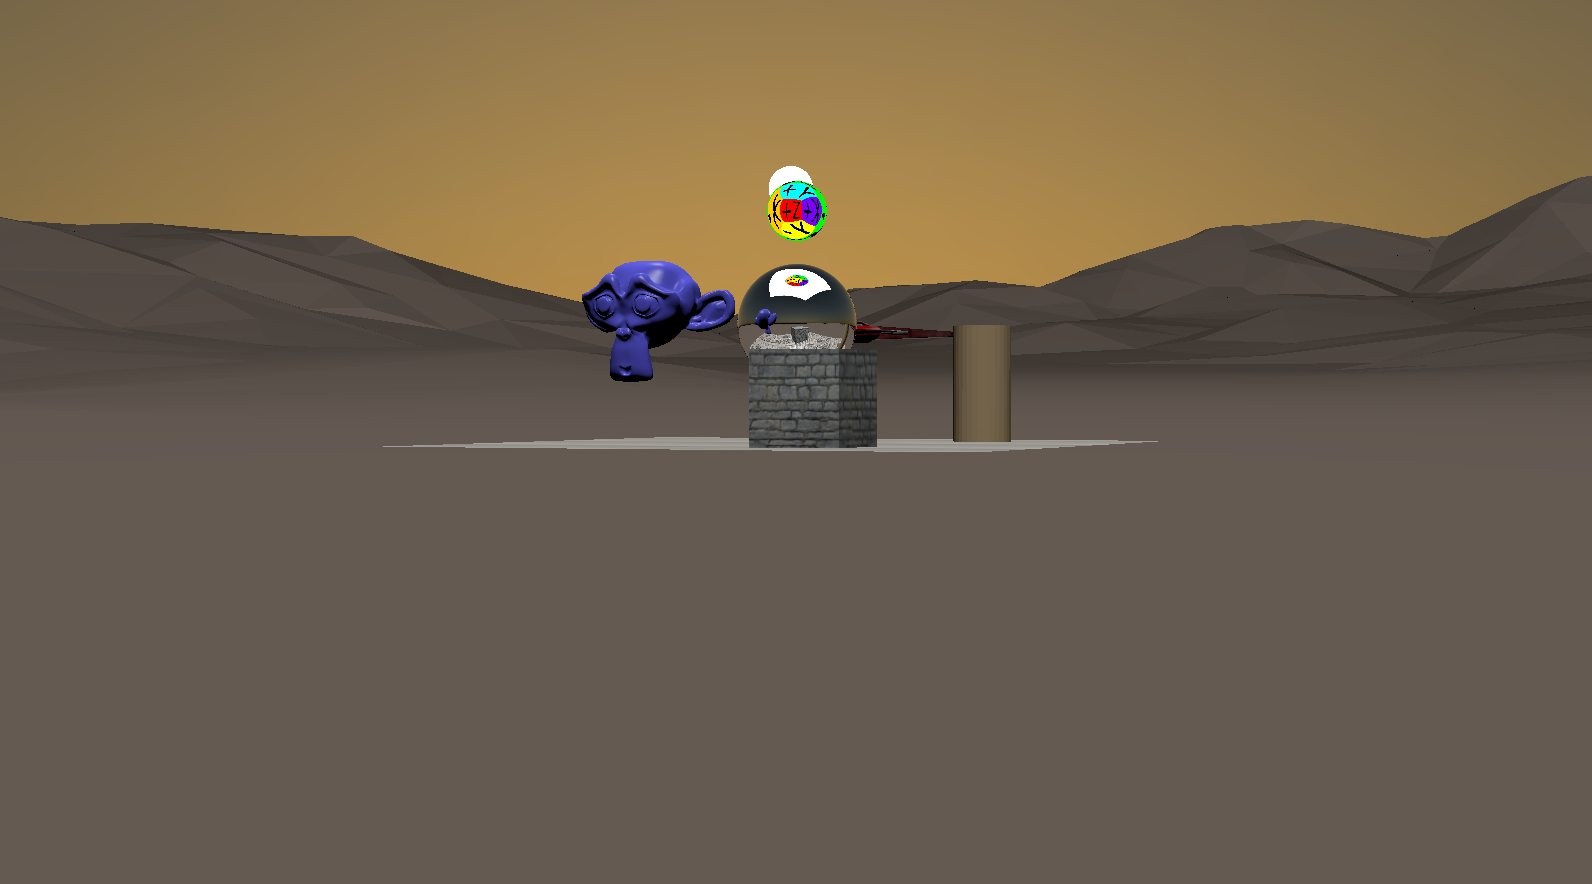 |
|
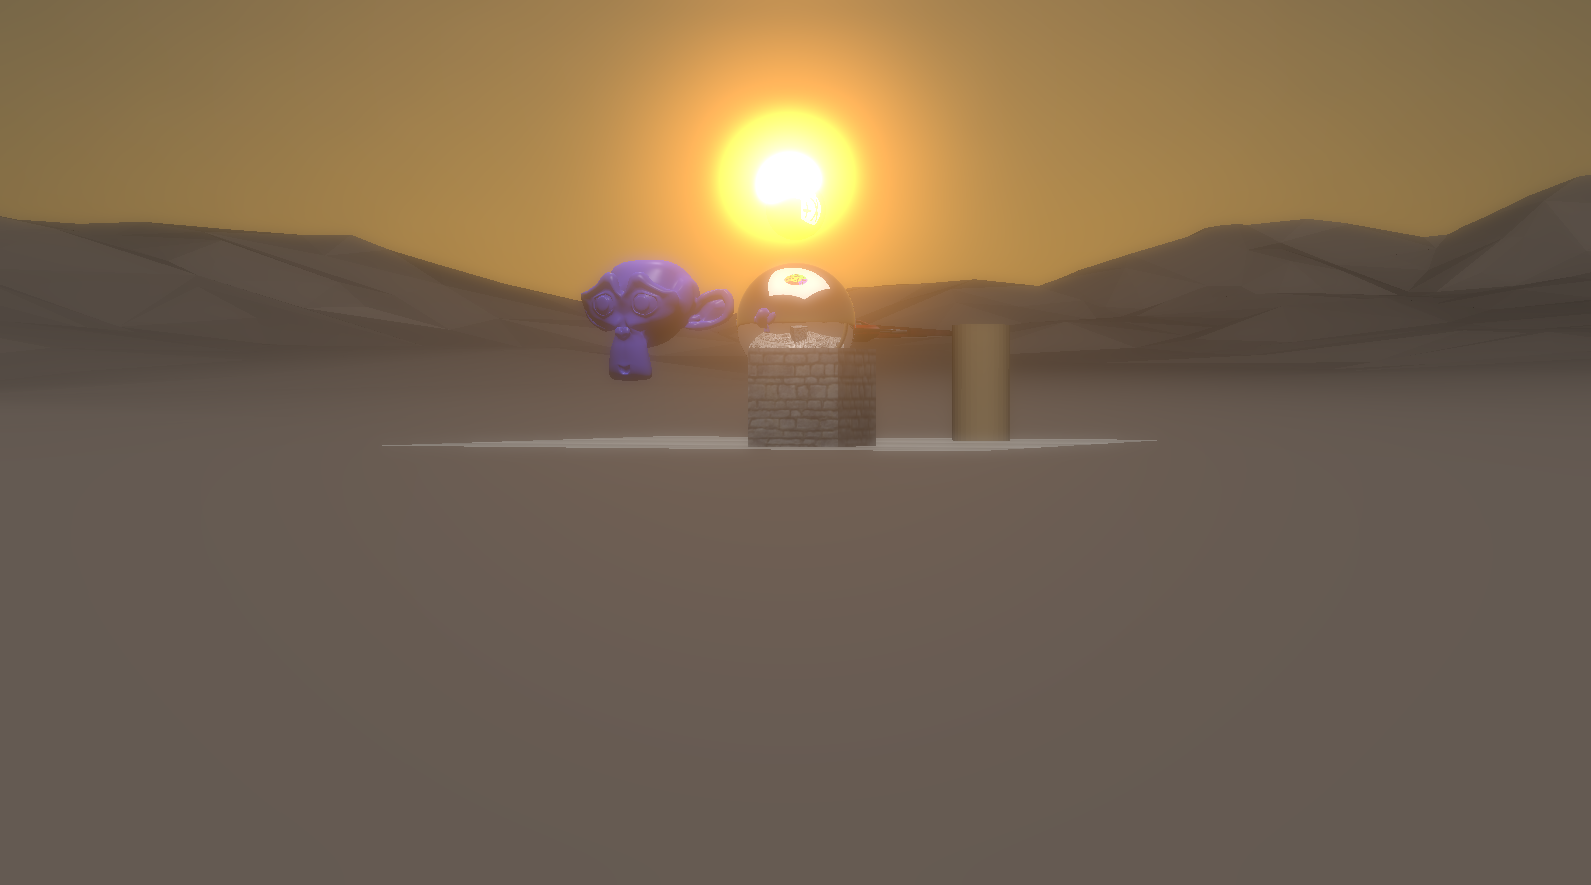 |
| Original image | Final image | Amped up bloom |
The first part of this task is to implement the effect directly, using the gaussian blur program you developed for PA5. You will need to use a temporary buffer to hold each blur result and then add it into the main image using additive blending. Use filter sizes that are 3 times the standard deviation.
The problem with this approach is that it will be really slow. Replacing the non-separable glare filter with the sum of gaussians makes it possible to do this in a few seconds a frame by using separable filtering for each of the gaussians. But it is still just way too slow. A good way to speed up large blurs is to shrink the image, blur it, and then enlarge it back to size. If you resample the image so that is is smaller by a factor $\alpha$, then apply a gaussian of width $\alpha\sigma$, then resample back to the original size, the result will be quite a good approximation of blurring the full image by a gaussian of width $\sigma$, as long as $\alpha\sigma$ does not get too small. (We recommend keeping this effective standard deviation above 4 pixels.)
You can do this in whatever way you like that produces results that look like the full-res filters but runs at full frame rate. A way to do this, reusing some machinery you have already built for previous assignments, is to shrink the image successively by powers of 2, in the same way you built the mipmap for PA4, until the size is appropriate, blur using the gaussian filter from PA5, then enlarge it again using the upsampling code from PA3. If you follow this approach, here is a recommended implementation approach: set up your program so that it shows the following when the "bloom" control is checked:
- The rendered image blurred by a single gaussian (for this you just need the gaussian-blur program and some care with swapping of BufferCollections).
- The rendered image with the blurred image added to it (for this you probably need a temporary buffer where you do the blurring, and you need to figure out how to enable additive blending to merge the blurred image back in).
- The full model, computed slowly at full resolution (this is just wrapping a loop around the previous one).
- The rendered image downsampled by a fixed factor, then upsampled again (this requires downsampling, either in a series of small steps like in the mimpap, for which the cubic B-spline reconstruction filter is sufficient as a downsampling filter, or with a new resampling program that can downsample by large factors at once). Start by using the copy program, resulting in severe aliasing, so you can clearly see what's happening, then switch to nice sampling filters.
- The rendered image blurred by downsampling, blurring, and upsampling to approximate a large blur kernel. Compare it to the results of the first step to confirm all the factors are right.
- The final model.
Note that this task may involve the use of one or more shaders which we do not provide to you. Write your own shaders to get the job done. It also involes multi-step manipulation of the frame buffer objects and textures, and again we leave it to you to figure out how this should be done. You are free to declare new fields in the PA6Renderer class if needed be.