|
This assignment is due on Thursday, October 7 via the course management system. You must perform this assignment individually; groups are not permitted. Project Description In this assignment, you will install Microsoft SQL Server 2000 (Developer Edition) from the CD handed out in class. Note: There is a copy of MS SQL Server (Enterprise Edition) on the second DVD handed out with the laptops. Do not try to install this. The Enterprise Edition server will not run on the Windows XP Professional OS installed on your laptops. You must use the Developer Edition on the CD. You will then create a data base, load it with data (data files provided), write some SQL queries, and execute them. In this assignment you will use Microsoft-provided tools to create and access your databases – no application server will be involved. The next assignment will cover database access from Servlets or JSPs using JDBC. Installing SQL Server:
Installing SQL Server from the CD is really straightforward
(if you have one of the loaner laptops).
Insert the CD.
The installation should begin automatically.
If it does not, run the file
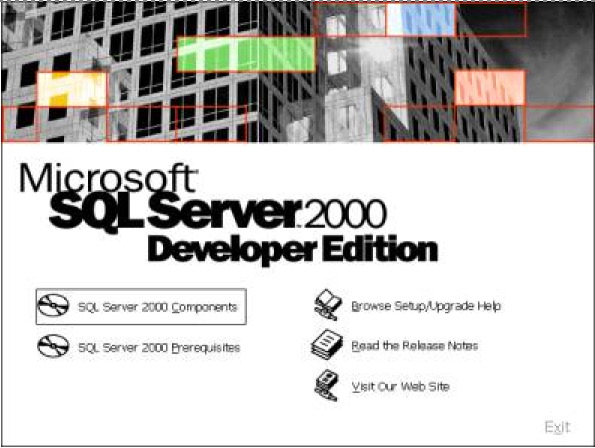 Select SQL Server 2000 Components, then in the next (similar) window that appears select Install Database Server. You are doing a completely standard installation, so for the next few windows simply accept the defaults and click Next in each window. Eventually, you will be asked to specify an “administrator account” as follows:
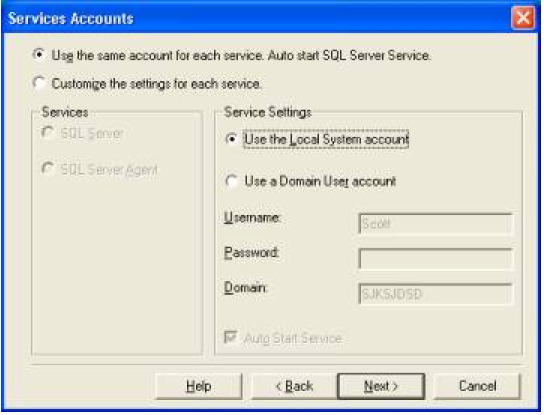 Select Use the Local System Account and click Next. The following screen should ask for an Authentication Mode:
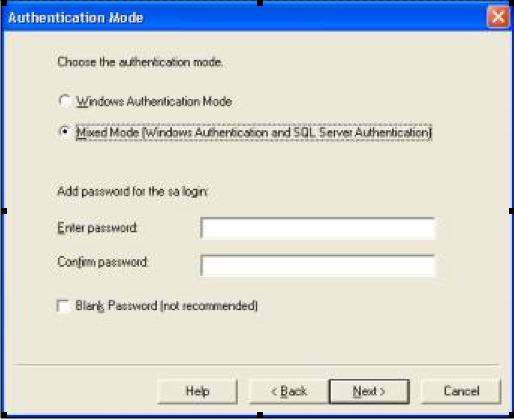 Select Mixed Mode and enter a password for the sa account, which will be used to log in your database system to administer it. Click Next yet again. At this point, installation of SQL Server will begin in earnest. Your machine will think for a few minutes, then bring up a dialog box saying the installation was successful. Database Administration: Once SQL Server has been installed, you need to create databases and user accounts. There are two client programs you can use for database administration:
Creating a Database: To create a new database, follow the tutorial at http://www.treadmark.net/lab/index.cfm (scroll down to the SQL Server link). The only difference will be that after you have opened
your screen should look like
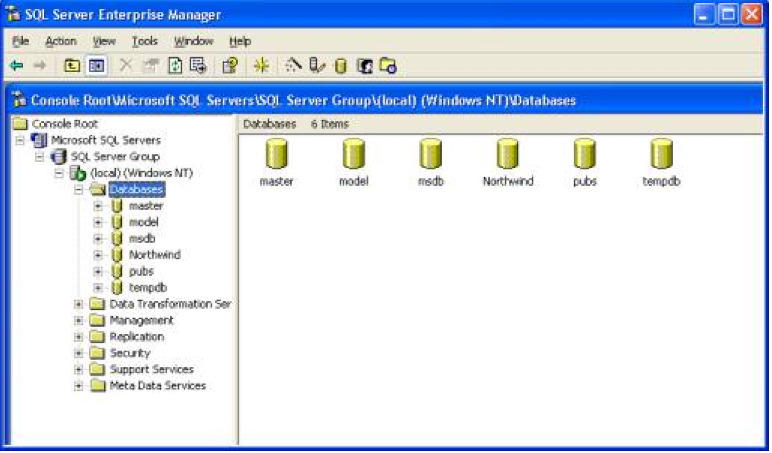 When you select (local)(Windows XP) there will be some delay, reflecting the time it takes to start up and connect to the database server. Don’t worry about it.
Using the treadmark.net on-line tutorial as a guide,
create a database called
Note: Microsoft SQL Server
pre-installs some example databases,
including Creating a Database User: To create a new database user, select
Right-click to get a context menu, and select New Login as shown:
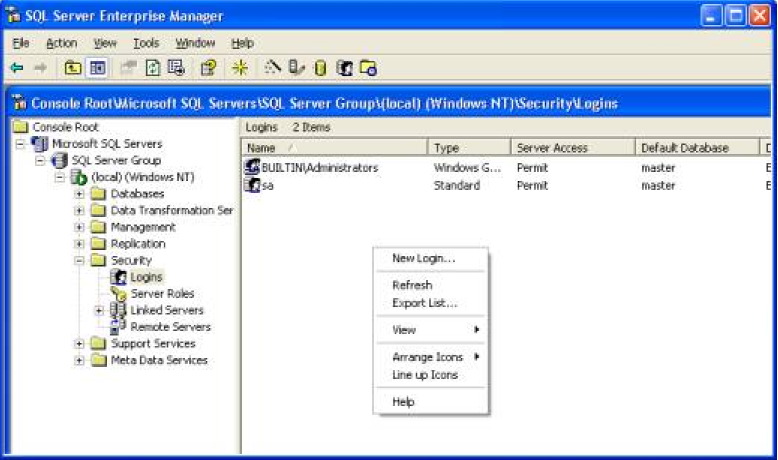 This will bring up the following screen:

Enter the username as you like;
for example Next, click the Database Access tab to reveal the following screen:
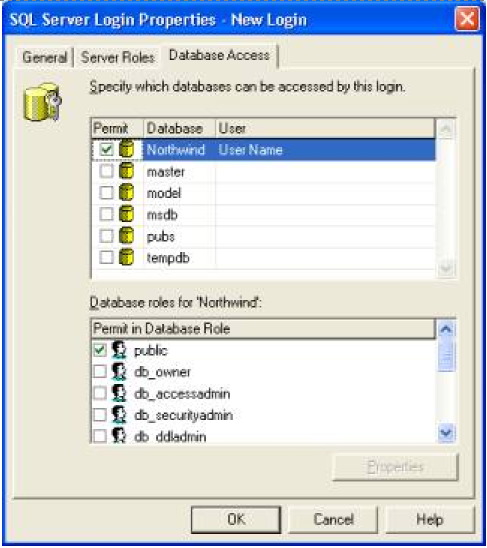
This screen is where you set user access rights for individual databases.
Give the Creating Tables:
You will now create some tables in the
It is probably easiest to create these tables using EM, as follows:
Executing SQL: The simplest way to execute SQL is to use the Query Analyzer (QA), found in the Start menu under the Microsoft SQL Server group. You will be asked to provide a database user name and password. When the main window appears, check that the desired database is the one selected (near the middle at the top of the window). Use the Object Browser (left column) to explore (refresh your memory about) the database schema.
In the Query Window you can type a batch of one or more queries,
each terminated by a semicolon (‘;’).
These queries are not executed immediately when you hit
from the menu, or click the equivalent button on the Toolbar. Note this enables you to cut-and-paste large quantities of text into the Query window and edit it before execution. This feature is handy for bulk loading, as described below. Definitive information about the “Transaction-SQL” language implemented by SQL Server is (of course) found at the Microsoft website: http://www.microsoft.com/sql/. Additional information on SQL, not specific to SQL Server but conforming to the Standards, may be found in Chapter 5 of the textbook. See also tutorial sites http://www.sqlcourse.com/ and http://www.sqlcourse2.com/. Bulk Loading:
We have provided a
suppliers.txt might be
Note there are no quotes around string-valued fields, and we need no special provision for ‘:’ characters appearing in field values. Your task is to get this data into the database. Later we may examine some of the Microsoft tools for this task. But for now we take a minimalist approach:
suppliers.txt given above
would become
This translation (from text files to SQL statements) is not too difficult–it can be accomplished by the “global search and replace” capability available in almost any text editor. Of course, higher-tech solutions (like Perl scipts) also exist. However you construct them, you should submit the three files of SQL INSERT statements used to populate your database as part of your solution to this homework. Some Complex SQL: You should now have a database with the schema required for Exercise 5.2 on page 175 of the textbook. Your task is now to solve the Exercise using your database – that is, convert each of the 11 queries given in the Exercise from informal English into SQL that can be parsed and executed by SQL Server. Demonstrate that your translations are sensible by actually running the queries in SQL Server. Submit two files:
What to Submit
|