Begin by going to the VMWare site. Use this url: https://www.vmware.com/products/fusion/fusion-evaluation.html. You will see the following page:

Choose the "Register for a Personal Use License" option. You will be asked to create an account on VMWare.com. For some reason, Windows users don't need to complete this step! Create an account and log in, you should be presented with a screen that shows a series of eligible download options. Scroll down a bit and ook for this:
Click "Manually Download" to begin downloading the VMware Fusion Player into your Downloads directory. Once downloaded, open the .dmg file. You'll see this:
Then double-click on the VMware Fusion client to install the software. The first screen you should see is this:
Assuming you have no problems with the license agreement, click on "Agree" to continue the installation process:
If you already have a license code, you can enter it in the screen above. Otherwise click "Get a Free License Key" to obtain one from the VMWare site: 
If you didn't create an account to download the application, create one now. Otherwise log in. After logging in you should see your name on the right side:
Click on "License & Download" and then scroll down a bit. You should see a license key (unique to you) for the VMWare Player application. Copy that license key onto your clipboard, and then return to the VMWare Fusion application and enter it into the license key text field:
When a valid license key is entered, you will be able to click "Continue". When you click Continue, the installer will install the application.
When the installation is finished, you will see the confirmation screen above. Click "Done". VMware Fusion should have been installed in your main Applications directory. Launch VMware Fusion… you will likely see the following two dialogs:
These dialogs should be somewhat familiar to MacOS users. The first dialog is optional (whether or not to give VMware Fusion access to your "Accessibility" features). For our purposes, you should be able to click "OK" on this dialog but if you have reservations and click "Not Now", you should still be able to use the software. The second dialog is a standard dialog asking you to give VMware Fusion permission to control "System Events". You'll need to click "OK" on this one. If it brings you to the Security control panel (Privacy Section), you'll need to authenticate and give VMWare access to the feature. If you have any issues with this step, please contact me.
Once you've granted the necessary permissions, go ahead and run VMware Fusion again. You'll see the following:

Select the "Create a custom virtual machine" icon and then click "Continue", you'll see the following:
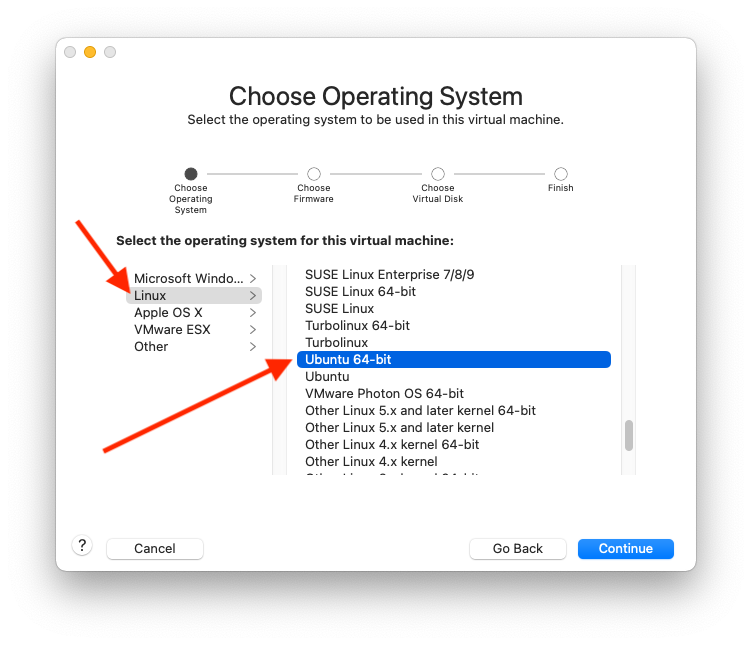
Make sure that "Linux" is selected and then that "Ubuntu 64-bit" is selected. When both are selected, click "Continue"
If you know what the difference is between the two styles of boot firmware, choose the one that makes you happy. If you are unfamiliar with these terms, just leave it at "Legacy BIOS" and click "Continue"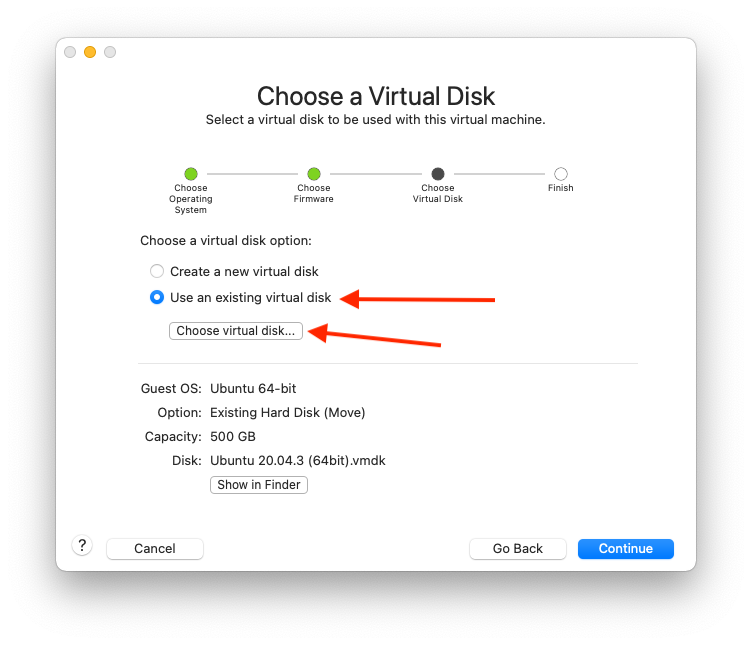
Here, you'll be asked to choose a virtual disk for your virtual machine. You want to "Use an existing virtual disk" (namely the one you downloaded from osboxes.org). Make sure "Use an existing virtual disk" is selected and then click on the "Choose virtual disk" button. You'll be asked to find the existing virtual disk:

This is probably the most difficult screen in this process. You will need to remember where you downloaded the .vmdk file from osboxes.org. You will need to navigate to where the .vmdk file is and select it, but you must also choose one of the three options highlighted above. If you leave it at "Make a separate copy of the virtual disk", VMWare will make a copy of it and put the copy somewhere in one of the VMWare directories created in your Documents directory. If you choose either of the other two options, the .vmdk file will stay where you downloaded it and you'd need to make sure you don't move it or delete it at any point (as it will have all of your work for the semester on it). Choose wisely! (If you are going to use one of the bottom two options, I'd suggest using the "Take this disk away…" option.
Once you've selected the .vmdk file and make your choice with the radio buttons, click "Choose". You'll be returned to this screen… 
Now you can click "Continue".

You are almost done! The screen above summarized what VMware Fusion is going to create. Depending on how much memory you have on your computer, the default Memory setting for this VM might be different. For what we are doing in class, you can probably use 2GB or even just 1GB (though if you have enough memory to allow the VM to have 4GB, that should work well). Again, contact me with any questions/confusion on this page. If you need to change something, you will click on the "Customize Settings" button. However most of you will be able to just select "Finish"…
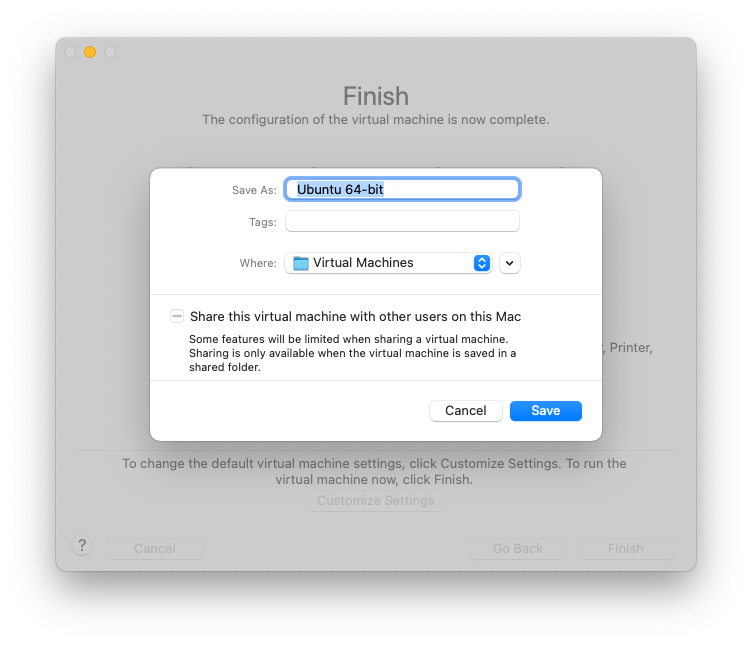
Here you are being asked where to save your virtual machine. By default, it will save it in a folder named "Virtual Machines" in your Documents folder. It should be fine to use the default setting, so just click "Save".
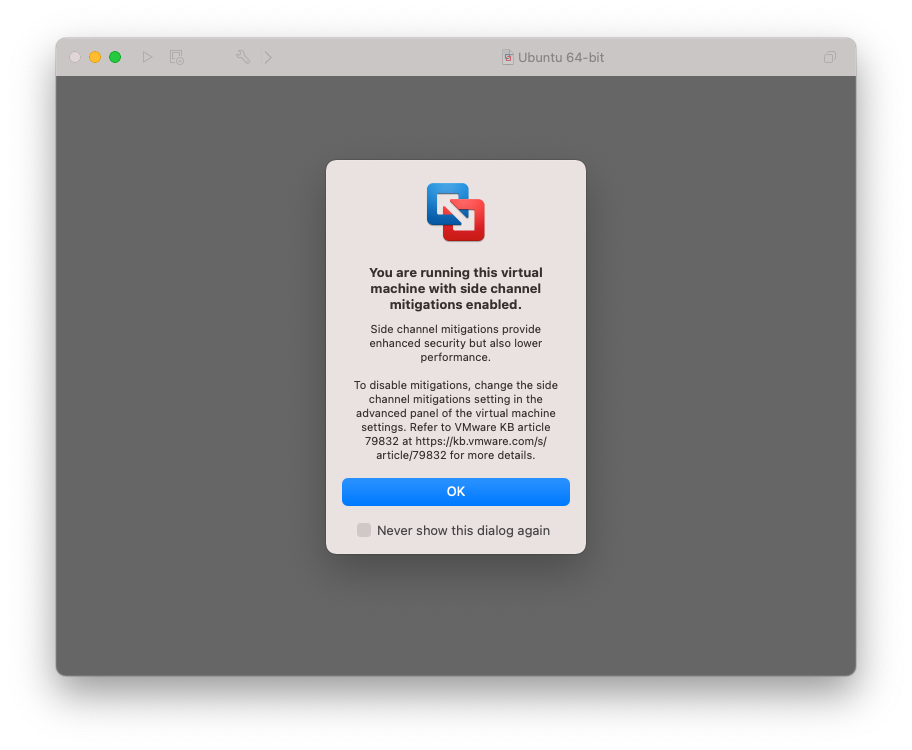
You will likely see the above warning dialog. For what we are doing in class, it is safe to ignore it and click "OK".
The next screen you will see will be the new virtual machine in a "turned off" state:
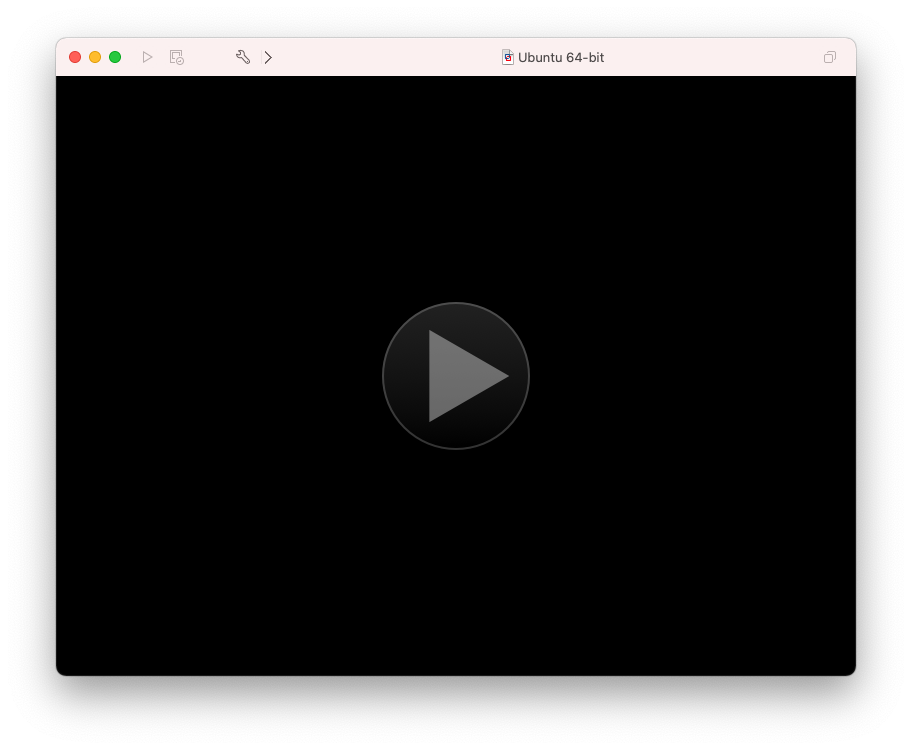
If the VM doesn't automatically start, you can start it by clicking on the triangle in the middle of the screen! Once the VM finished booting, you should see this:
And, congratulations! You just successfully created an Ubuntu virtual machine on your Mac and it is running!
Now that it is running, proceed with instructions on how to complete your Ubuntu Setup.