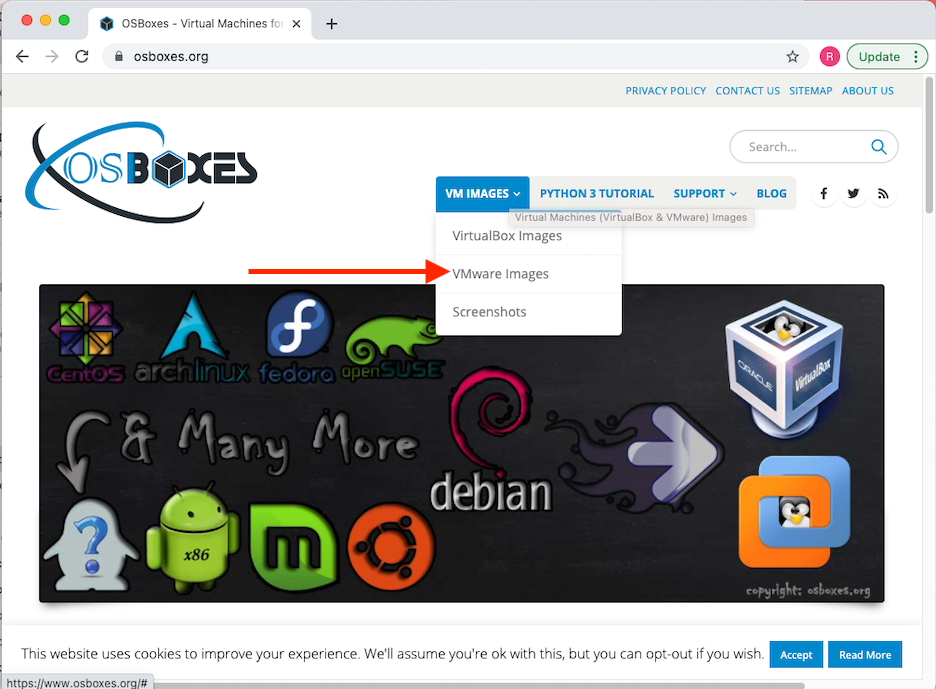
This will take you to the main page for VMWare Images: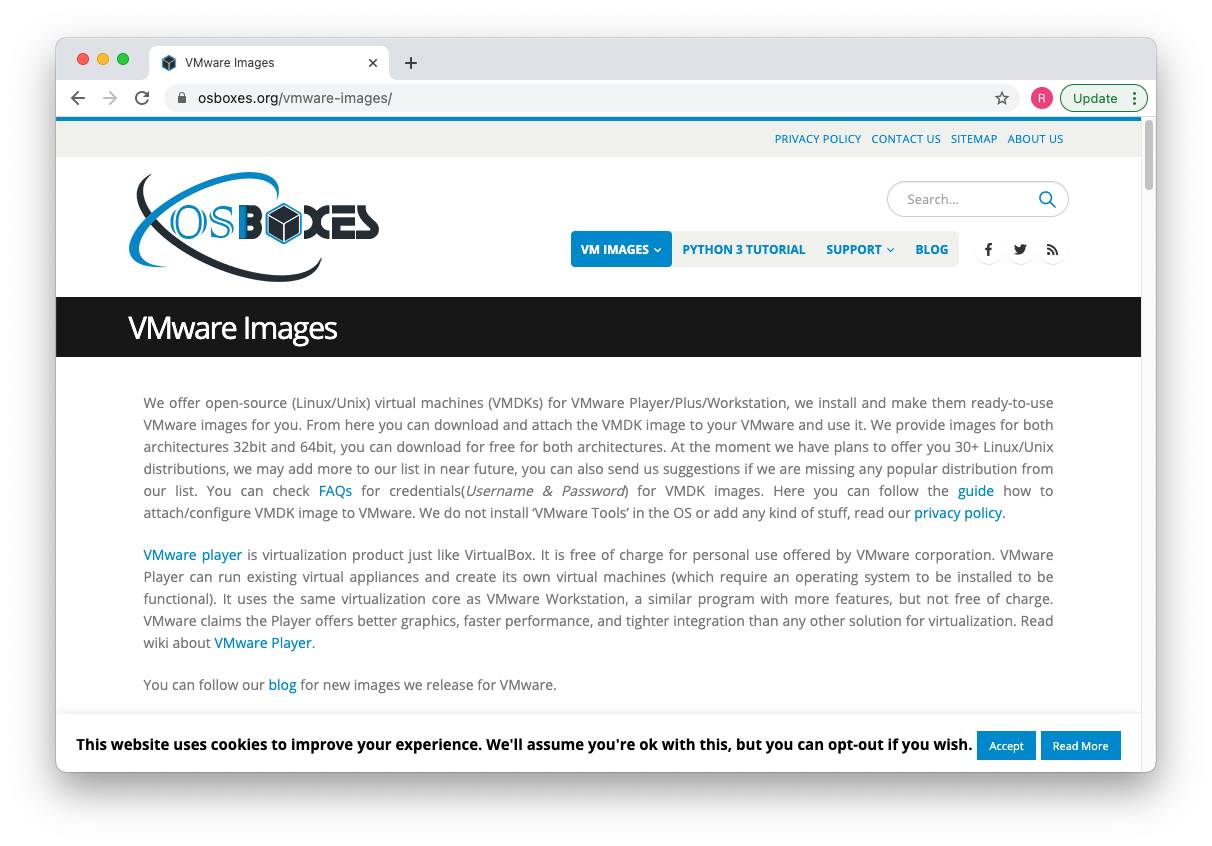
Scroll down on this page until you find the entry for "Ubuntu" and then click on it: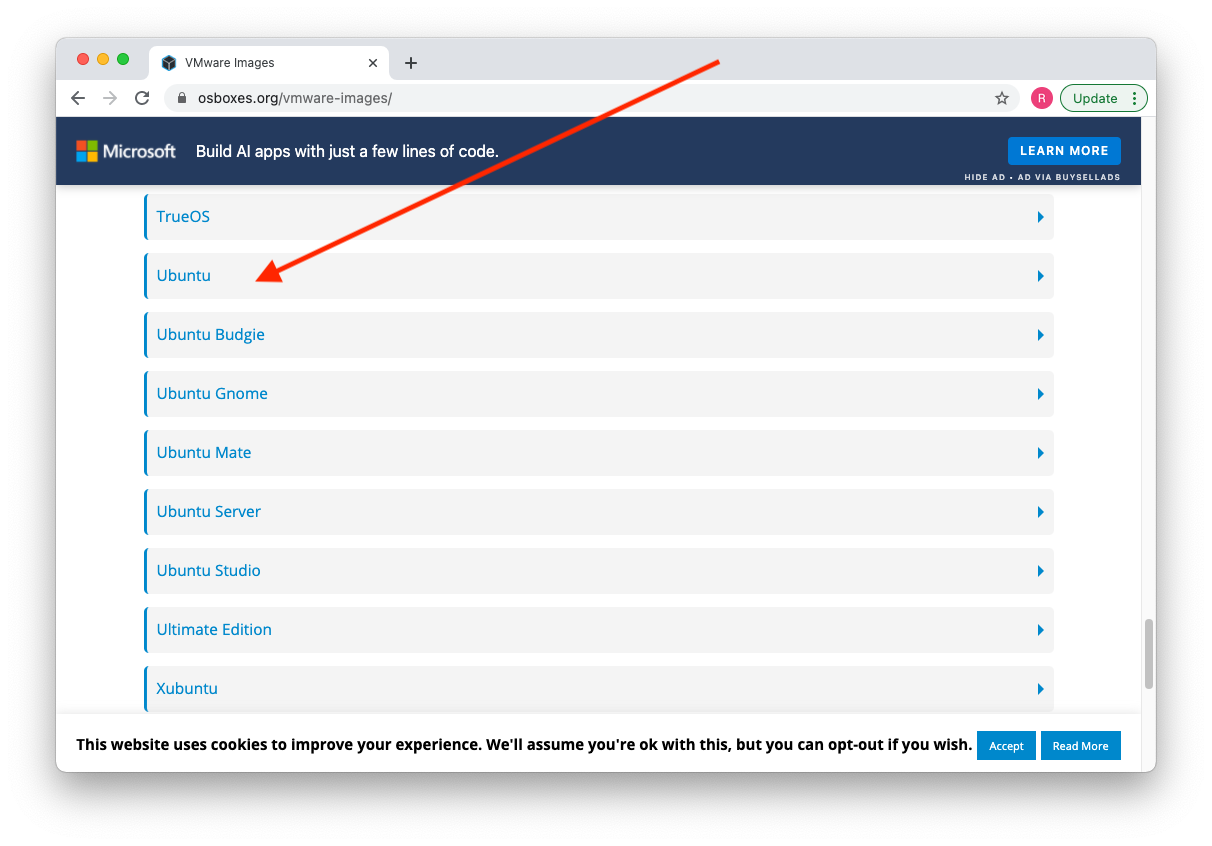
This will open up some additional text under the Ubuntu entry: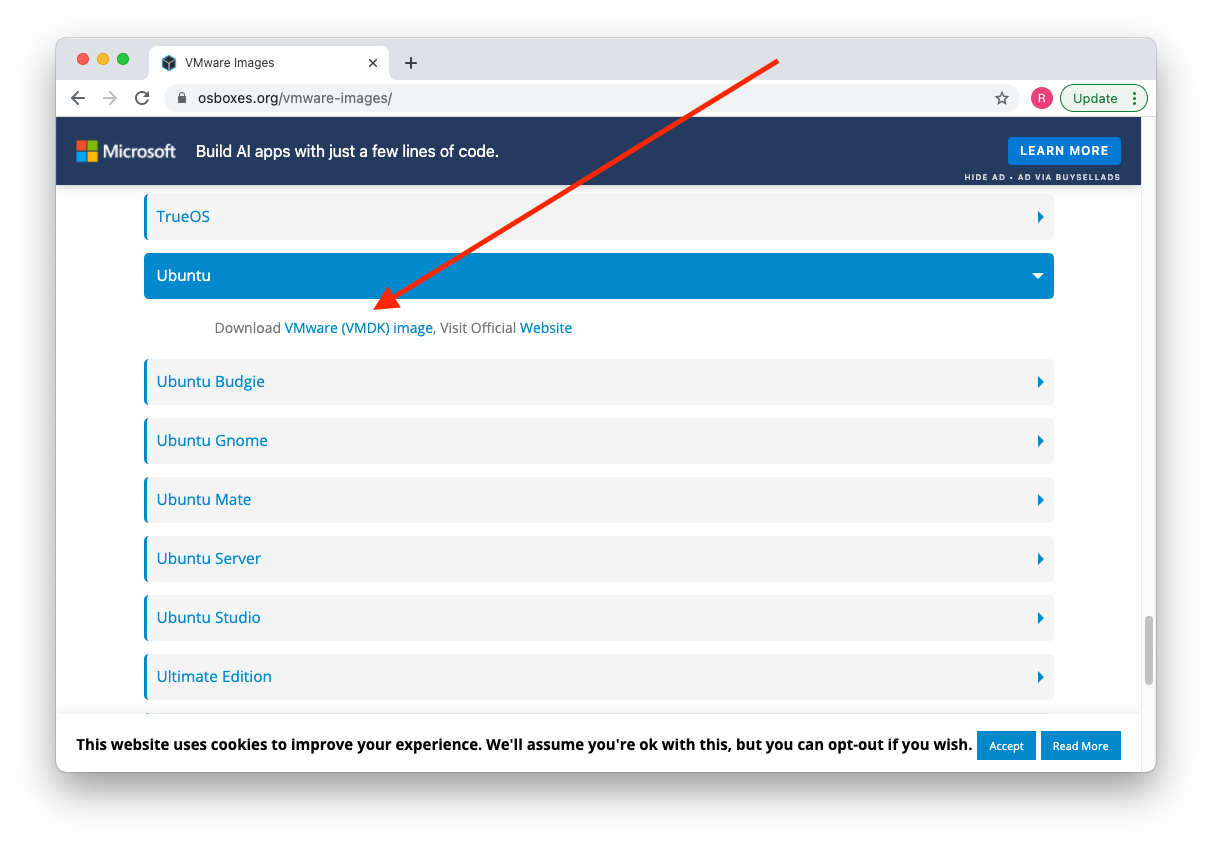
Click on "VMWare (VMDK) image" to see a listing of all of the Ubuntu images available: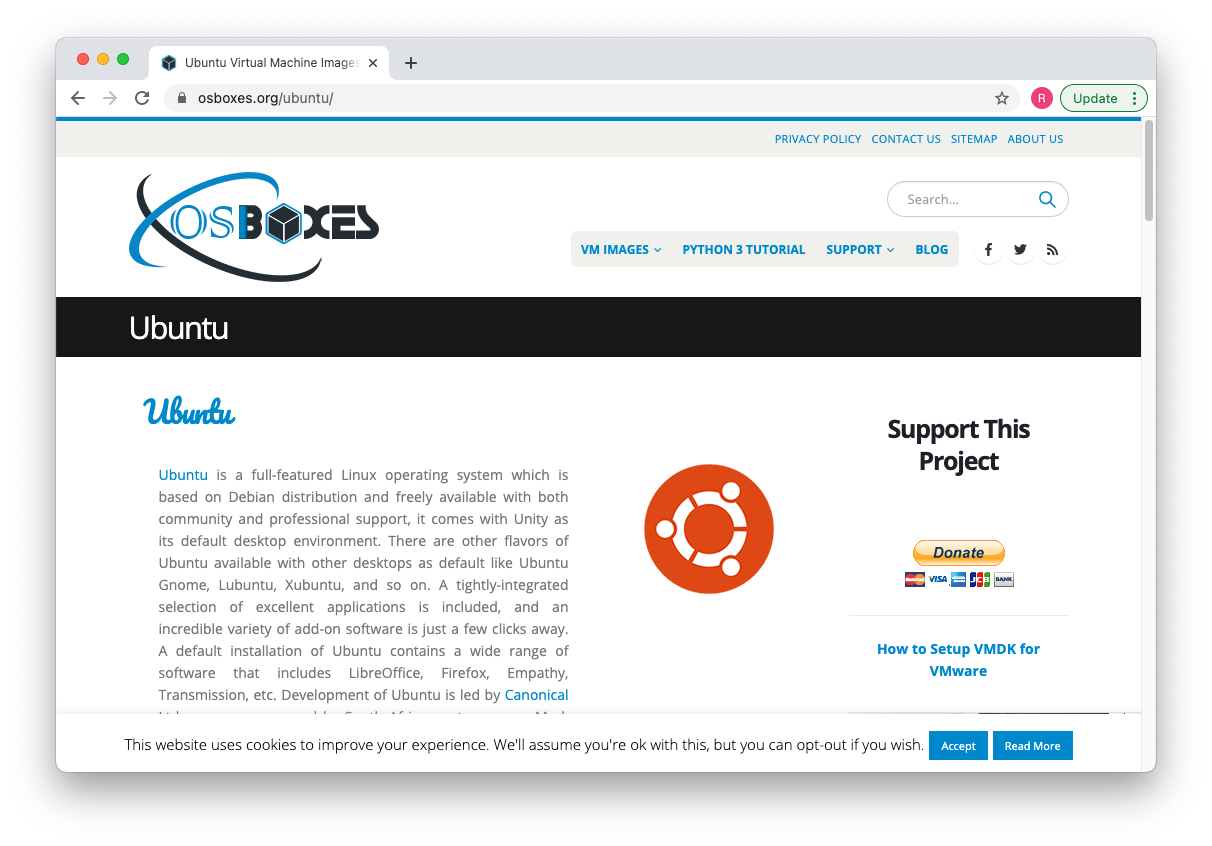
Scroll down until you find the Ubuntu 20.10 release area: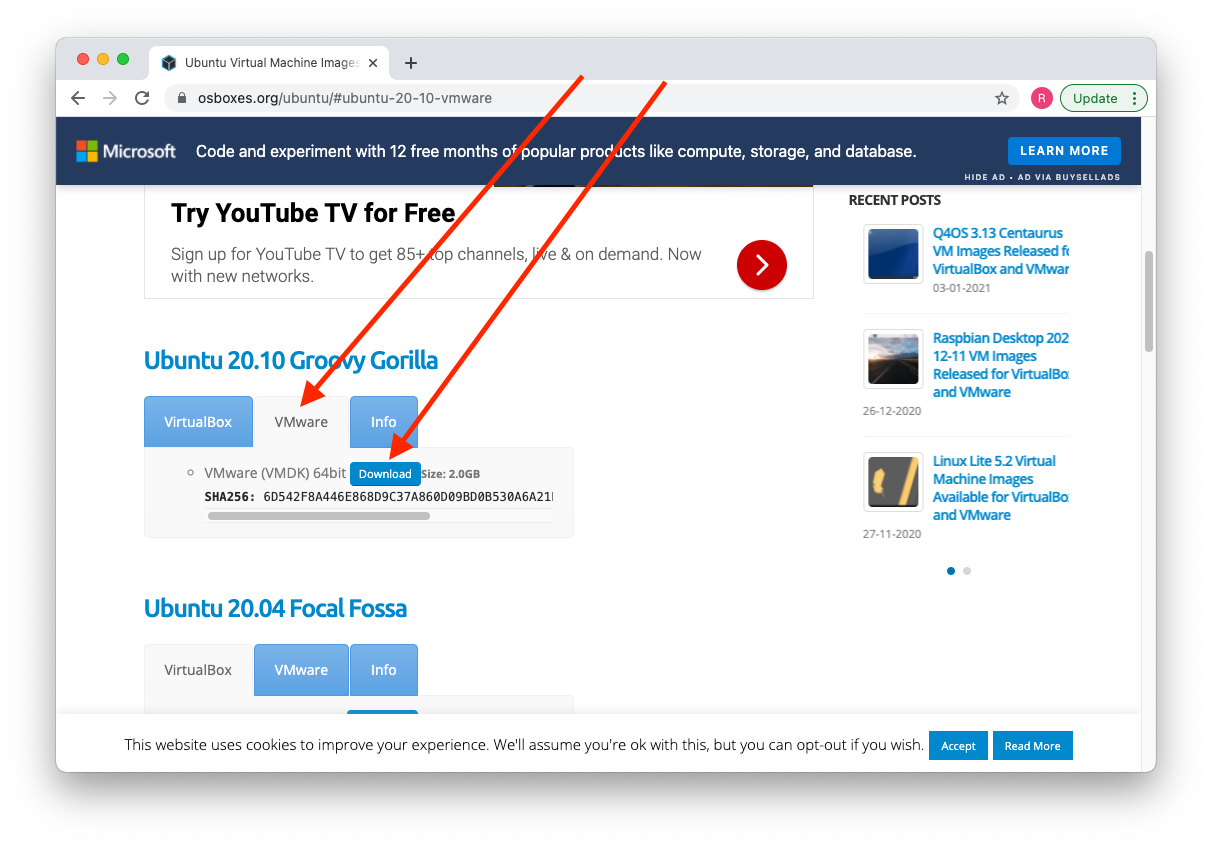
As shown in the image above, make sure that the "VMWare" tab is selected and then click on the "Download" button. You should get an archive file downloaded to your machine. On my Mac, it appears in the "Downloads" folder and will look something like this:
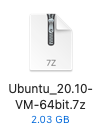
While Mac users should be able to unpack the file without any additional software, Windows users may need to download an application to unpack the file, such as WinZip.
For MacOS, double click the .7z file to unpack the disk image. Expanded, it can take up over 10GB of space so make sure you have enough room before proceeding. When unpacked on my Mac, I end up with the .vmdk image in a folder named "64bit":
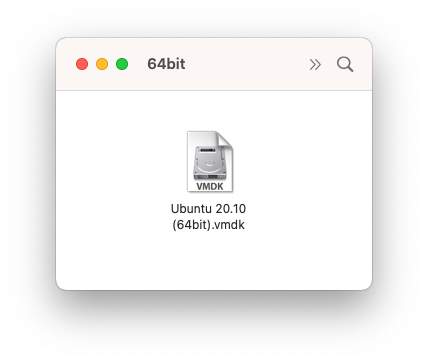
Remember where you unpacked the .vmdk file! You will need it when creating your virtual machine.
Now that you have the .vmdk file you can proceed with instructions on how to get VirtualBox for MacOS X, Windows or Linux!
And remember to configure Ubuntu once you have VMWare up and running on your machine!