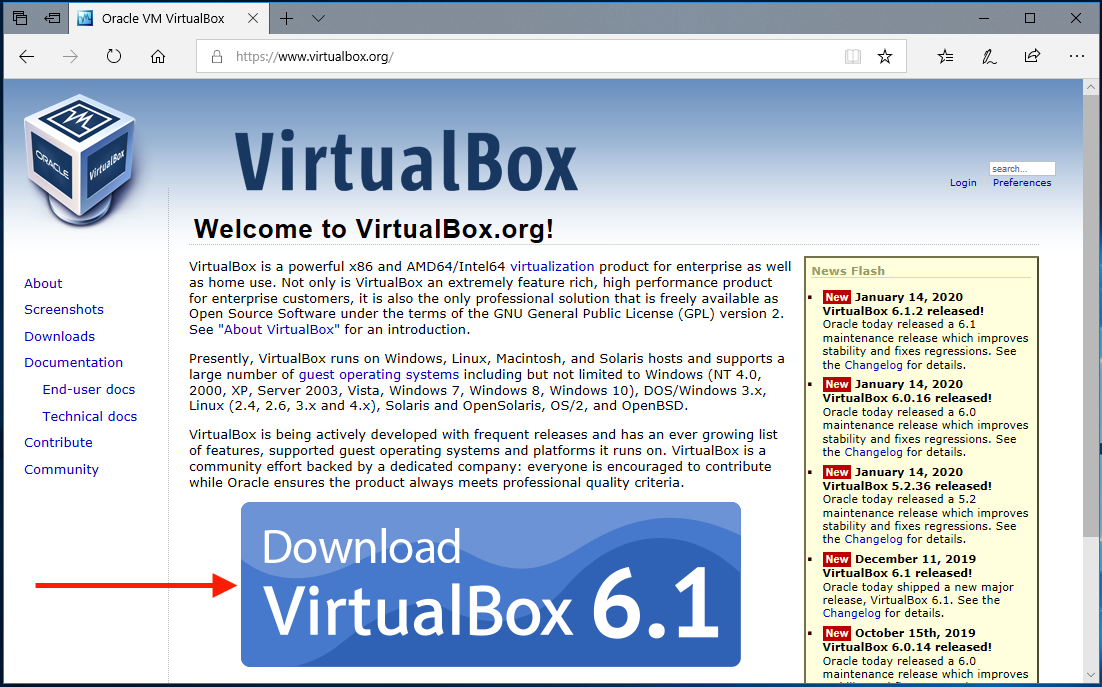
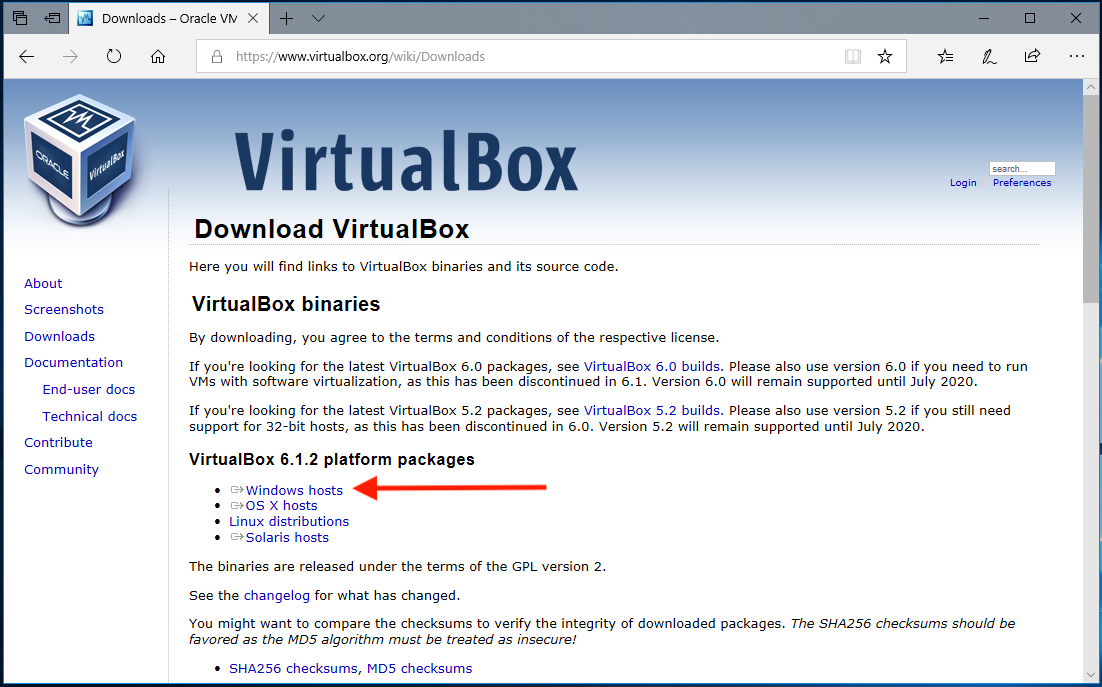
Next, click on the "Download VirtualBox 6.1" button and follow the instructions to find the right download for your machine. For Windows, choose "Windows Hosts":
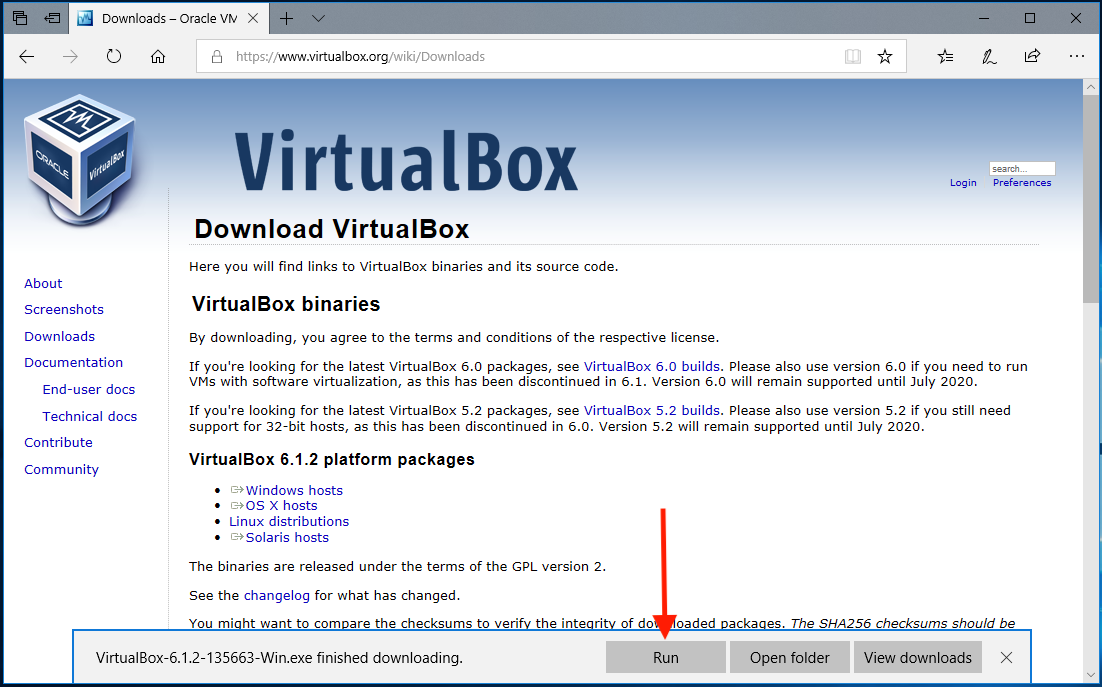
When the download is complete, you should see a banner at the bottom of the Web Browser window that asks you if you'd like to run the downloaded .EXE file:
The installer will run and present you with the following window: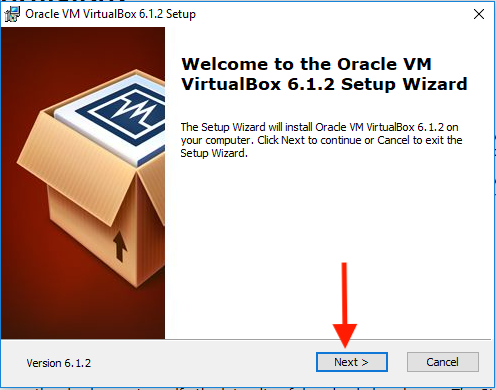
Click on "Next" to start the installation process. In the next screen displayed, click on "Next" again to accept the default settings: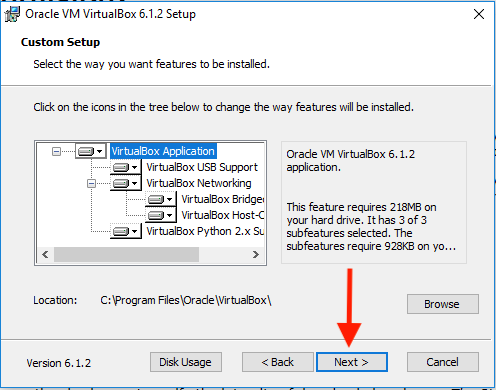
The new screen will give you more options to select. You can stick with the default settings again (click Next):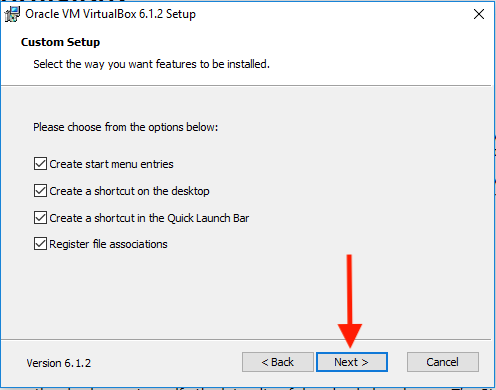
The installer will proceed and you will see the following warning:
Click on "Yes" to proceed: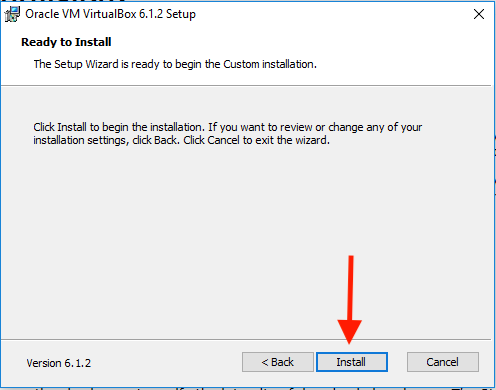
Click on "Install" to start the installation procedure. During the install, you will likely see the following permissions request: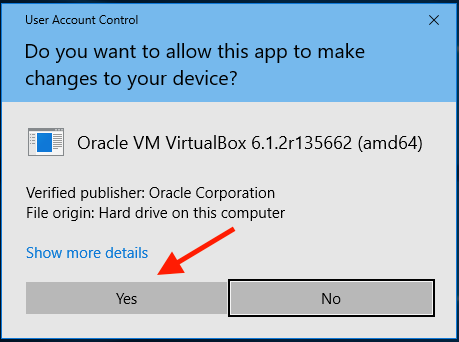
Click on "Yes" to continue with the installation. The next warning you will see will look like this: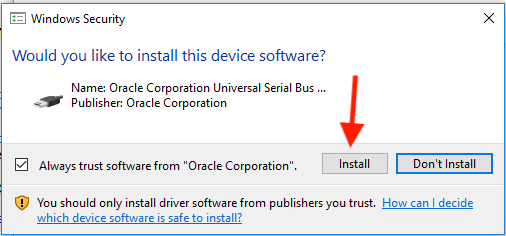
Click on "Install" to continue. The installation should complete and you will see the following: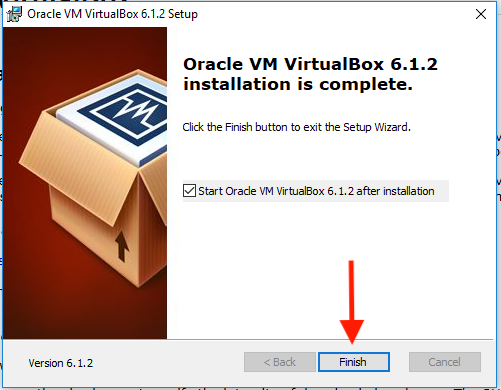
If you leave the "Start Oracle VM VirtualBox 6.1.2 after installation" checkbox checked, VirtualBox will launch after you click "Finish":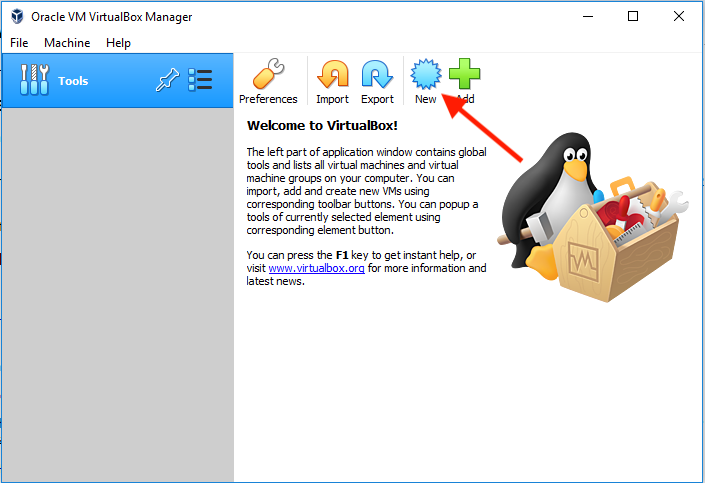
Here, click on the "New" button to create a new virtual machine: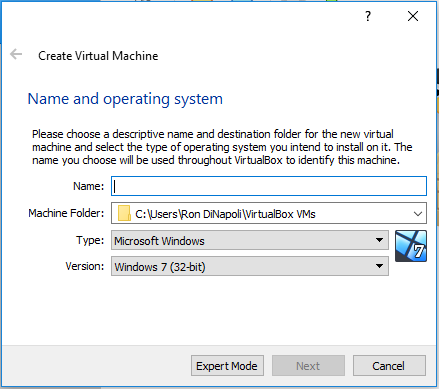
We'll need to customize these settings as follows: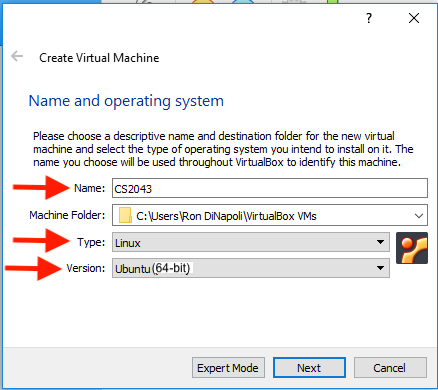
NOTE: I took these screen shots while already running Windows in a virtual machine on my Mac. This may have kept me from seeing the "64-bit" options for Linux. You should see them and should use them. If you don't, you may have to go back and download the 32-bit version of Ubuntu from osboxes.org (Ubuntu version 16.04.6). Click "Next" when done with these settings. You will be presented with the "Memory" option dialog. You likely have more than 2GB of memory available on your machine; I'd recommend setting the VM to use 2GB (2048MB) if you can. If not, 1GB (1024MB) should work for the class. 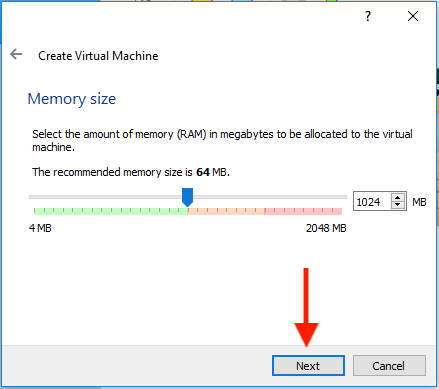
When you have the memory setting where you'd like it, click on "Next" to move to the Virtual Disk screens: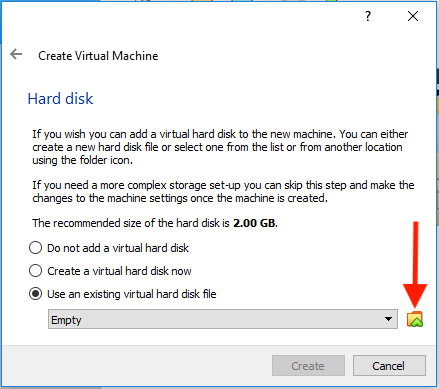
Here we need to tell VirtualBox to use the .vdi file you downloaded separately from osboxes.org. Start by making sure that the "Use an existing virtual hard disk file" radio button is selected, then click on the small "Folder" icon just to the right of the pop up menu that reads "Empty". You will be presented with the following screen: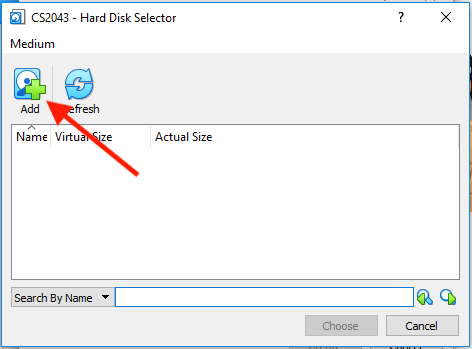
Now, we need to "load" the .vdi file from osboxes.org into Virtual Box so it can be selected for our new virtual machine. Start by clicking on the "Add" button to bring up a file selection dialog. Use that to navigate to wherever you downloaded (and expanded) the VDI file from osboxes.org. Once selected, you should see the following: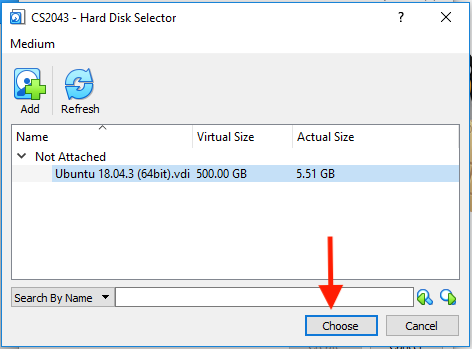
You should now see the Ubuntu VDI file in the virtual disk picker in VirtualBox. Select it and click "Choose". This will automatically create your virtual machine!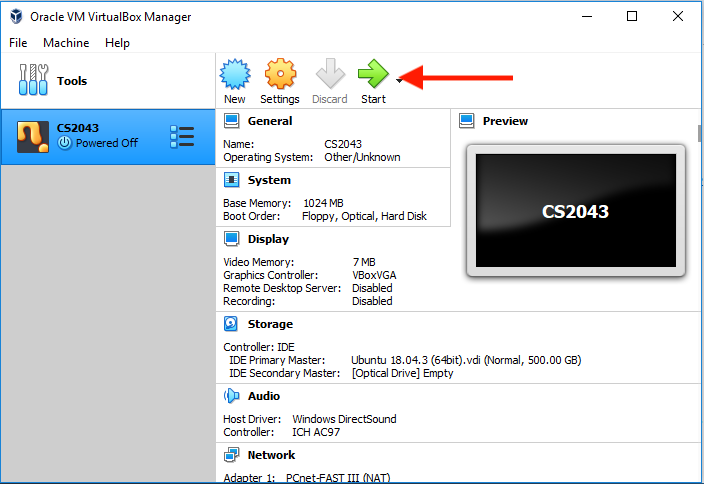
You should end up back at the "Oracle VM VirtualBox Manager" screen and should see a "CS2043" VM in a "Powered Off" state. Click on the "Start" button to "turn it on" !
Once turned on, proceed with instructions on how to complete your Ubuntu Setup.