Course Import
The course export/import functionality has been provided to enable the course administrators to add different course components like assignments, tests, quizzes, surveys and custom content to their course. You may use this feature to do so automatically, by first exporting the content of one course in a zip file and then importing it in any other course, by uploading that zip file.
Note: For classes with large enrollments, i.e., more than 100 students, please make sure that students' NetIDs are already added to CMSX before importing assignments or quizzes.
To import course content please follow the following steps:
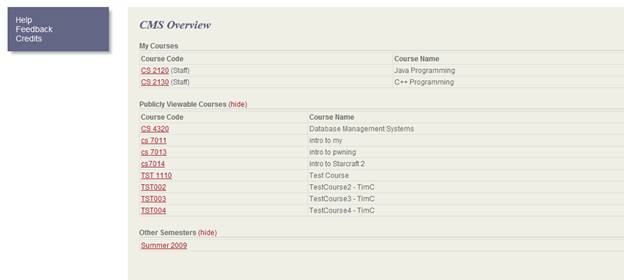
- Login into the CMSX. This will take you to the CMSX overview page which has a list of all your courses.
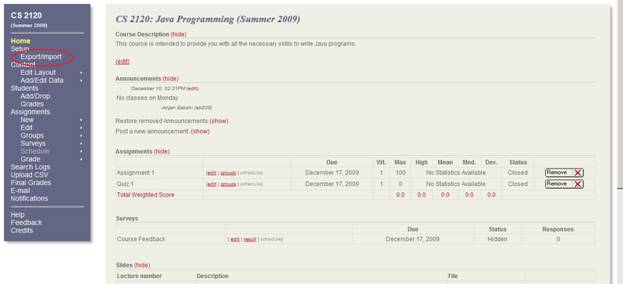
- Select the course to which you want to import content. You will be taken to the course home page.
- Select the Export/Import option on the course menu. This takes you on the Export/Import start page.
- Select the Choose File option under Course Import to select a previously exported zip file.

- Select Begin Import under Course Import to upload the file. You will be redirected to the Course Template Import page.

- Please select the different types of contents from this course that you wish to import in the zip file. You will only be provided the option to import the items that had exported in the zip file.
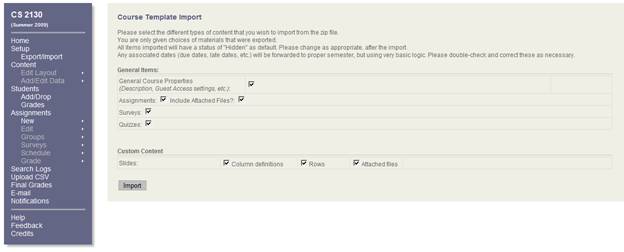
- The content types you could import are:
- Assignments
- You may choose to import the files attached with assignments as well.
- Surveys
- Quizzes
- Custom made Content Tables
- You may choose to export just the column definitions, or the column definitions and rows, or the column definitions, rows, and the attached files.
- All imported items have a status of Hidden by default. You may modify these as you consider appropriate.
- . The system attempts to appropriately map the dates from the previous semester to the new semester, but please check the dates and modify them if necessary.
- You might see some warnings on the top of the page along with suggestions. You may choose to override those warnings or follow the instructions in the warning message.

- In case you see any errors in red, please follow the instructions to fix them or contact the CMSX administrator.

- Proceed to import the course content after this, by clicking on Import.